Filipe Carmona (@filcarmona) asked me:
@levelsio these img summaries you added to nomadlist https://t.co/OJpPO10uIJ, which lang/lib did you use to form it? i'm trying smth similar
— Filipe Carmona (@filcarmona) June 15, 2016
Good question, Jack! Oh your name isn’t Jack! Well, anyway let me get your John Hancock and let’s get down to brass tax here, Charlie.
When websites get shared on social media like Facebook and Twitter, they’re quickly opened by Facebook and Twitter’s robots. Let’s say you open up San Francisco on Nomad List:
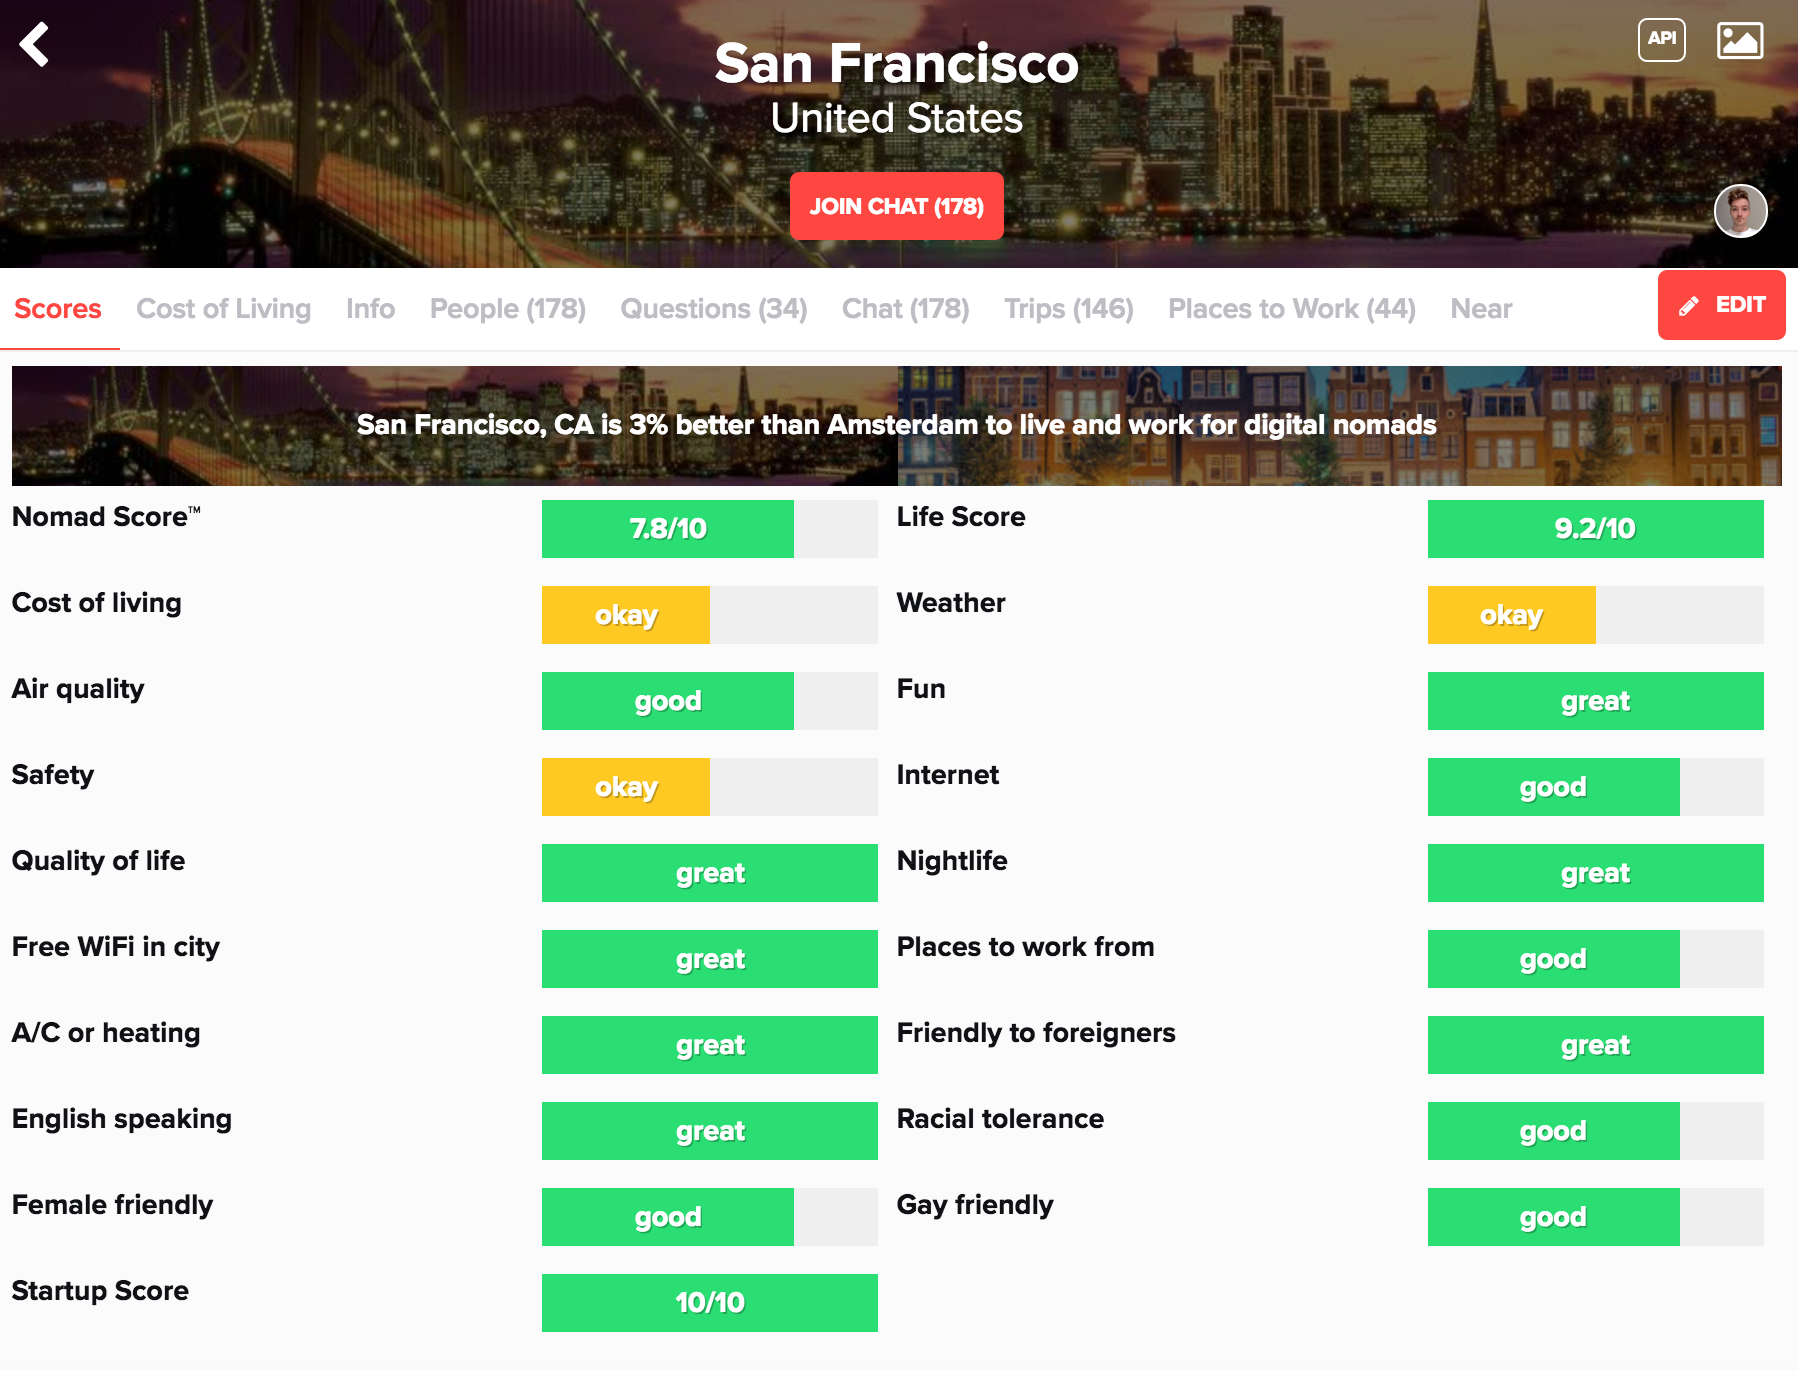
The robots will scour the page looking for these HTML tags to find an image they can use to show with this tweet or Facebook post. And if you don’t have an image set, it’ll just look like this:
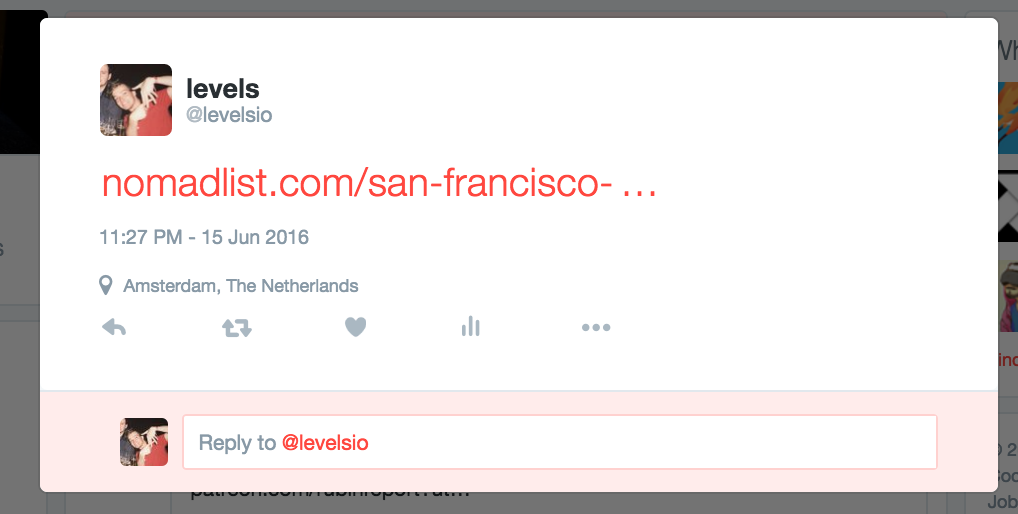
Pretty boring, right? Who shares this?
So you need an image! But how are you going to generate a picture for that page? Many sites simply show a screenshot of the page (like Product Hunt does when you share something). But for Nomad List, I wanted something more eye-catching and visual. So I made this:
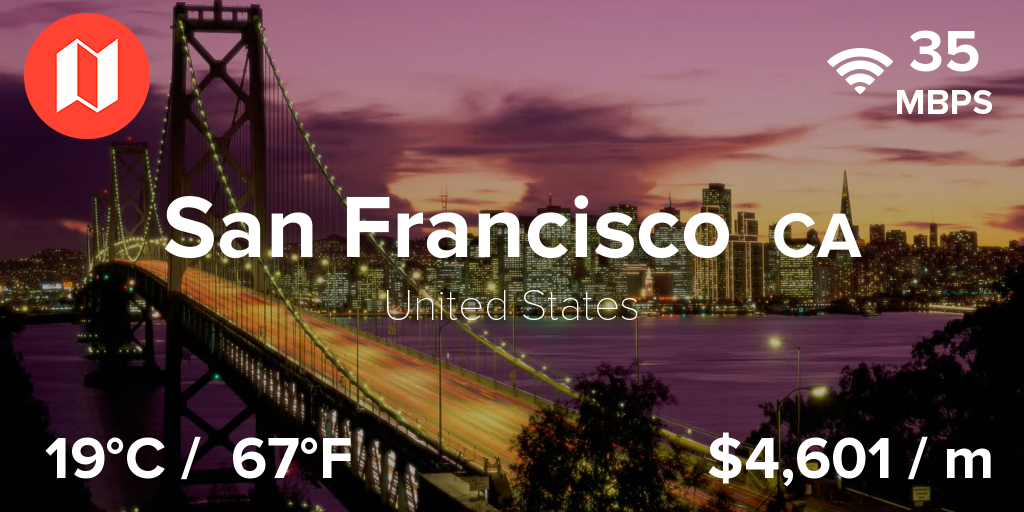
It’s almost the same as what you see on the main page of Nomad List, a little box full of data about the city with the city’s name clearly in the center.
I could make this in HTML, but how the hell do I make this in a PNG or JPG file?
I was thinking of generating it dynamically with Imagemagick, as in like pseudo-code this:
load image San Francisco
draw image San Francisco at x=0 y=0
draw text San Francisco at x=0 y=150 but center (oh fuck this is never going to work)
So INSTEAD….I used PhantomJS.
What is PhantomJS
Well, PhantomJS is great! It’s like your own browser. But then you can use it as a robot. It runs JavaScript and to make a screenshot of page just write this into a file called “script.js”:
var page = require(‘webpage’).create();
page.open(‘http://levels.io’, function() {
page.render(‘levelsio.png’);
phantom.exit();
});
Then you run PhantomJS:
phantomjs script.js
And there’s a file called levelsio.png:
But HEY! This isn’t what we wanted. We wanted not to have a screenshot, but instead have our own little dynamic image based on data from our page. You know, so people could share it.
Let’s make it
We make a page first with the background spanning the entire HTML page. It doesn’t matter if it looks the wrong size, as the background will expand to the size of your browser window.
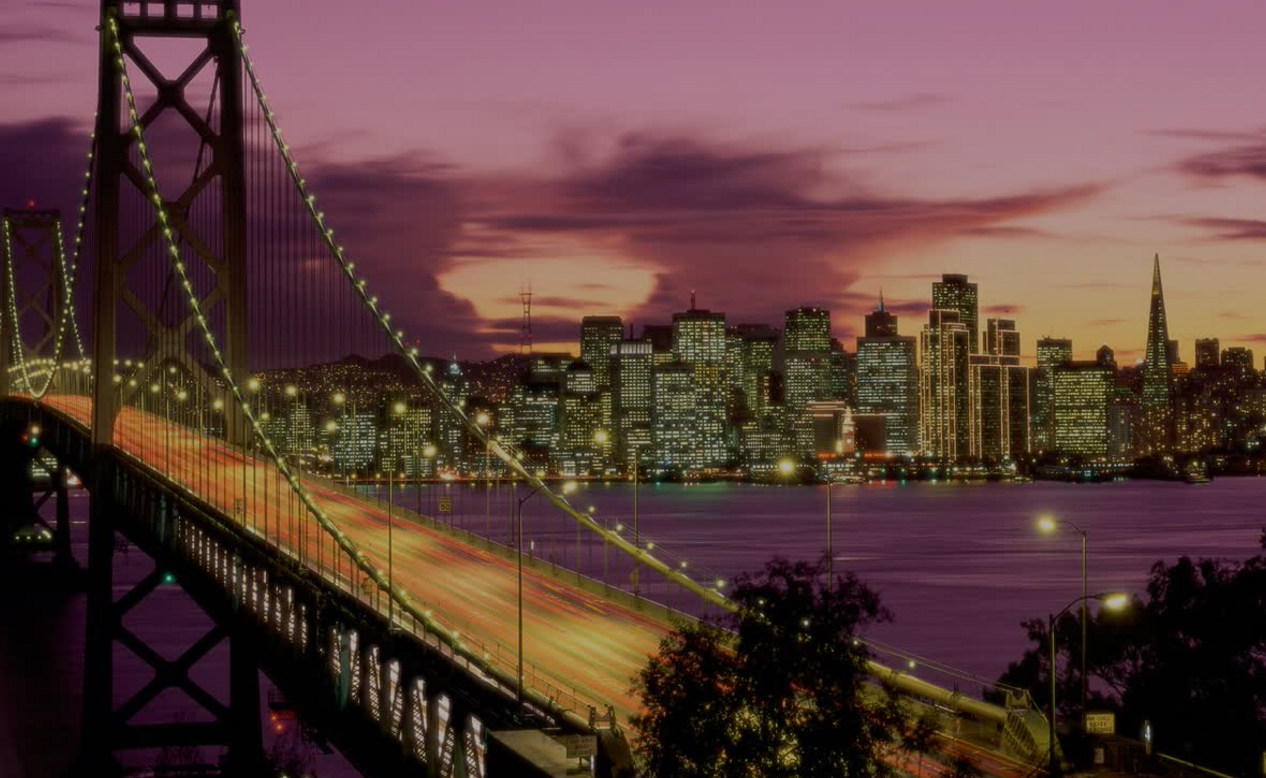
It’s simply a
position:fixed;
background-image: url(‘/assets/img/cities/san-francisco-ca-united-states-1500px.jpg’);
background-size: cover;
background-position: center;
width: 100%;
height: 100%;
top: 0;
left: 0;
z-index: 0;
It’s “fixed” in position, so it doesn’t move if it scrolls. Because we don’t really want this page to be scrollable. The size is 100% so it extends to the whole browser. And it’s stuck to the top:0 and left:0, so top-left. The z-index is 2.
Now let’s add some data from the city page. I use PHP to open my database to get my data, and then fill it in. First starting with the cost of living in the bottom right:
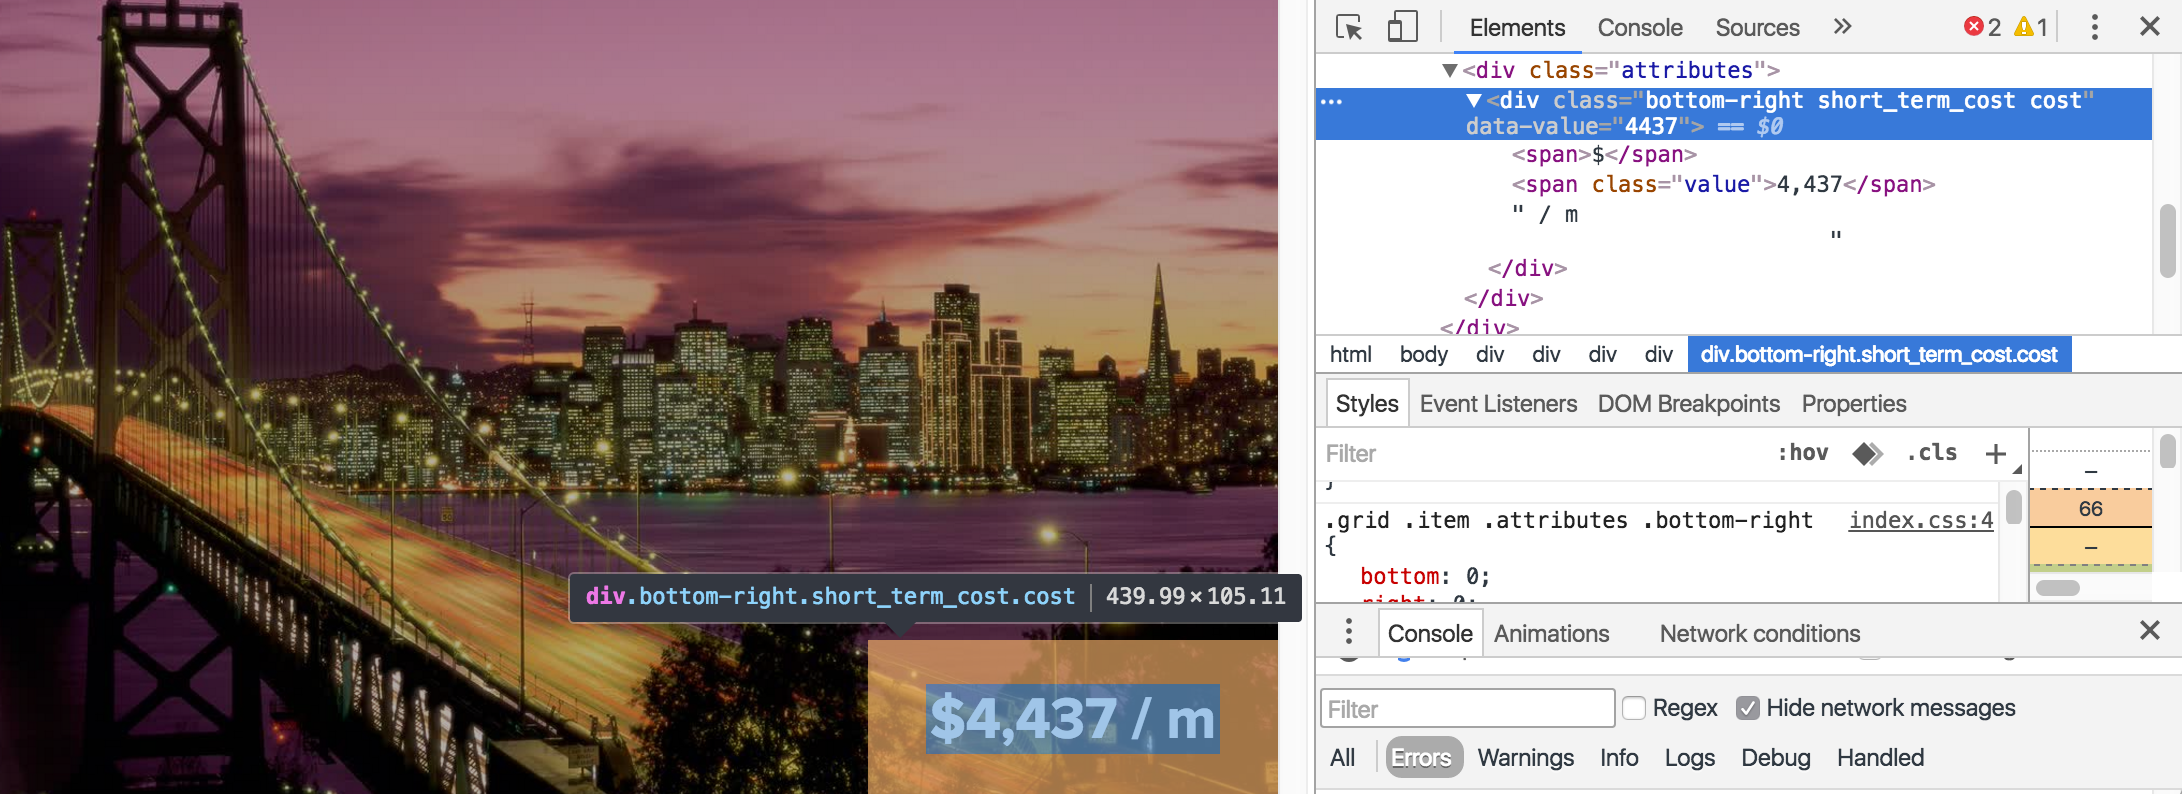
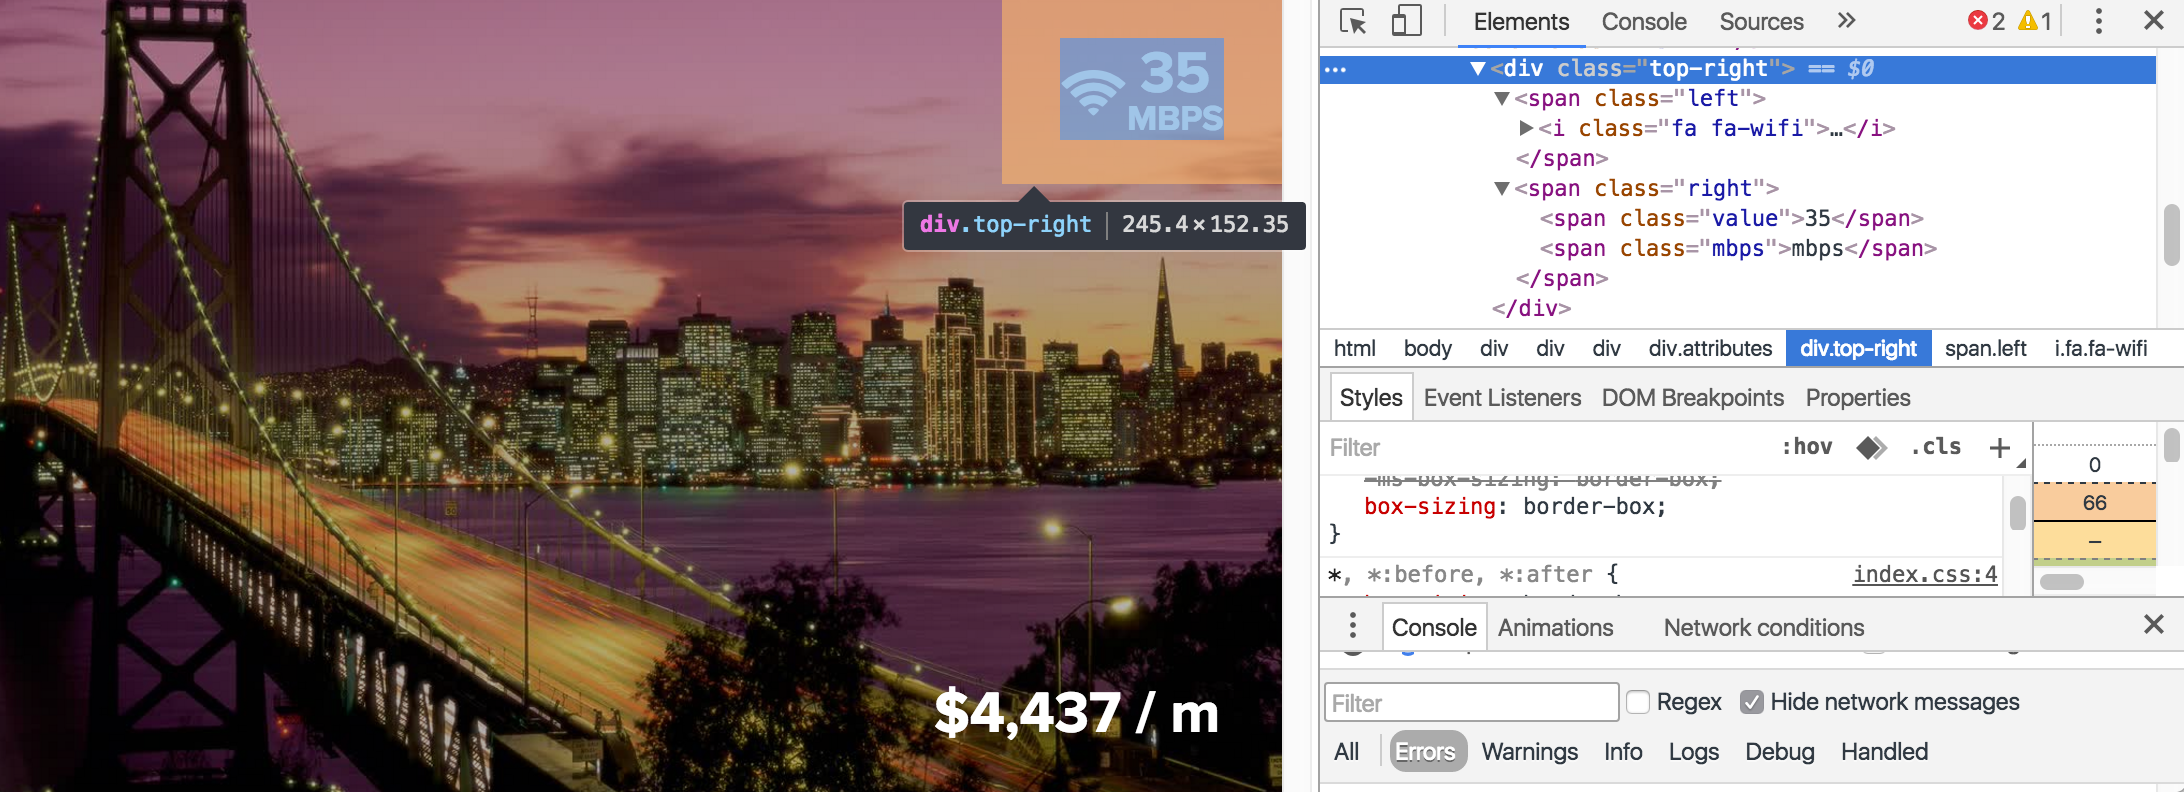
Then I add the internet speed. The little WiFi icon is from Font Awesome.
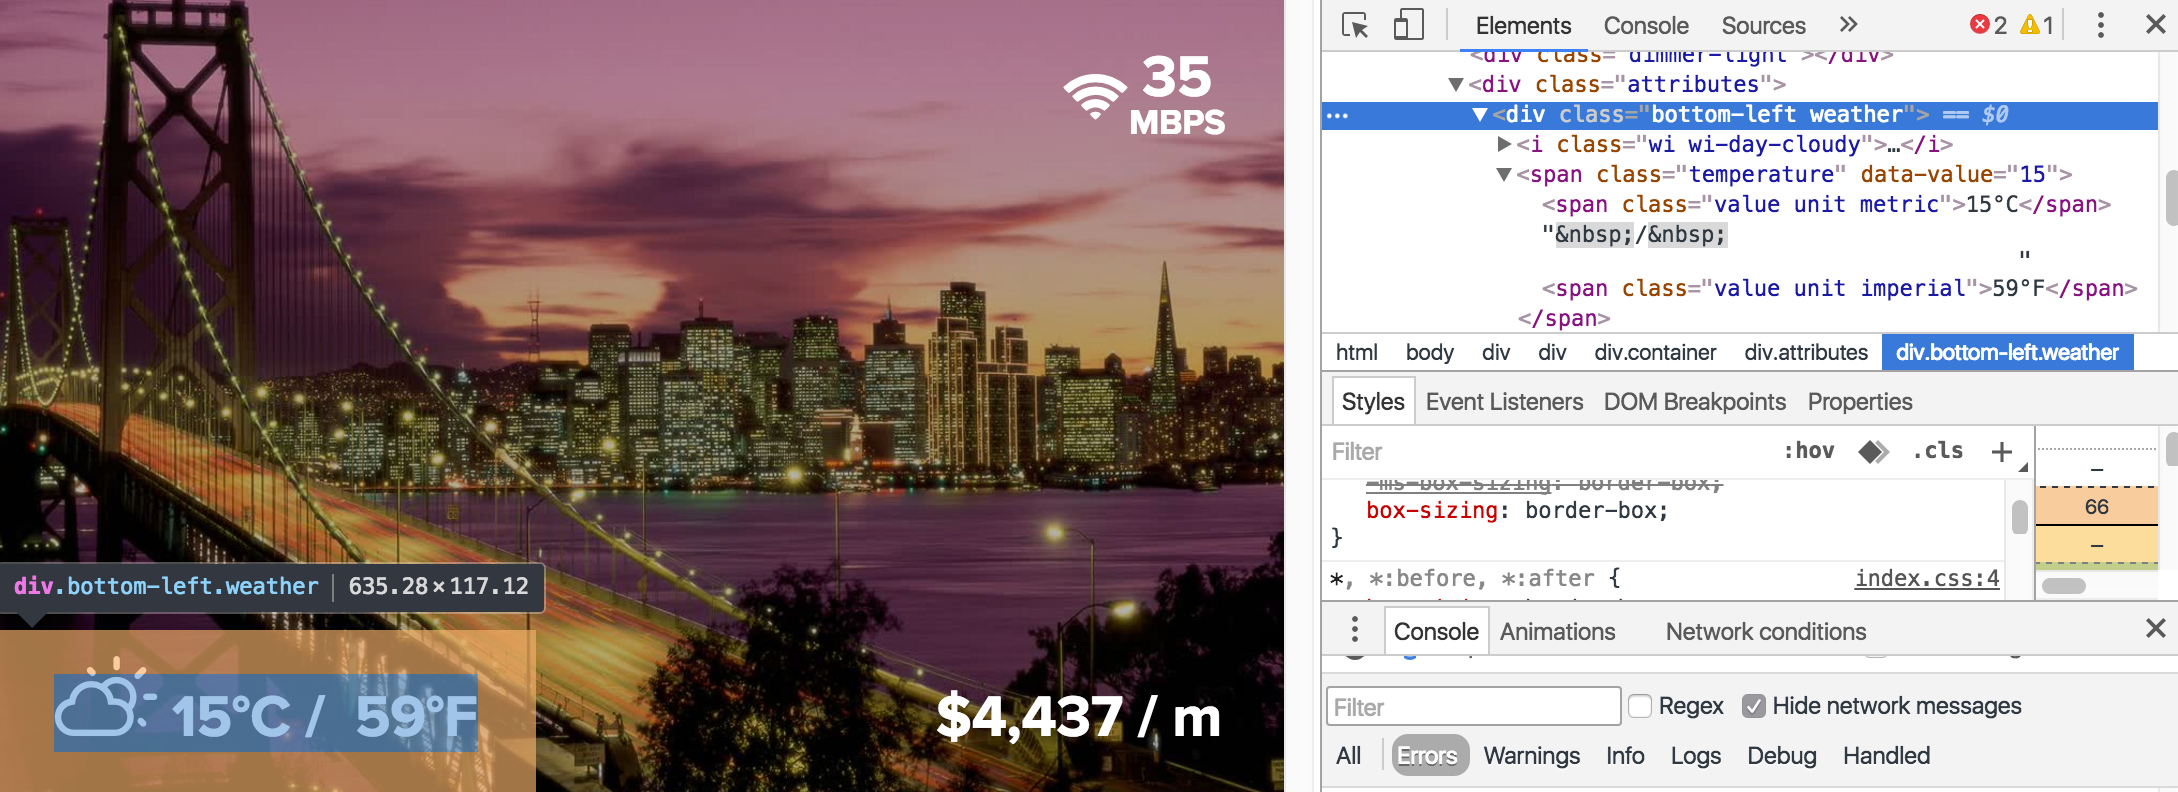
Then let’s add the weather:
And finally instead of the city’s ranking in the top left (as I do on the Nomad List site), I put the logo of my site. Because I know this will be shared on other sites, so it’d good to make some recognizable branding:
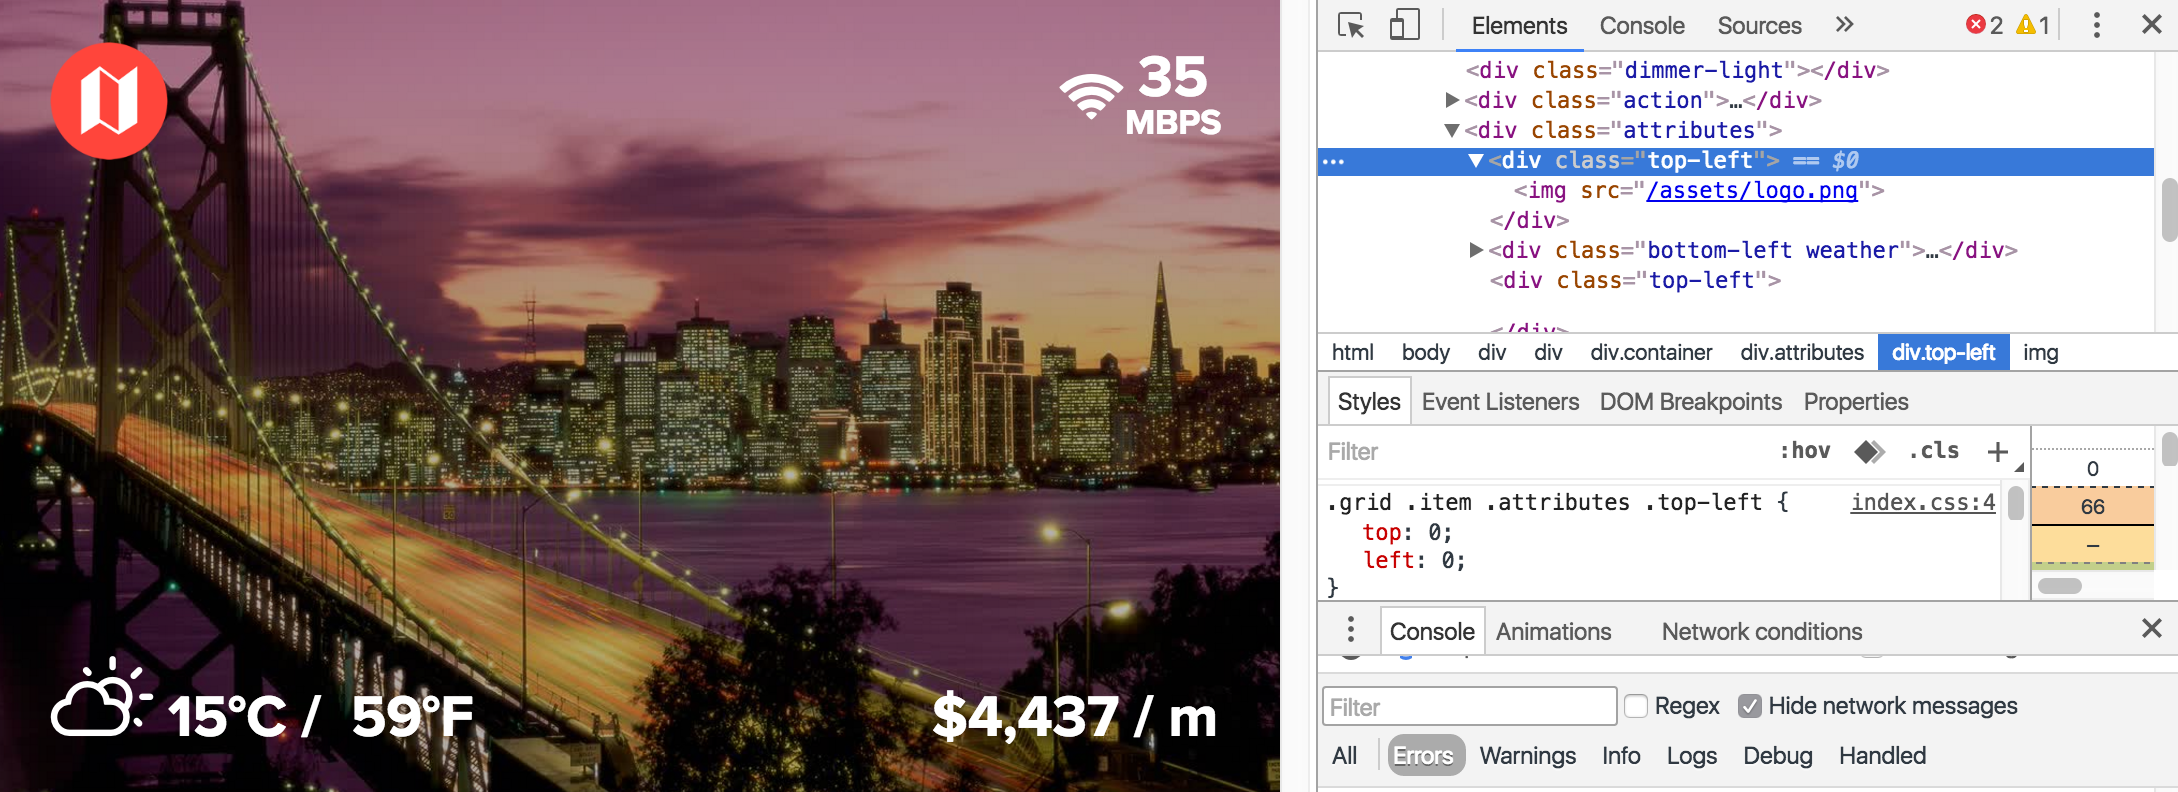
And then finally the city name and country:
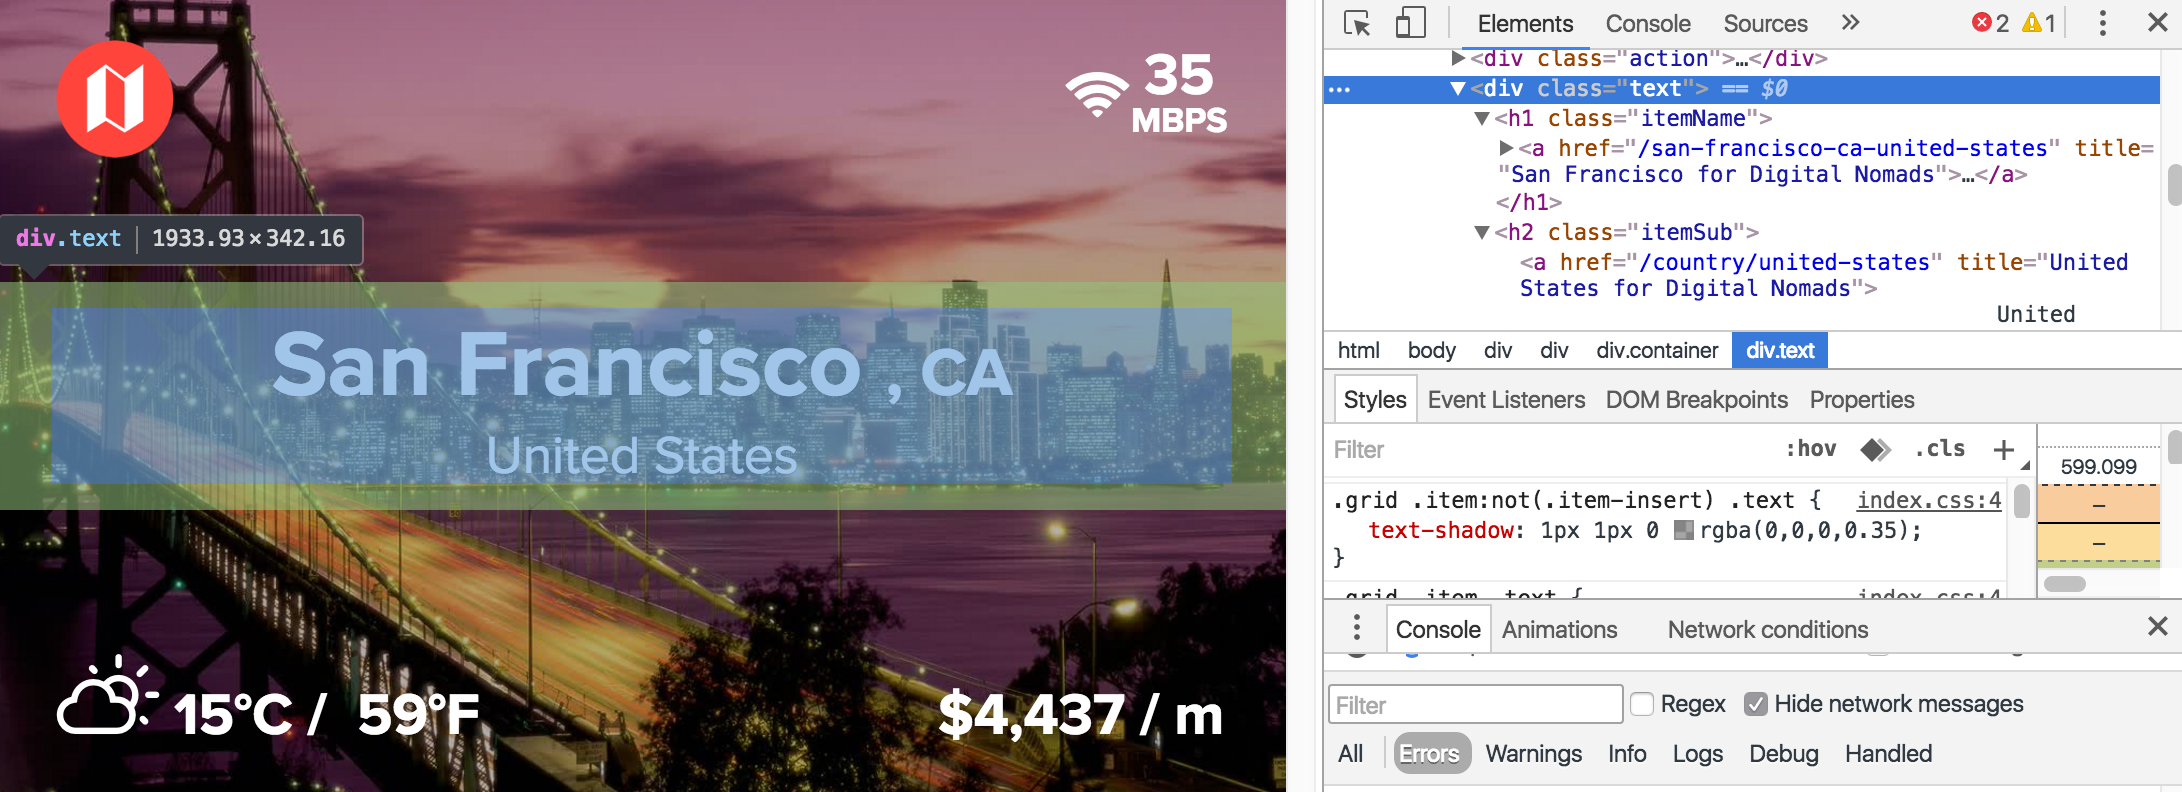
It’s all just very simple plain CSS. I host this page at https://nomadlist.com/generate/cards/san-francisco-ca-united-states publicly. But we want this as an image, not a site!
Let’s render it with PhantomJS as a picture
So now for the fun part! Let’s generate it with PhantomJS. To do more advanced screenshots of pages, PhantomJS made a sample script called “rasterize.js” which I use.
I execute it like this:
phantomjs rasterize.js “https://nomadlist.com/generate/cards/san-francisco-ca-united-states” san-francisco.png 1024*512px 1
It will open the page, make a screenshot of it in 1024×512 at zoom level 1. You can adjust the zoom level to 0.5 or 2 or whatever you want, to make sure you generate the right view of your image page.
It then generates a file called san-francisco.png:

HTML
Now you have to put this in HTML, so that all the sites know where to find your share image:
There’s a lot of repetition but that’s how it works. Most sites use “og:image” to find the shareable image of the site. Twitter uses “twitter:image:src”. And as a last back up the more “standard” way to set it is “image_src”.
Which on Facebook looks like this:
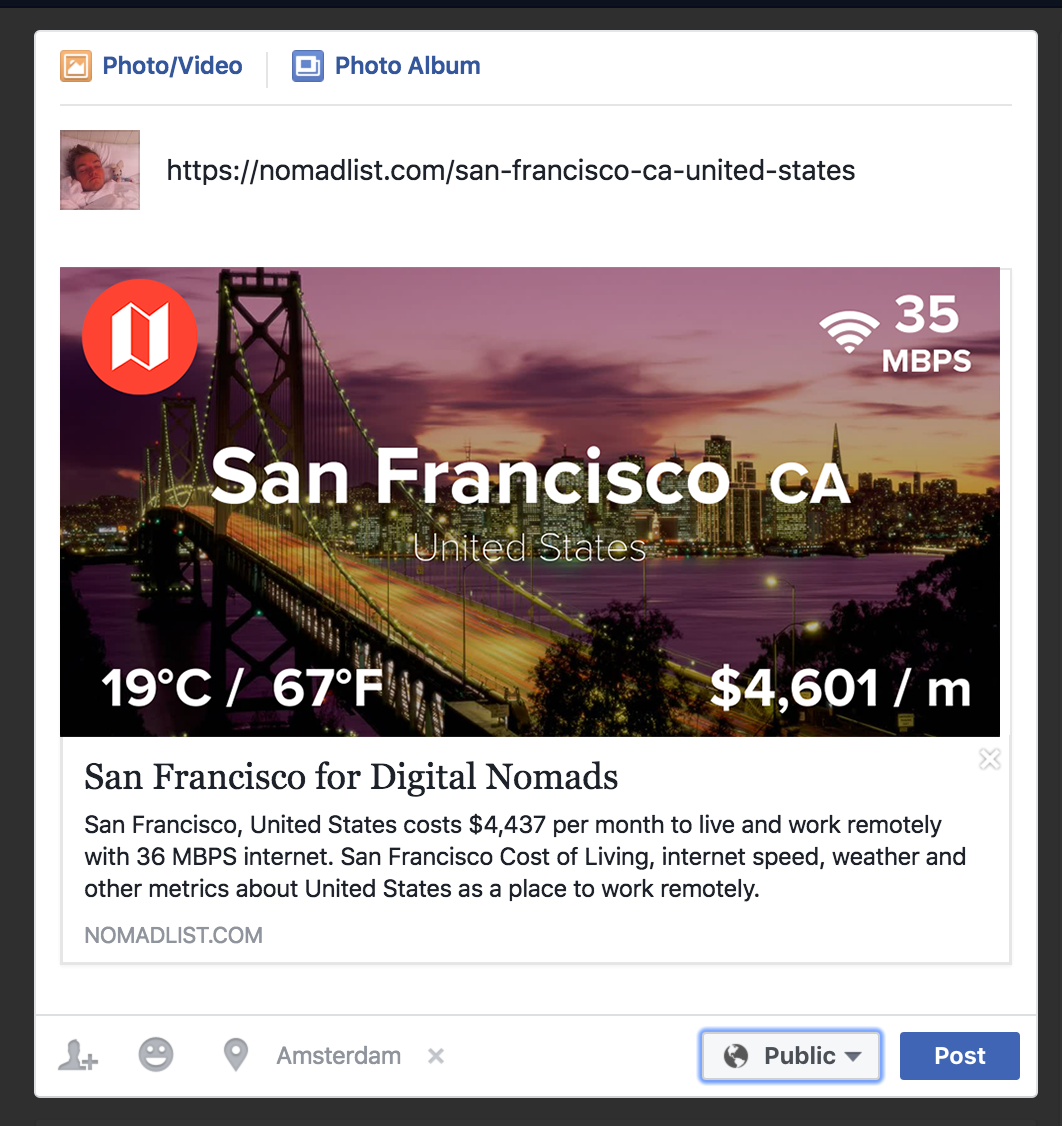
And on Twitter:
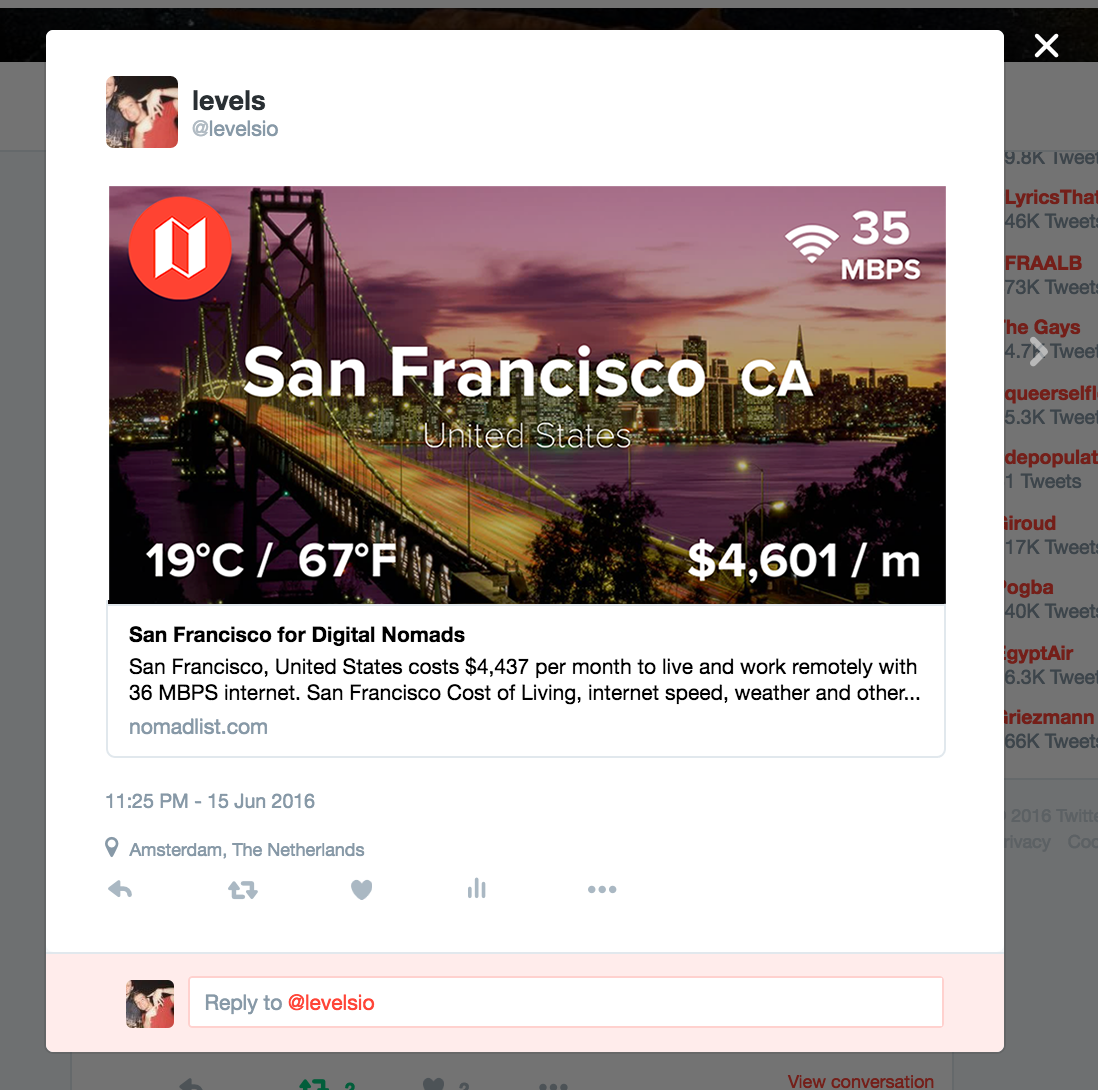
Much better!
A few more details on the practicalities.
When do you start PhantomJS to generate pics?
I used to schedule it to generate new images every day. I used a simple cron scheduler on my server to open up a PHP script which for each city launched PhantomJS and generated a pic.
A better way to do it is to make the “og:image”, “twitter:image:src” and “image_src” dynamic. That means, instead of putting an actual image in the URL, just write a page that’s a script. Then let that script check if the image for that page is not old yet (stale, as they call it) and show that one. If it is old and out-dated (like 7 days old), show the old image but launch PhantomJS to refresh it for the next time it’s loaded!
It doesn’t work on Twitter!
Sometimes Twitter is difficult with what pictures it will show. To see what’s going wrong, use the Twitter Card Validator.
It doesn’t work on Facebook
Same here, use the Facebook Sharing Debugger to figure out why it doesn’t work.
Conclusion
I hope this helped! Because it’s a bit unfair to see all these cool sites have cool pics, but you being left out! Have fun, good luck 🙂
P.S. I'm on Twitter too if you'd like to follow more of my stories. And I wrote a book called MAKE about building startups without funding. See a list of my stories or contact me. To get an alert when I write a new blog post, you can subscribe below: