A few months ago I set myself the challenge to recreate this photo (shot by Masashi Wakui)

By modeling it in 3d!
At the end I had this (I promise no IRL cats were harmed in the process, VR cats were DEFINITELY harmed and possibly killed though):
This 3d challenge turned into a month-long personal adventure which brought me all across the world to Tokyo and back: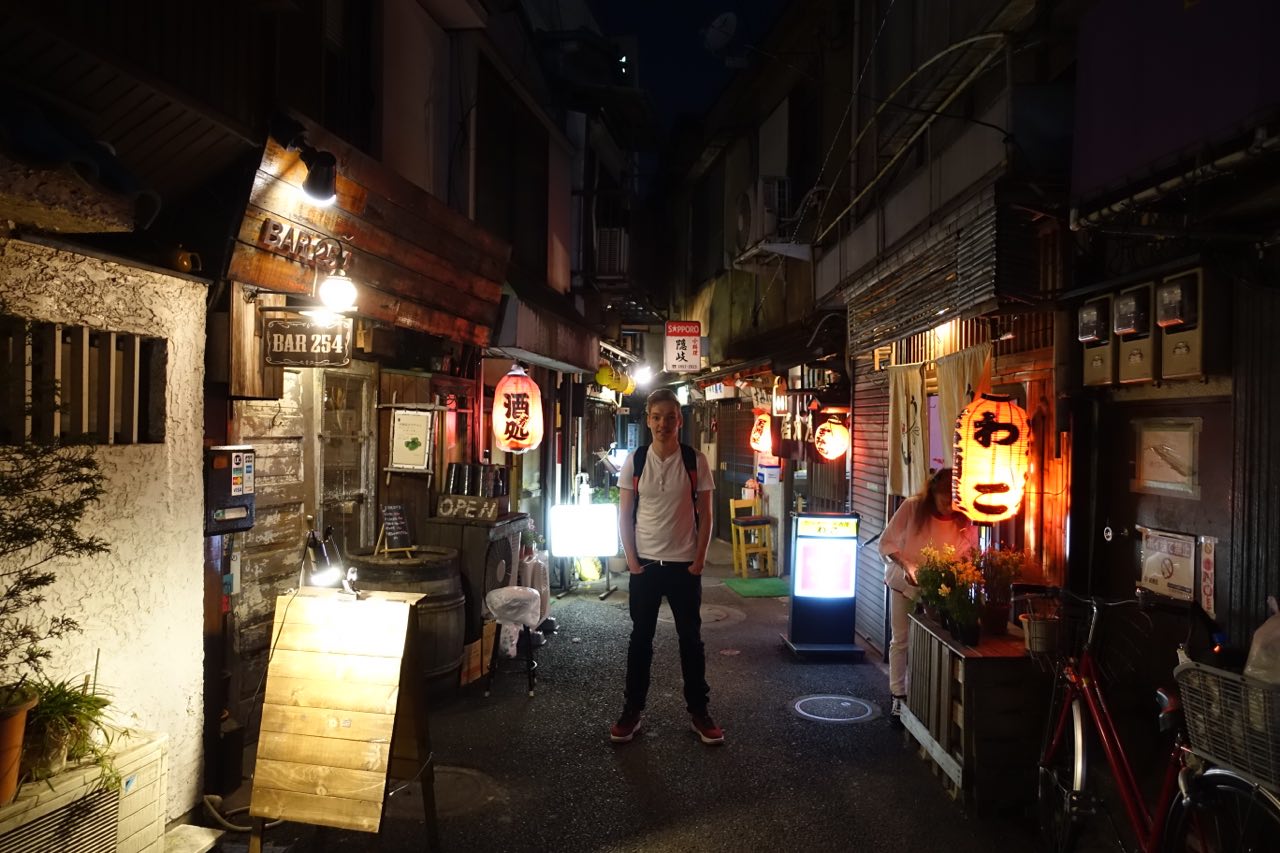
And after a few months, I could now walk in my street in VR!
I’ll tell you about that later in this post. Now read!
Why?
Well, I had never done any 3d before. I’ve coded and designed web apps like Nomad List. I’ve produced electronic music. But I’ve never made 3d.
The rise of virtual reality is going to change things in the next decade. First we’ll see it in gaming. But quickly after, it will take over all software interfaces.
Why have a flat 2d dashboard when we can see our data visualized around us?
And think about content. Who needs a New York Times text article telling us about the destruction of Palmyra in Syria, when we can transport ourselves there and experience what happened in immersive 3d?.
I am very aware how new paradigms can make your skills irrelevant overnight. So I felt it was time to install my own human firmware upgrade and learn 3d.
Help! Where do I start?
Where do you start though if you never did any of this?
Before doing anything I wanted to think about how I’d approach this. In web development, I don’t do things in the proper way (e.g. I don’t use SASS, Grunt, Gulp, Node.JS, Meteor or React), instead I’m extremely pragmatic. I use a text editor and I write plain code. It’s simple and fast and works for me. I wanted to do the same while making 3d.
Another thing was that I learn better from practice, not theory. Doing courses on stuff makes me “know” about how to do things but I won’t learn how to actually do the things. That’s why I wanted to dive straight in with a project like this. It had a specific end goal: “does the 3d scene look like the photo?”, if “no”: go to start, if “yes”: you win!
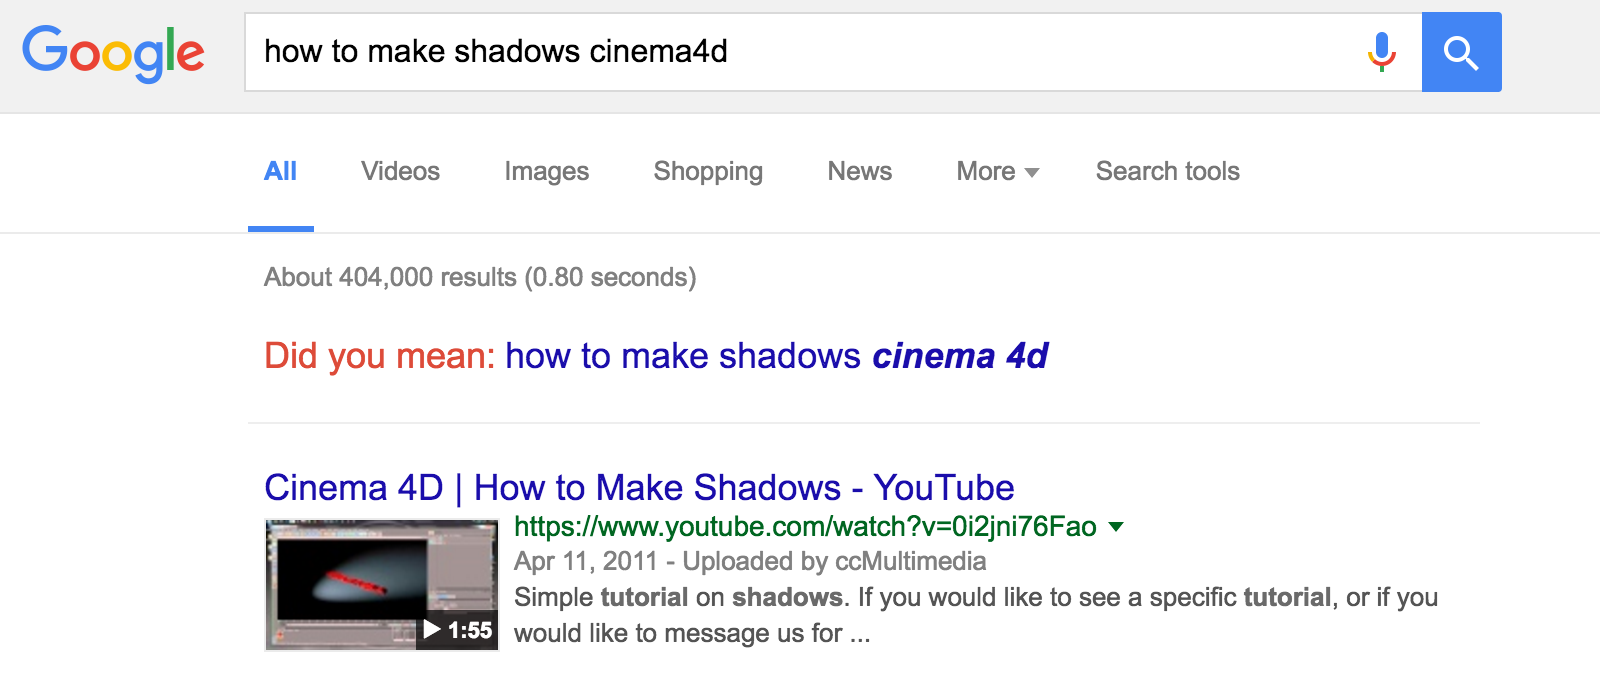
If I wouldn’t know something, I’d simply Google it. Every single thing. That’s what I did to learn coding, and that’s what I will do to learn 3d:
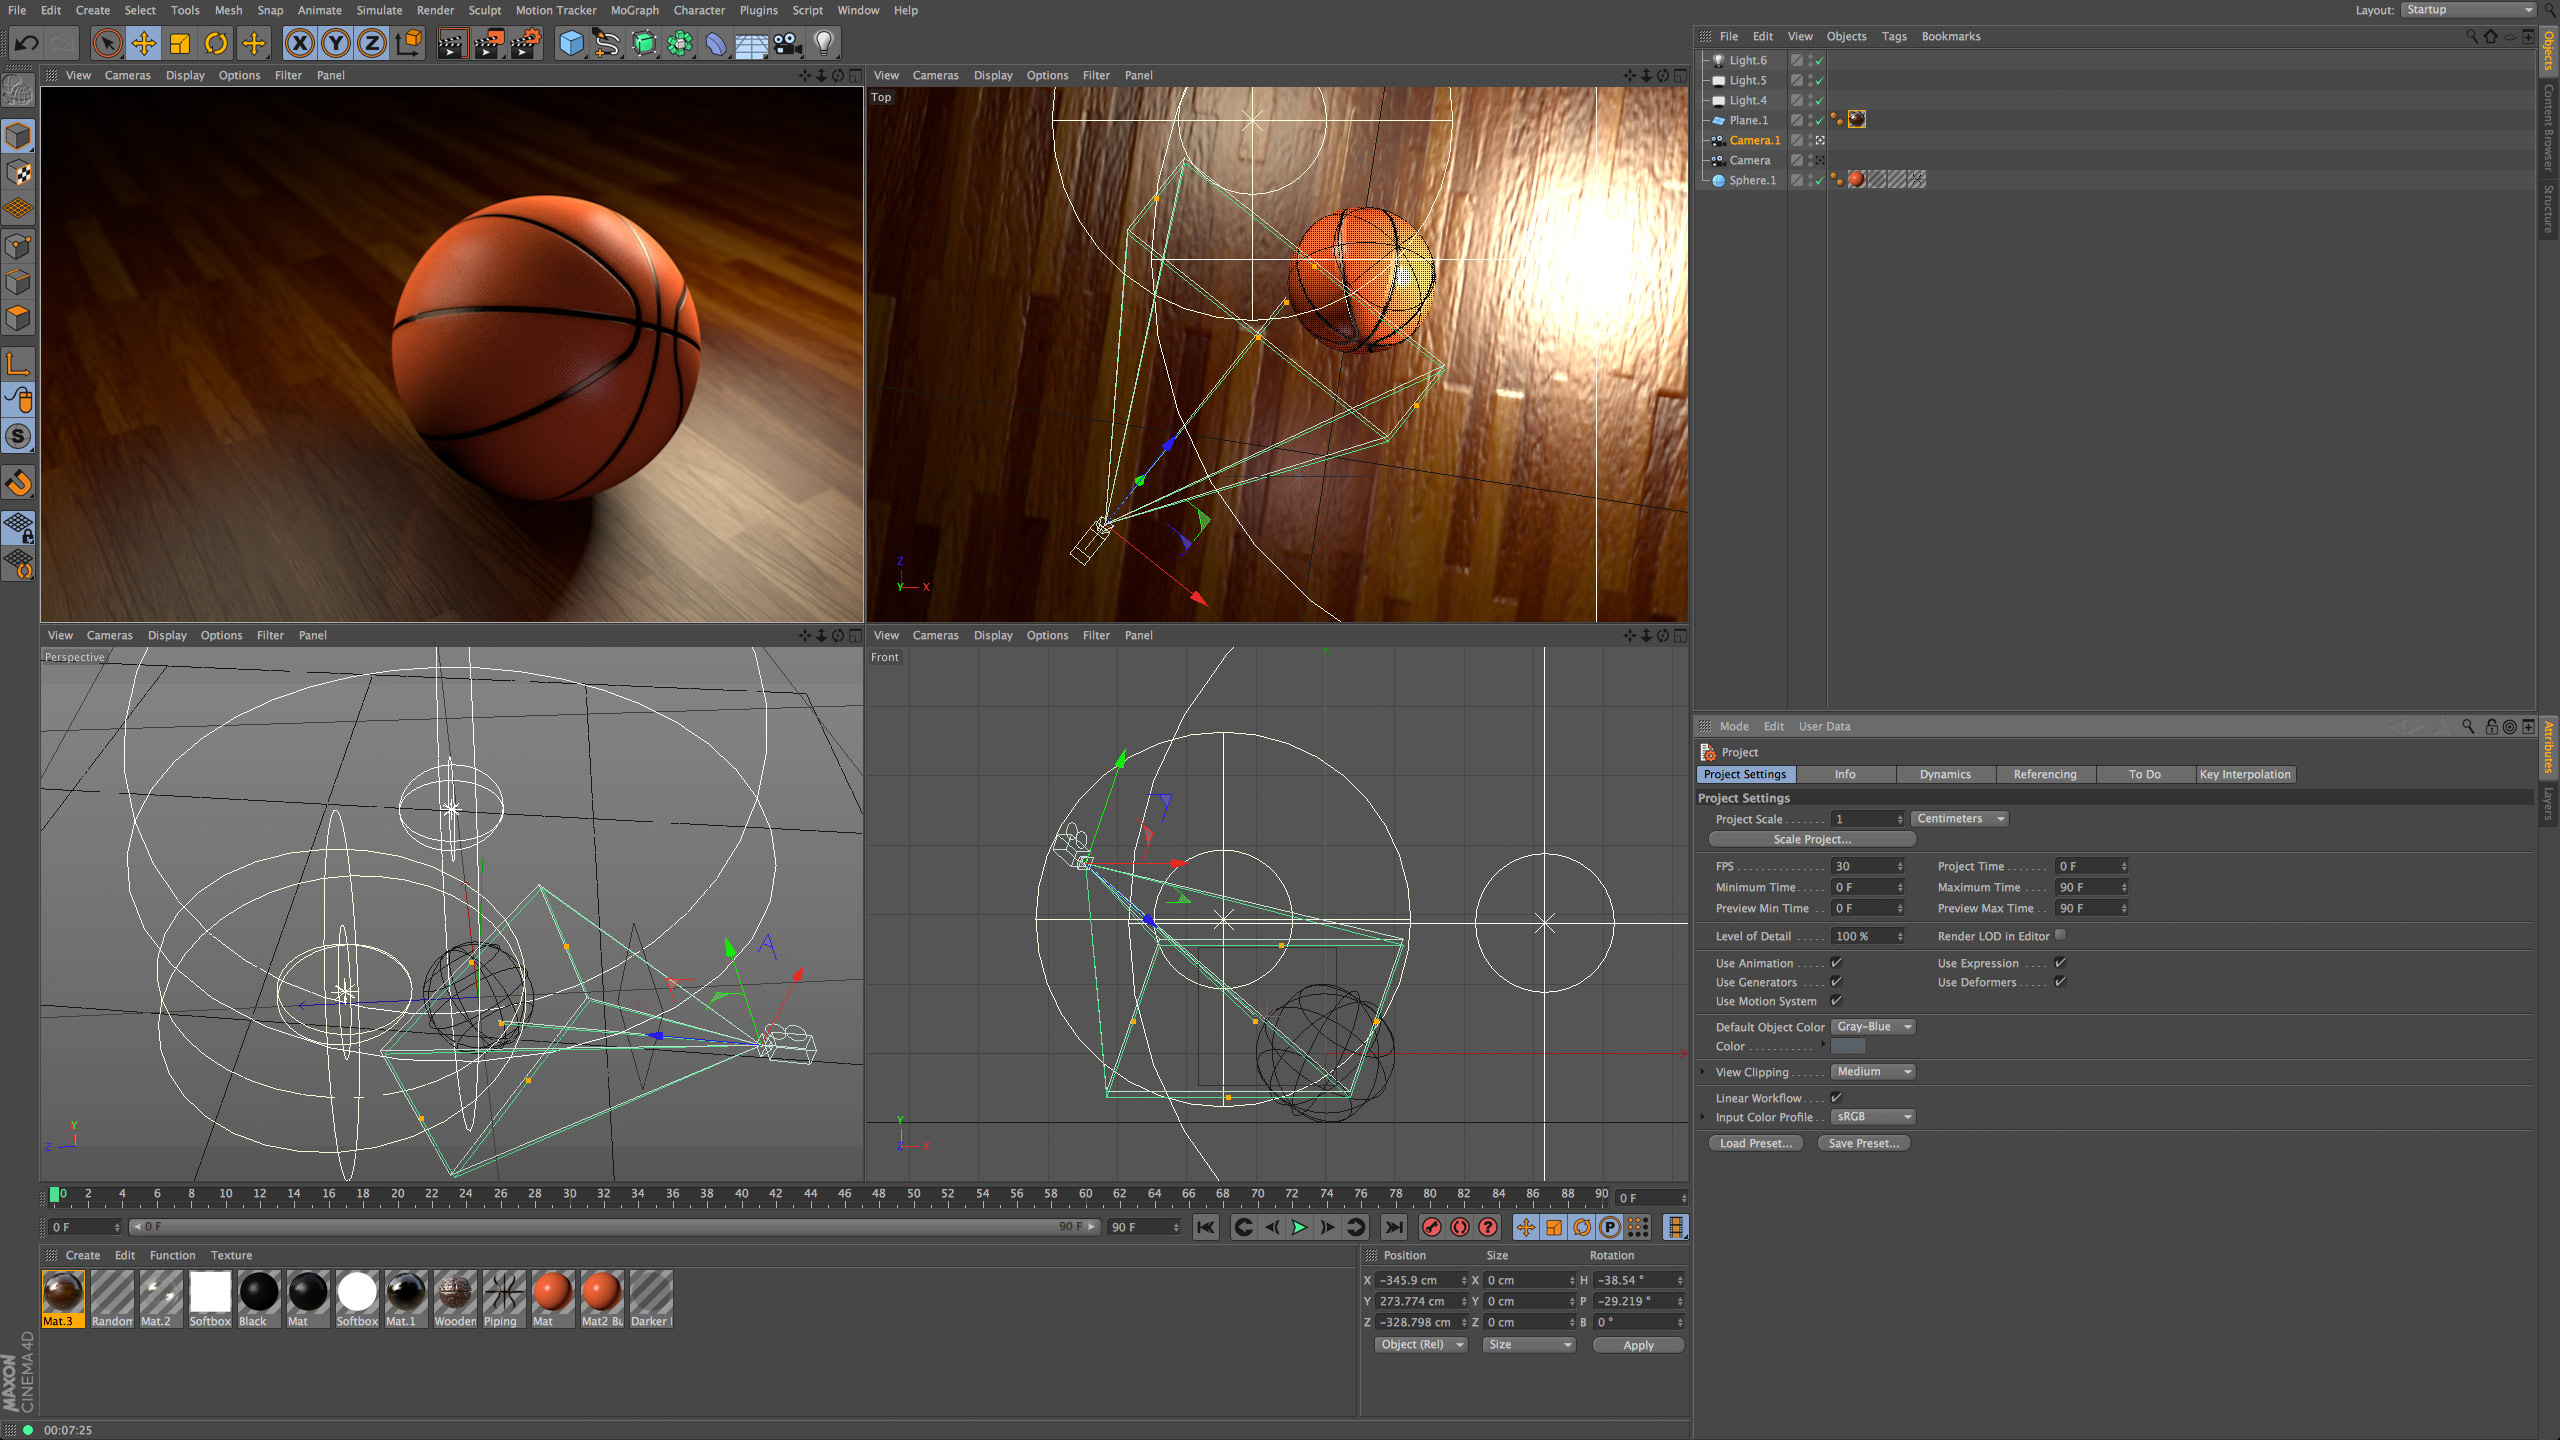
I knew the existence of 3d software like Maya and 3d Studio Max. But they seemed like Java and C++ to me. Great for pros, but not simple at all. I wanted to find the JavaScript of 3d. Simple, easy and practical. I found that in Cinema4D and it looks like this:
The joys of 3d development
The great thing about 3d vs. web development is that everything fits in one package.
For newbies in web dev, it’s hard to see how all the different parts fit together. You use HTML to layout, then CSS to style, then JavaScript to do client scripting and a server language to connect to the MySQL database? Help! Luckily, with 3d there’s hardly any parts. Everything is mostly inside your 3d program of choice.
There’s no text editor, no minifier, no compiler, no deploy scripts, no unit tests, no server, no back end, no front end. It’s just one big app with a 3d view and endless amounts of internal panes where you can adjust every little detail of an object, light or scene.
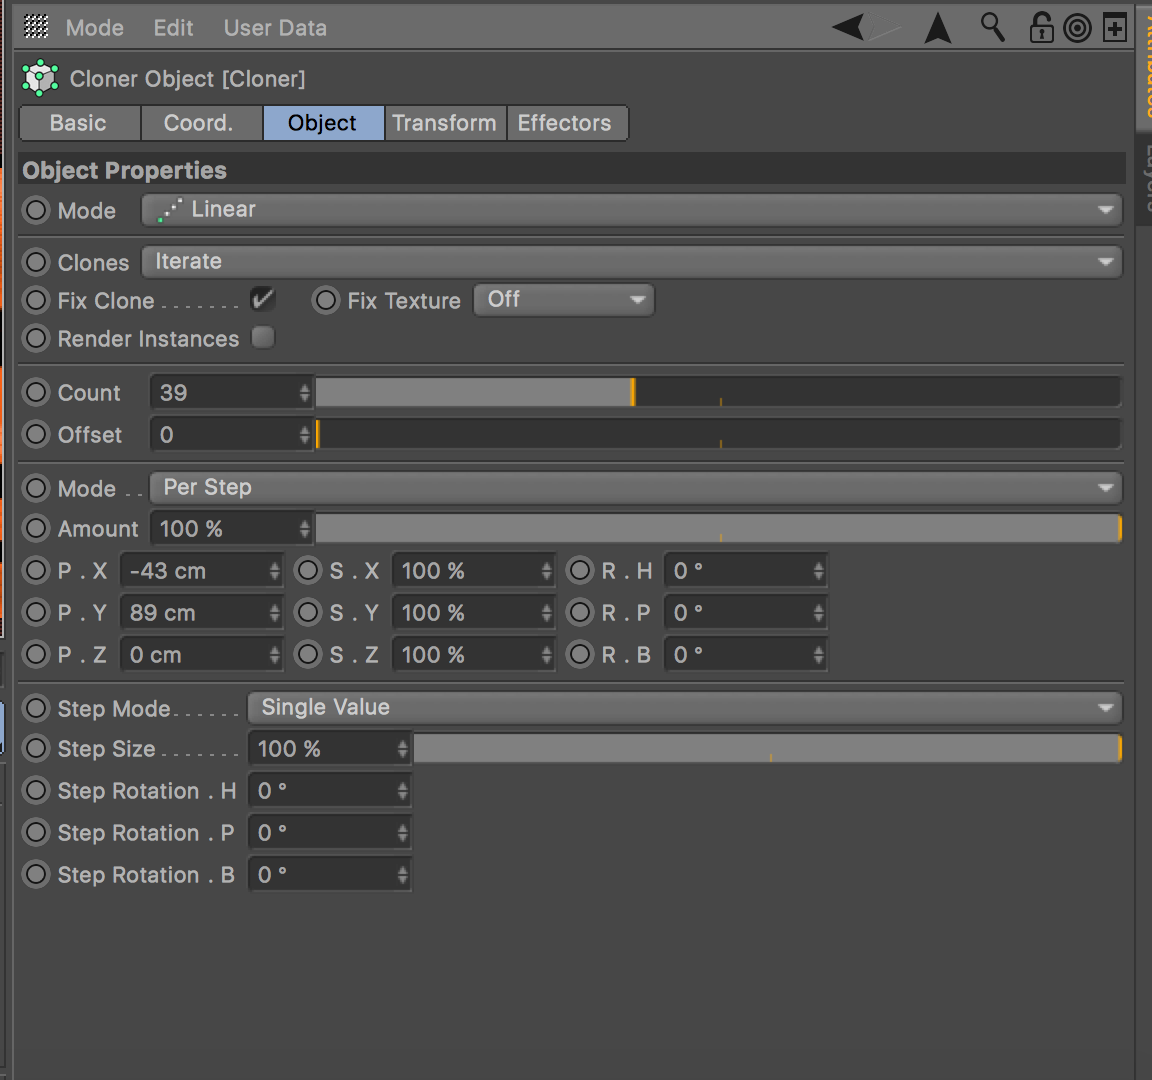
What about deployment? Your deployment is a render. A .jpg picture or a .mp4 video file.
Simple.
P.S. If you don’t want to see the process, click here to skip to the final part.
Modeling
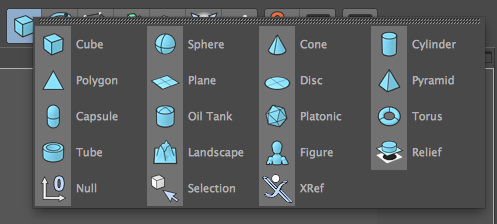
For now though, I wanted to get going. So I installed Cinema4D and opened it. I literally just started modeling by pressing the first button that looked like a cube:
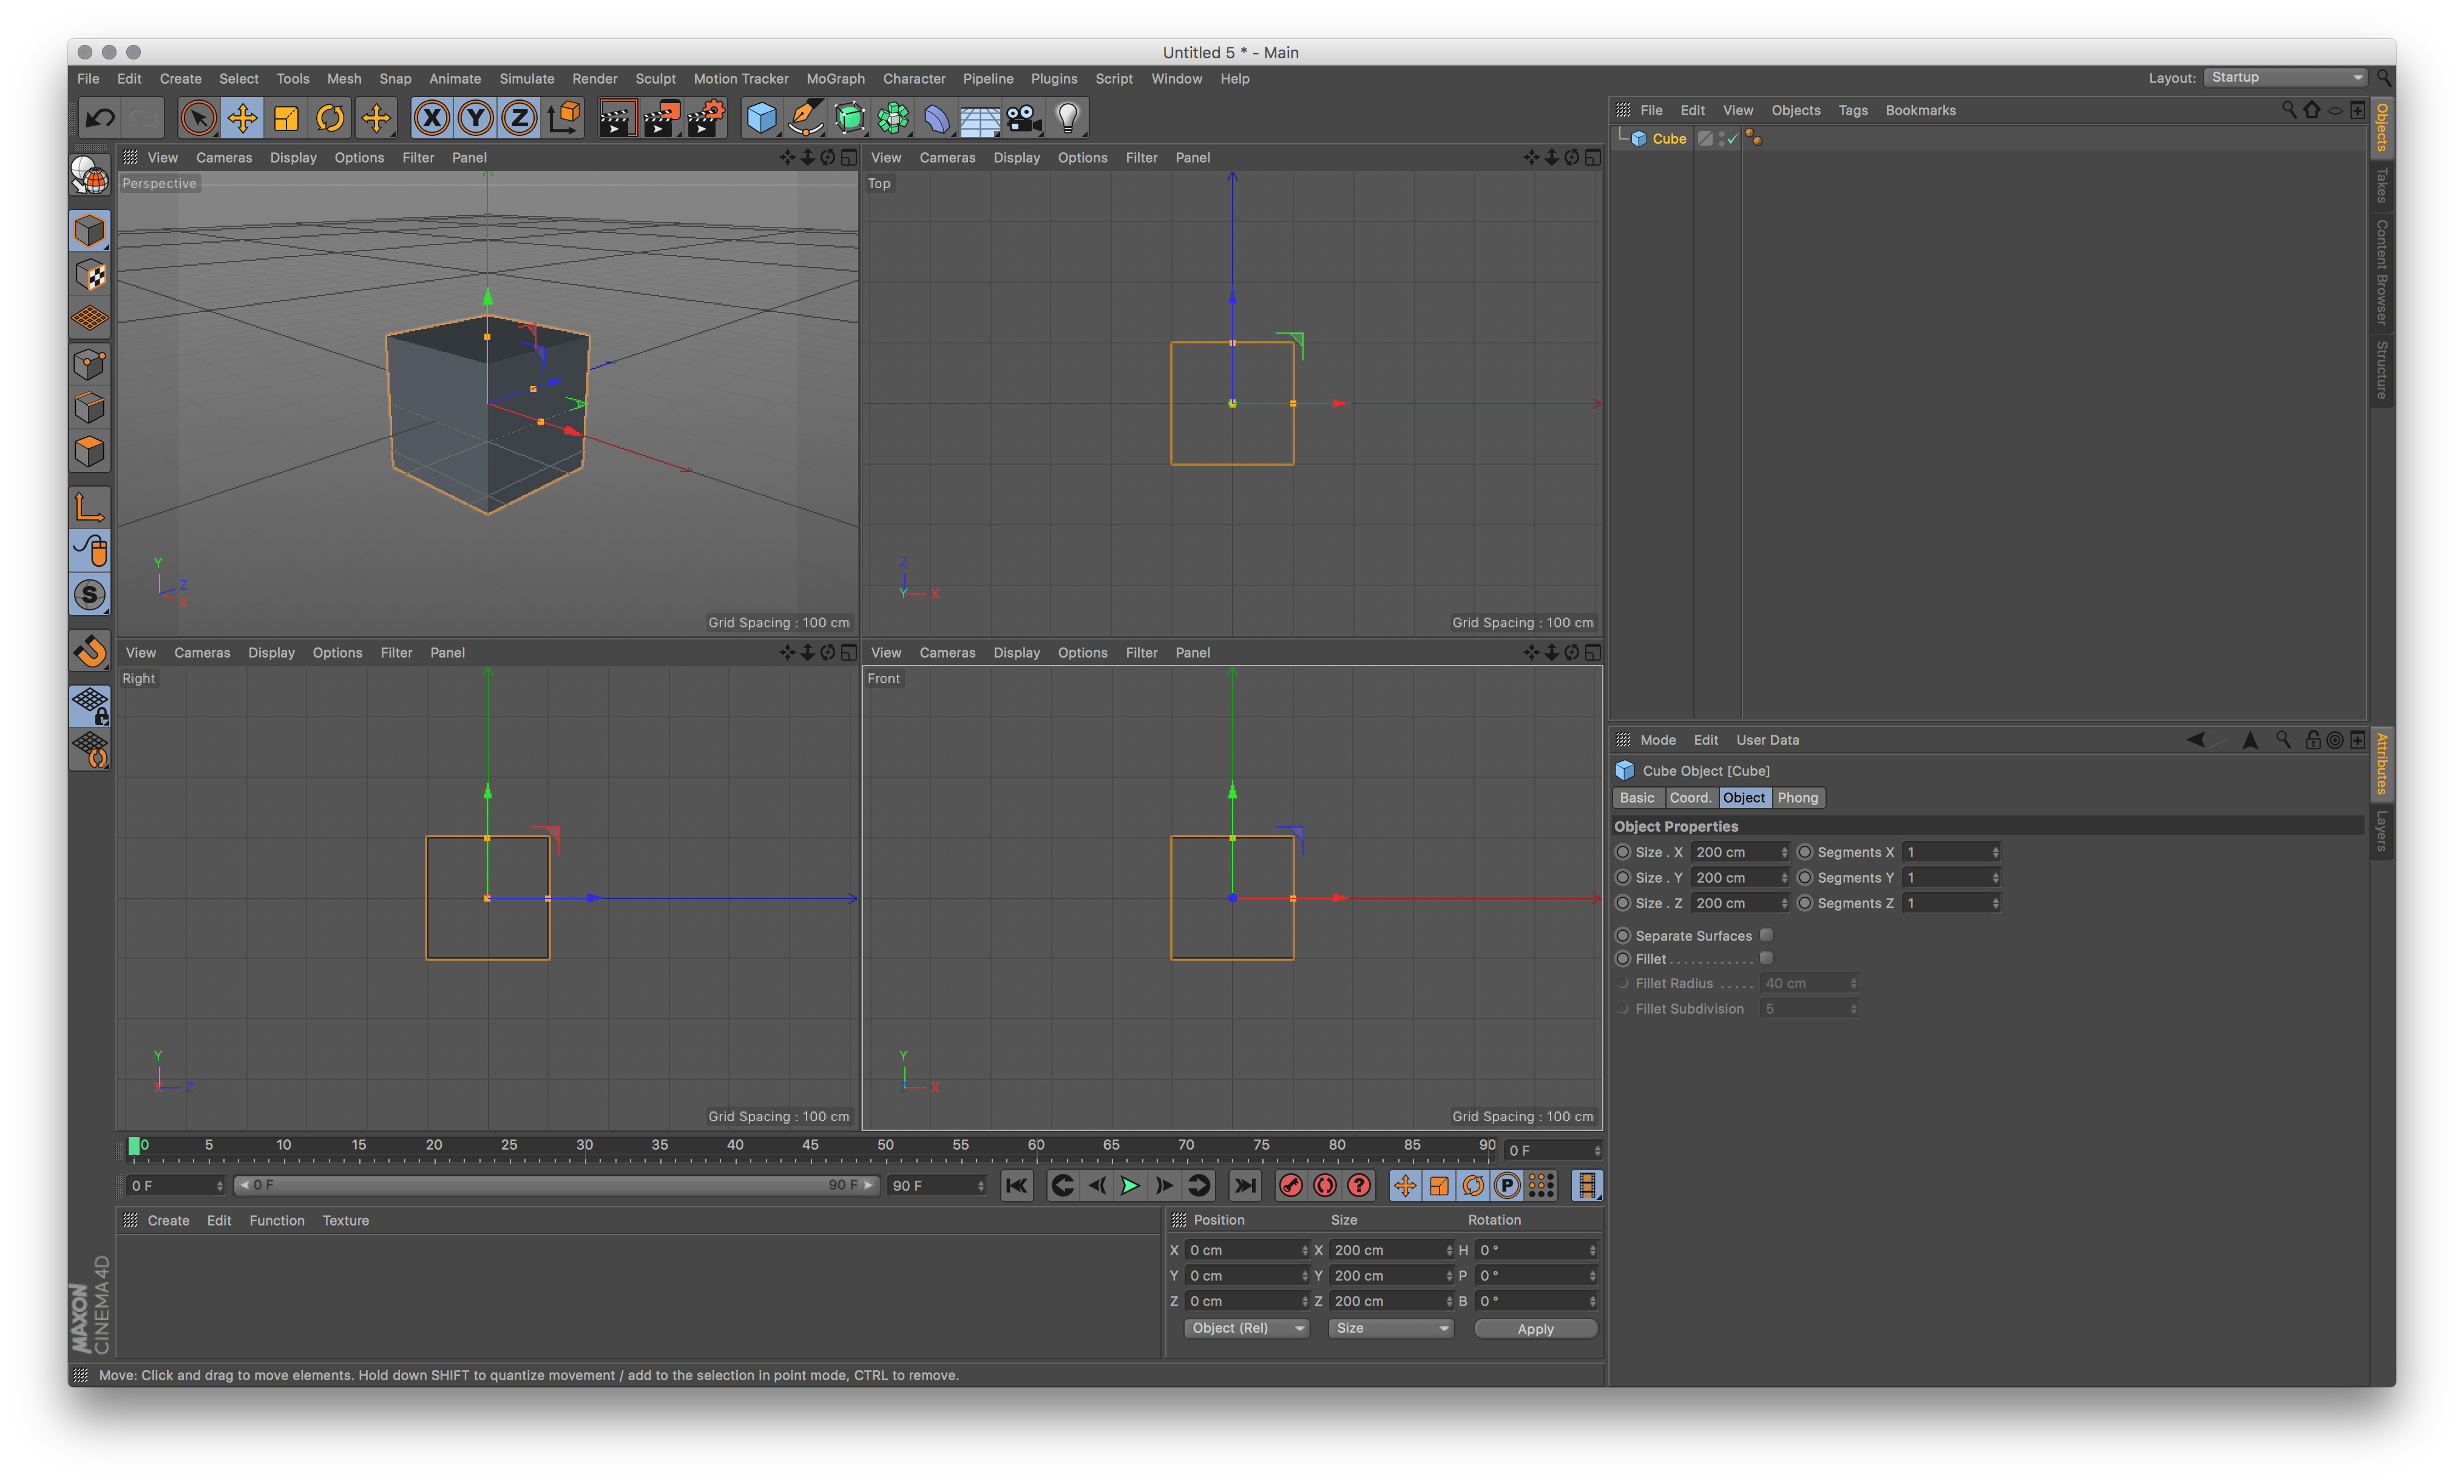
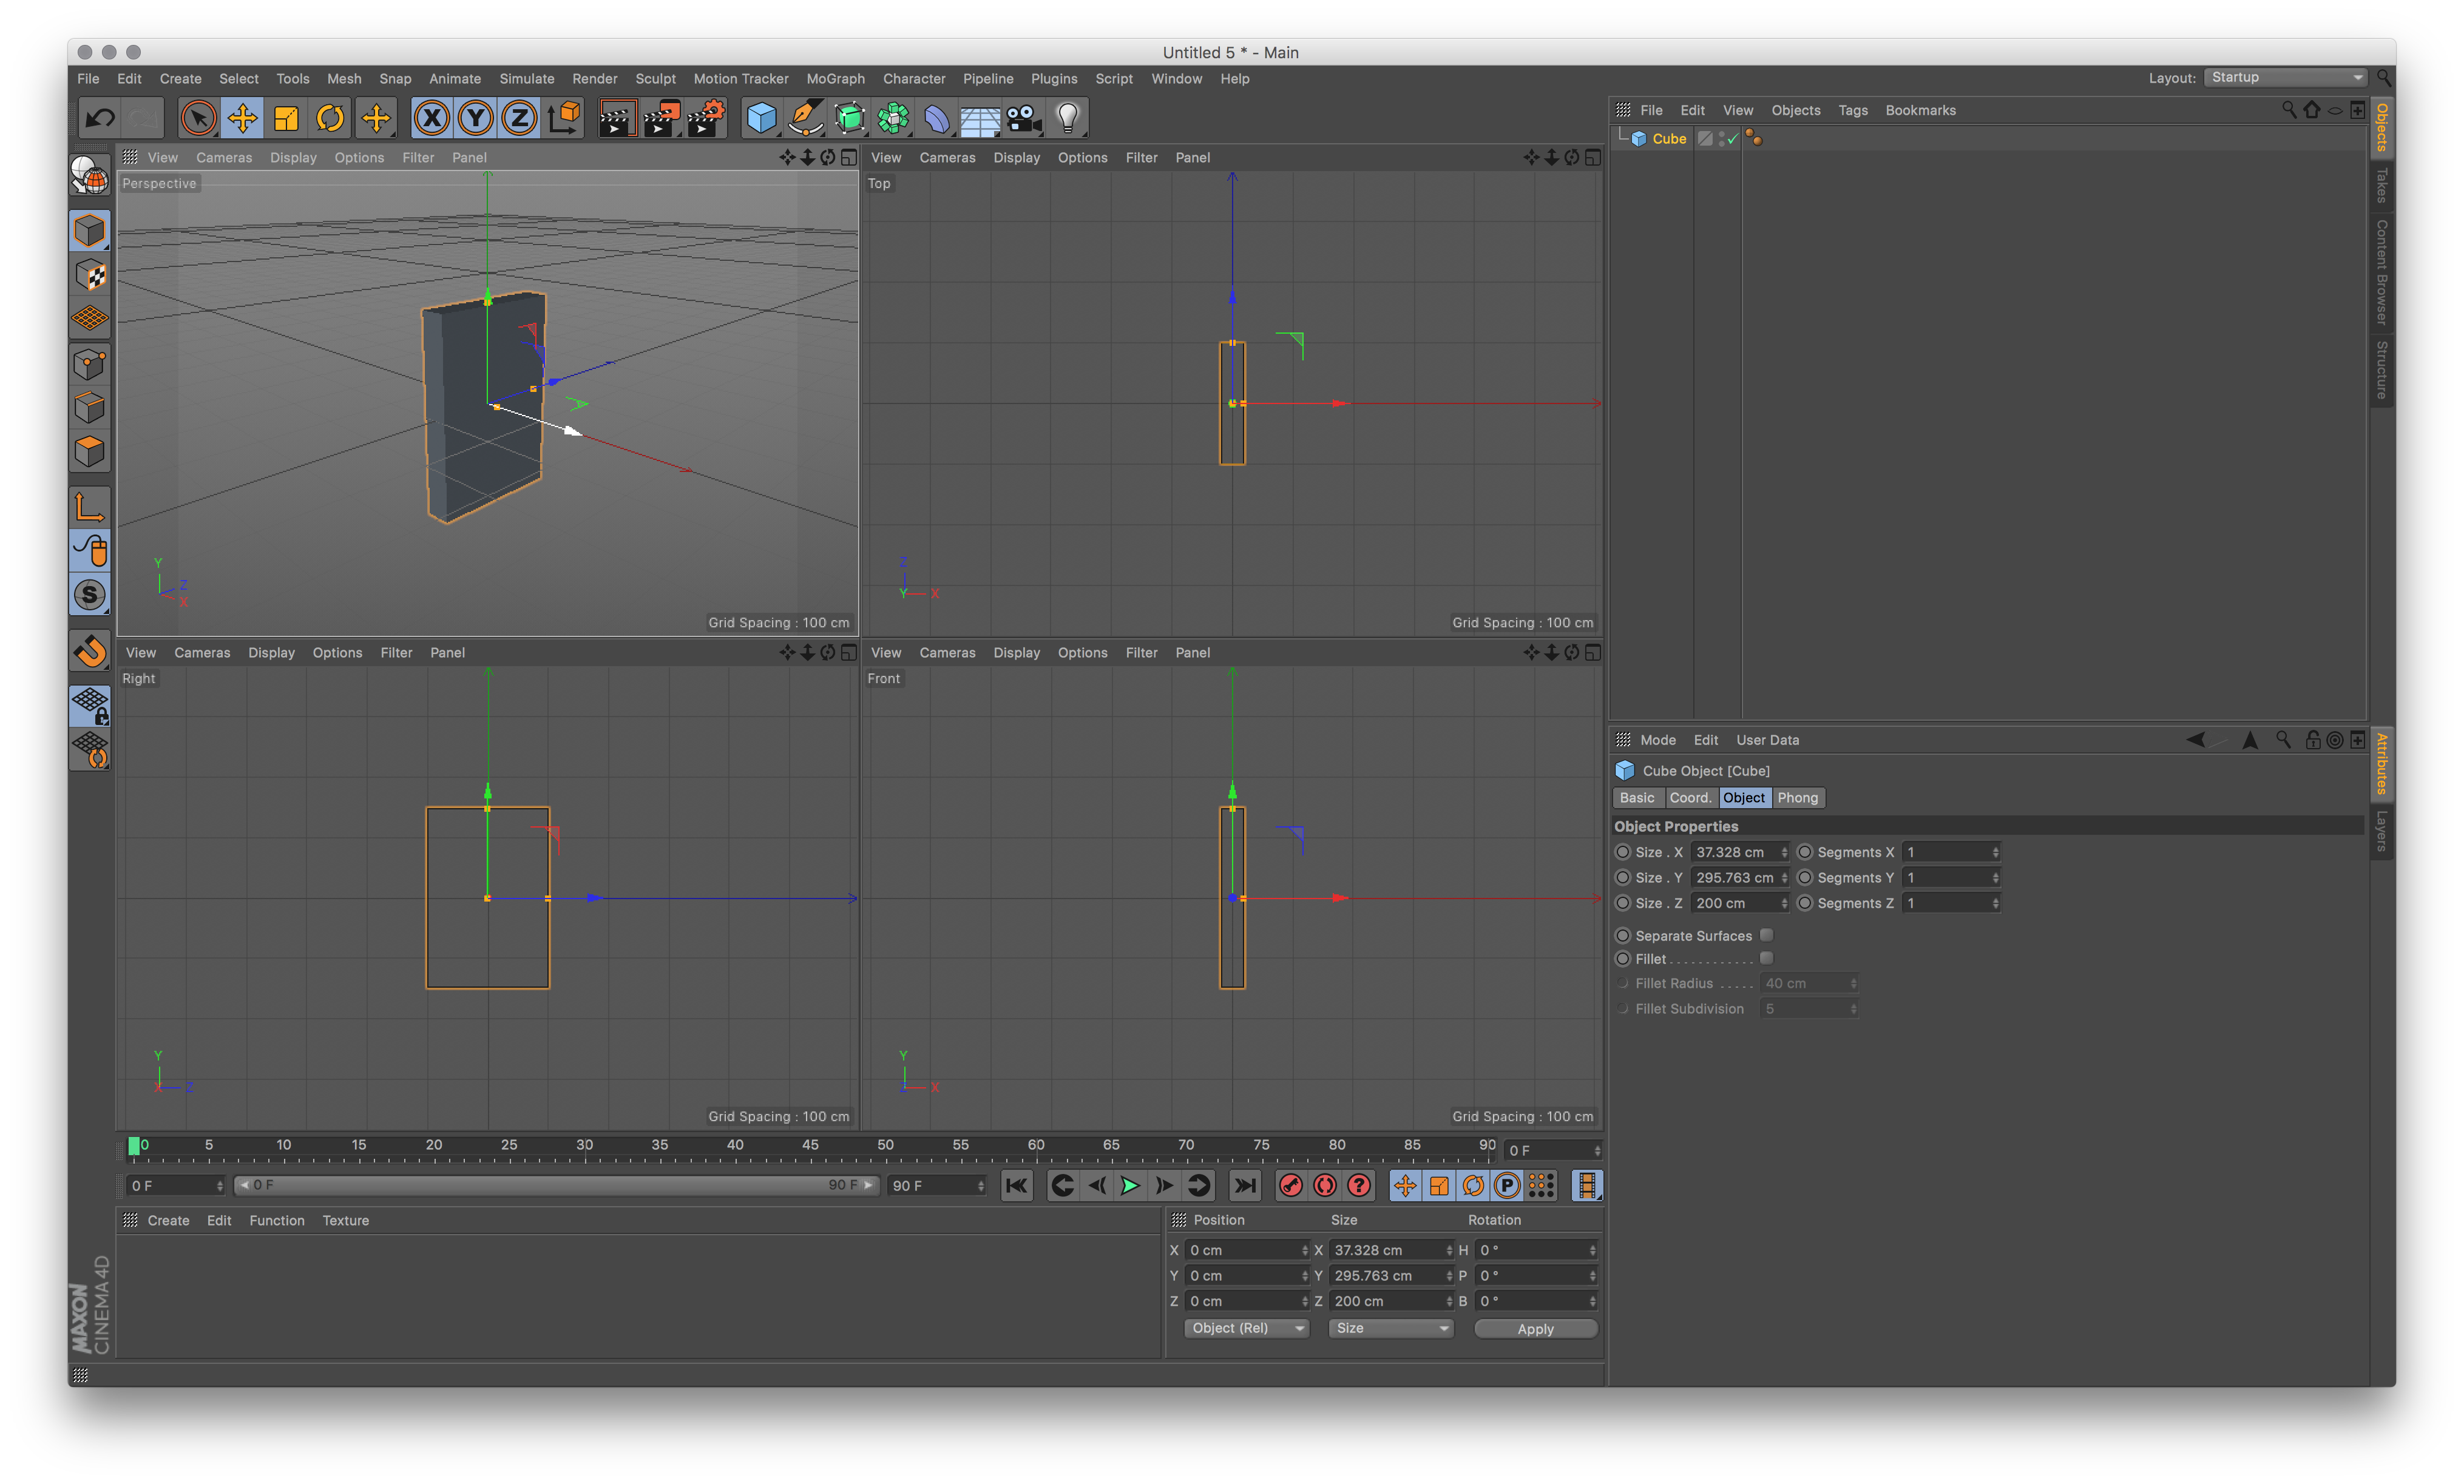
…and stretching it by dragging it until it looked an object that was on the photo I was modeling. I started with a little wooden stand:
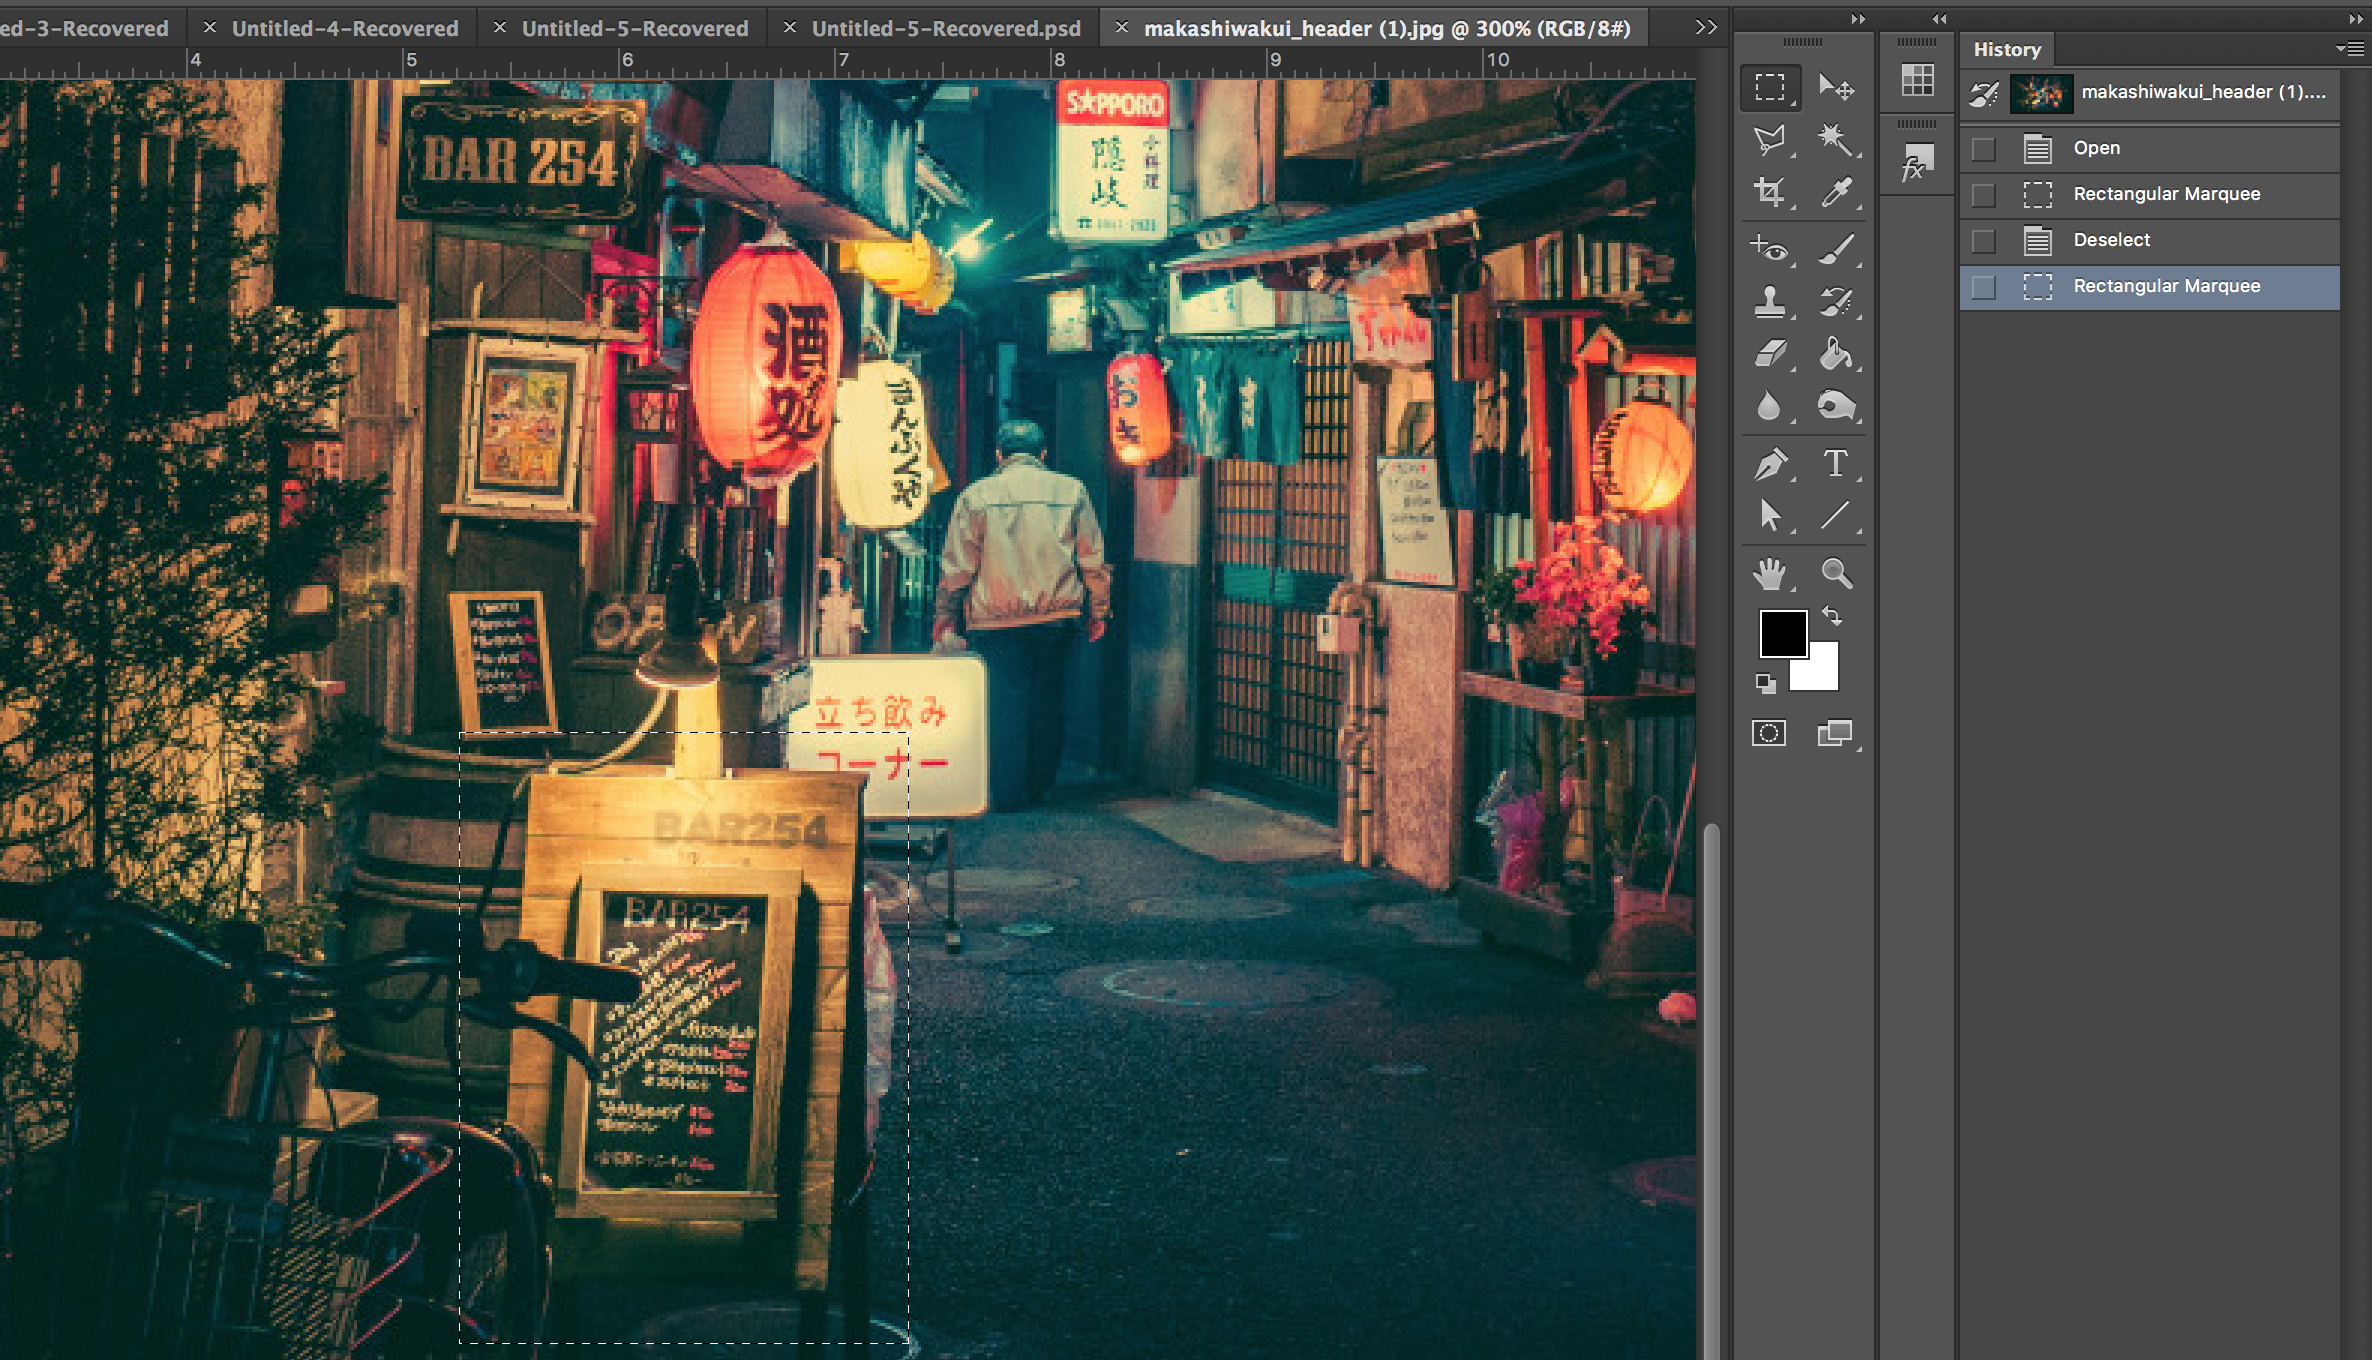
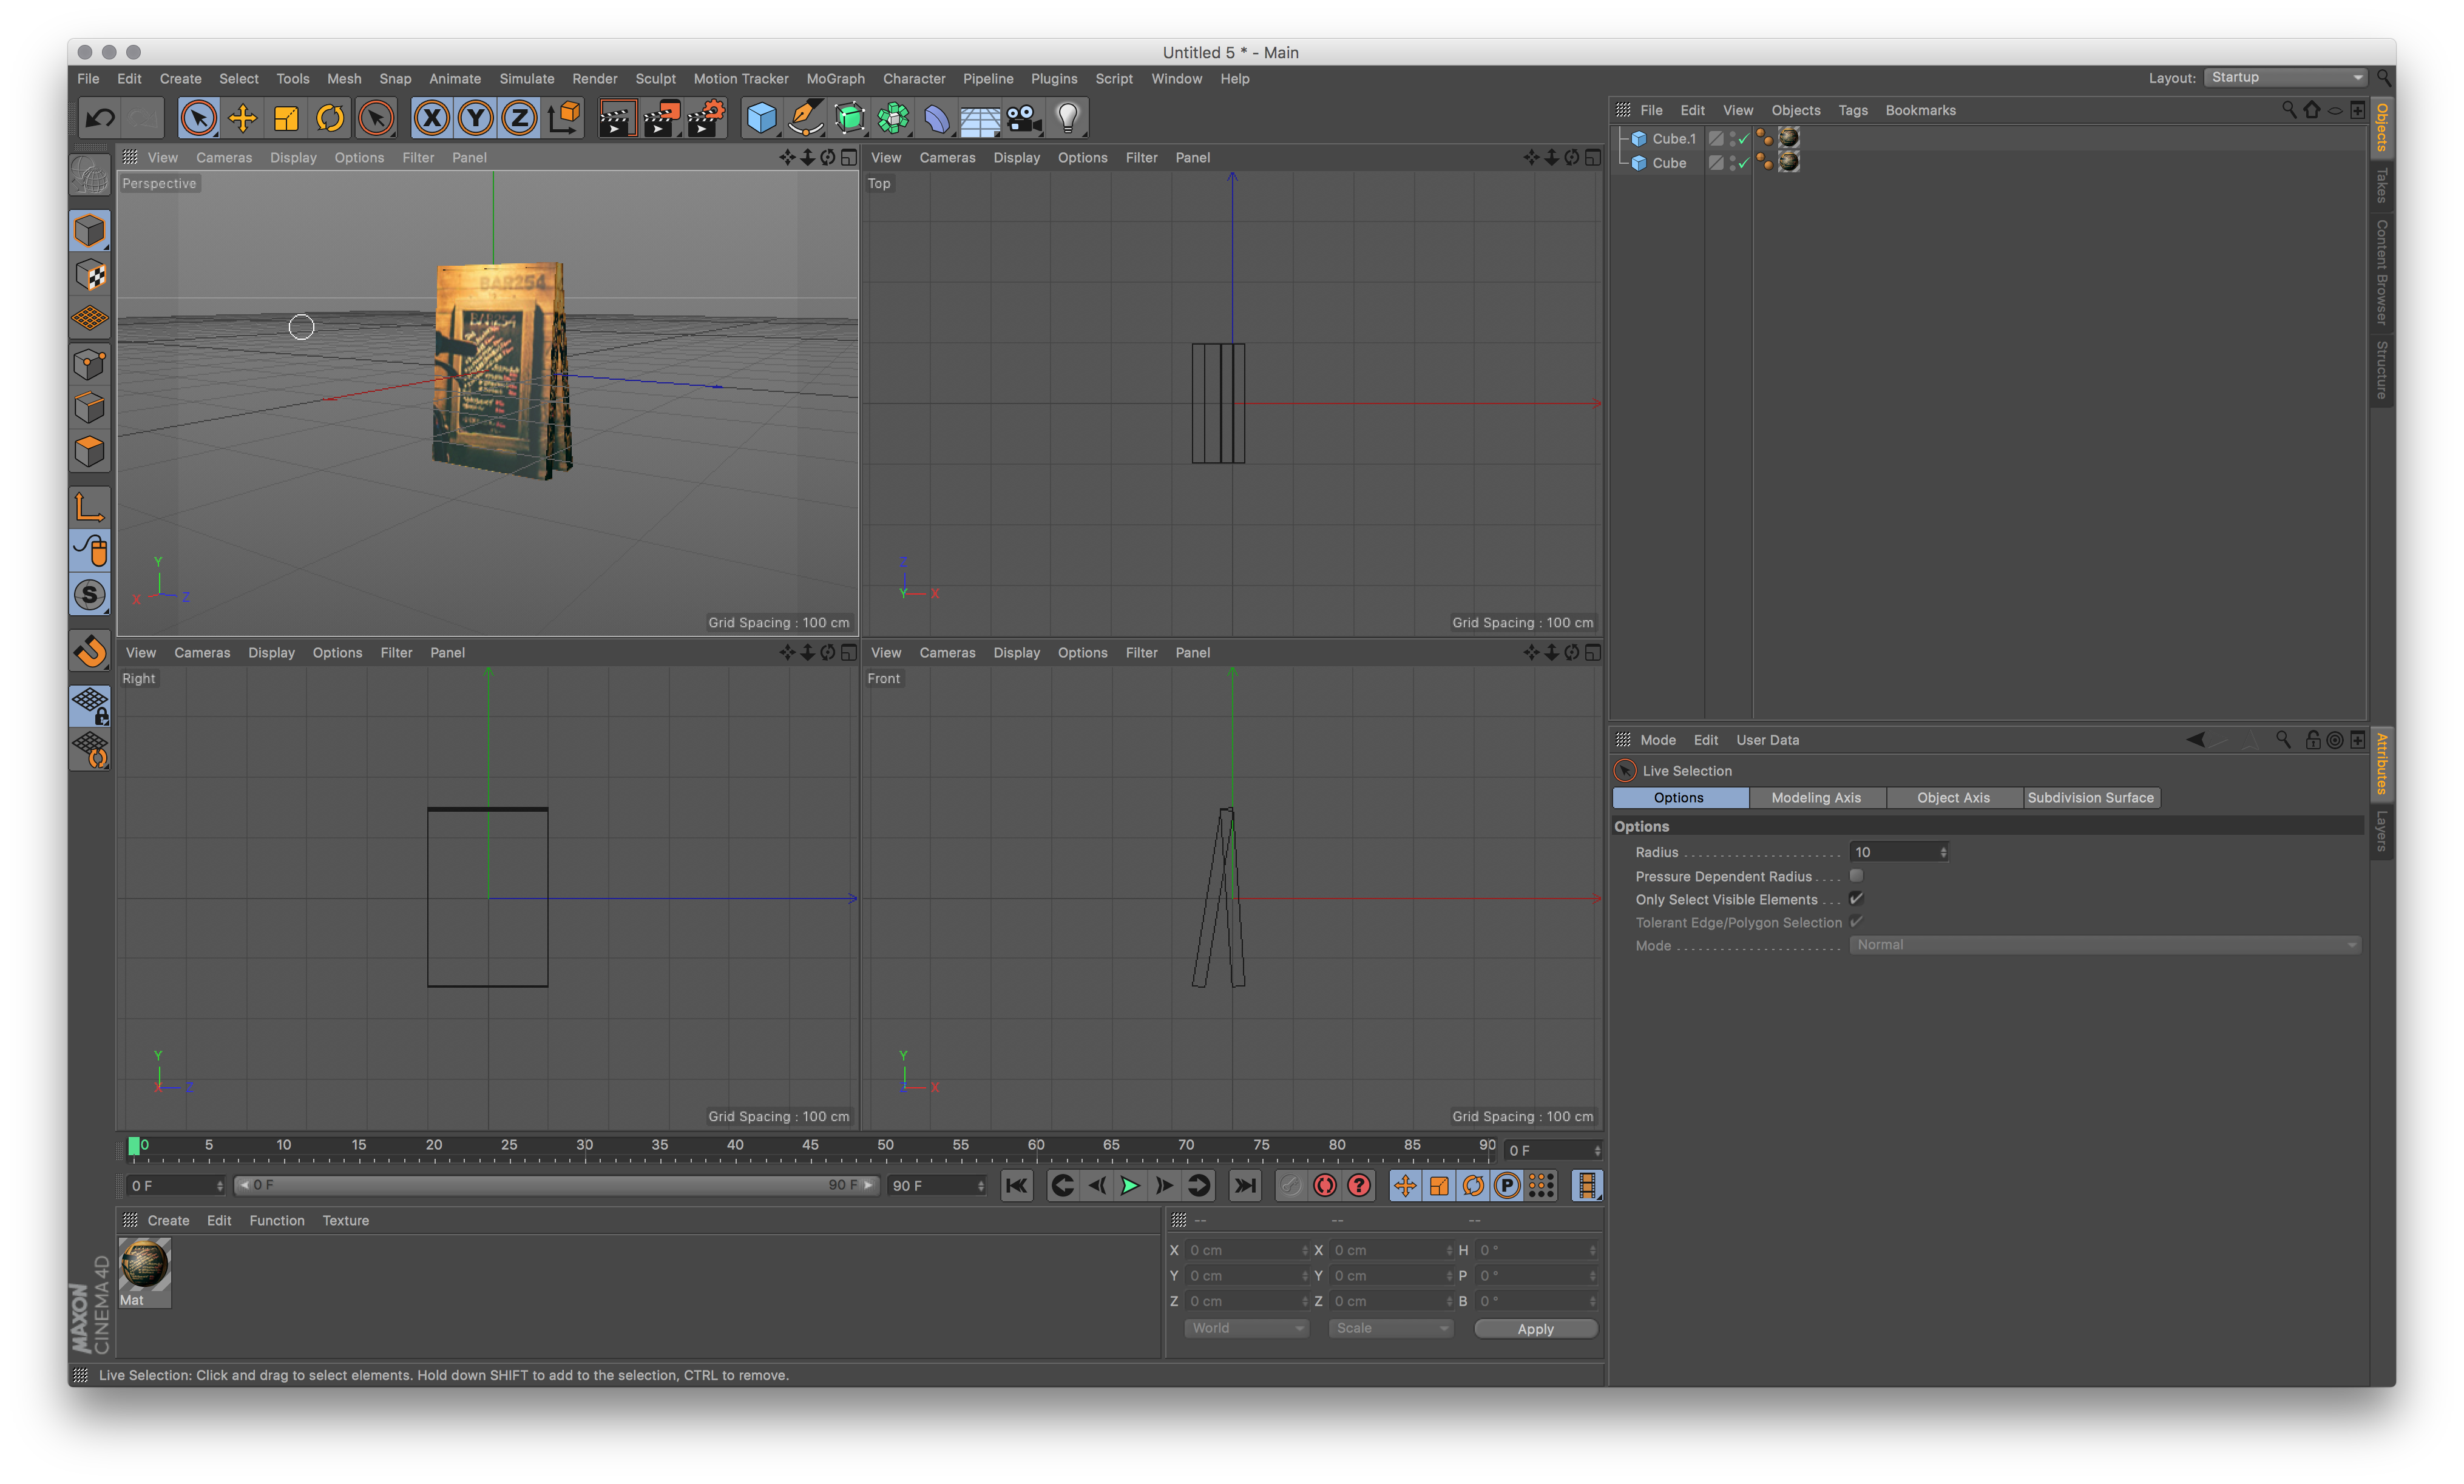
For a start I went into Photoshop and cut out the basic textures from my photo. This was cheating though but it was only temporary. I literally just dragged the textures as files onto the model in C4D and it put it on there.
That worked! Easy:
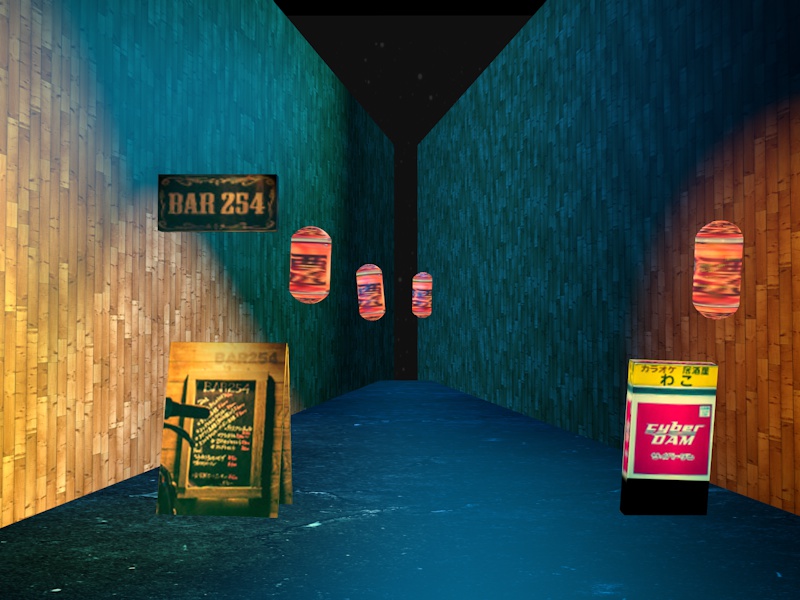
I then added two walls, a asphalt floor, the lanterns and the bar sign. I still used the textures straight from the photo so it looked very low-res. Like a 1996 video game:
Shapes
I learnt that everything in 3d starts with basic shapes. Like a cube, ball, cylinder or tube:
That was limiting though. How could I make stuff like the curtain? That’s not a basic shape at all:

That’s when you start drawing and combining shapes:
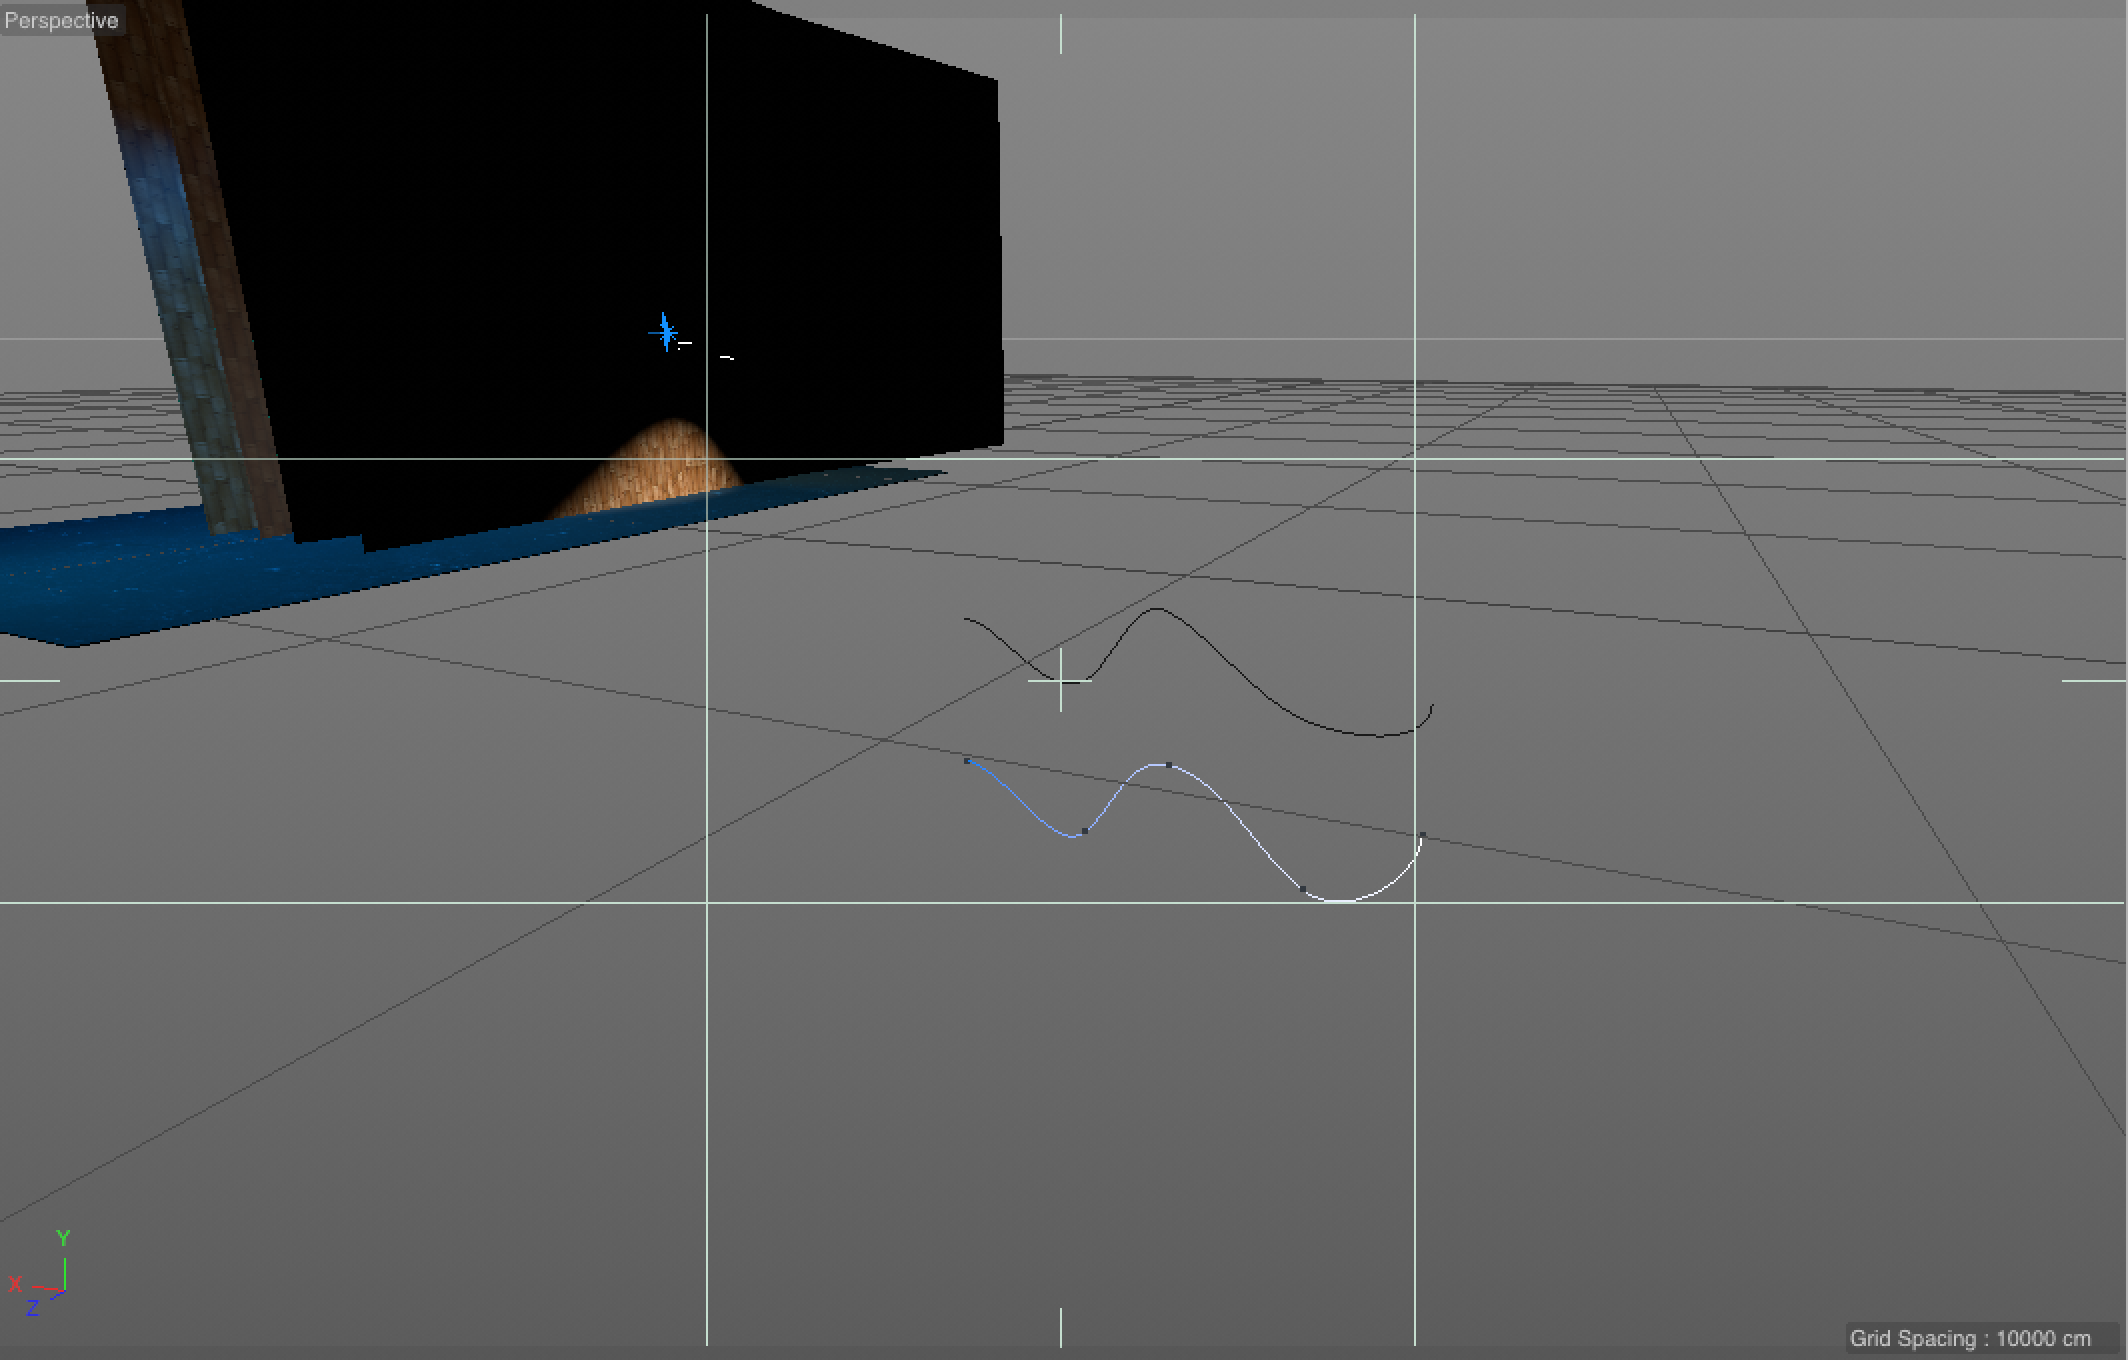
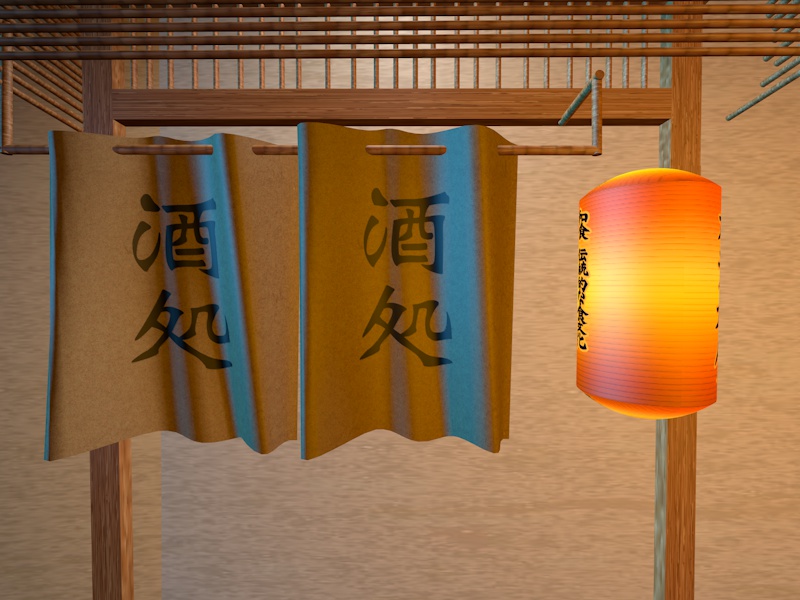
You use layers functions (called Arrays) to connect to shapes (in this case two Splines, which are like Illustrator paths):

That’s when you get this:
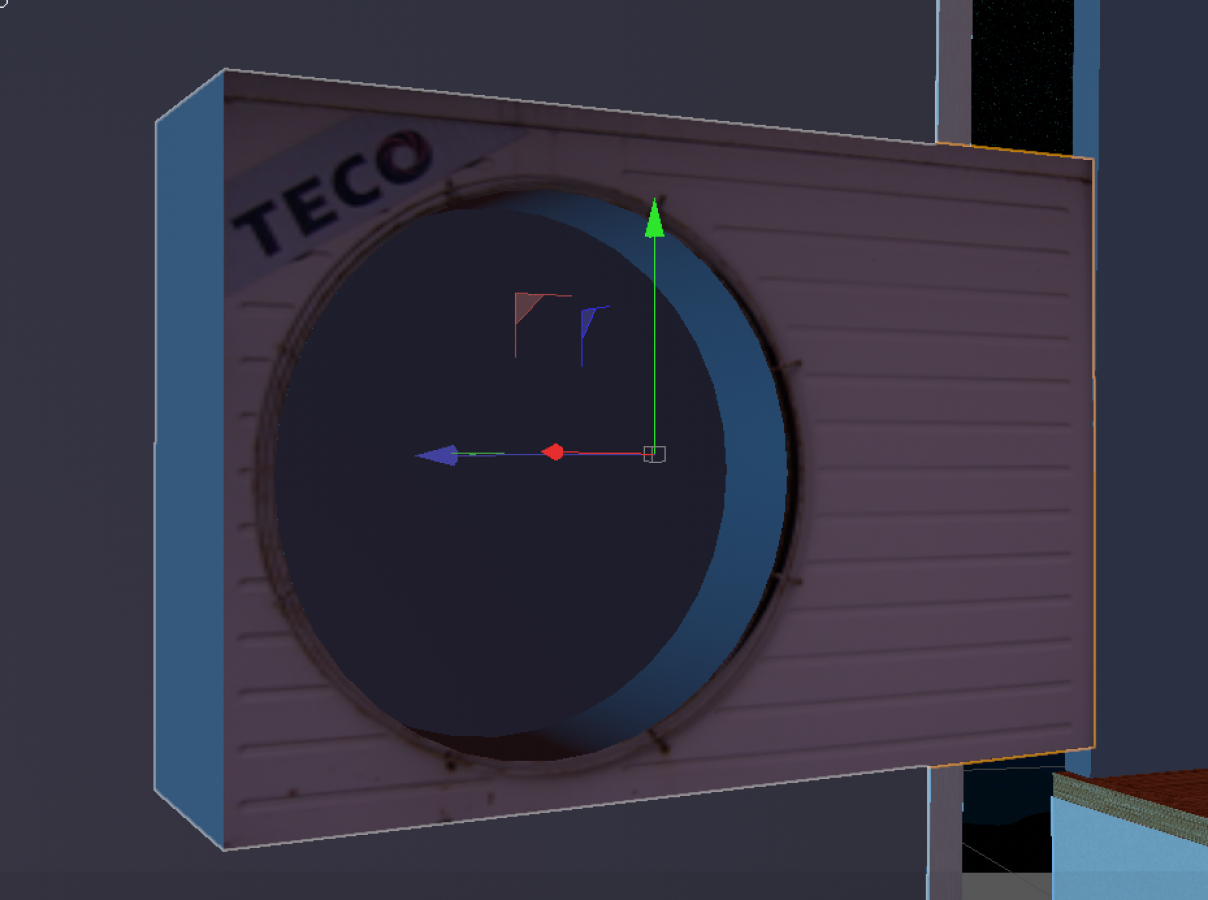
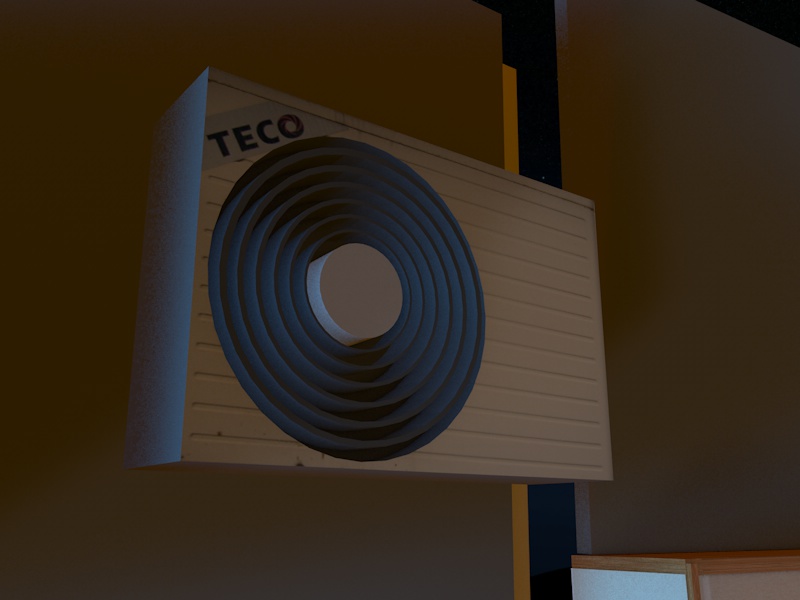
You can also combine cylinders with cubes, for example here I made an aircon unit that way:
Details
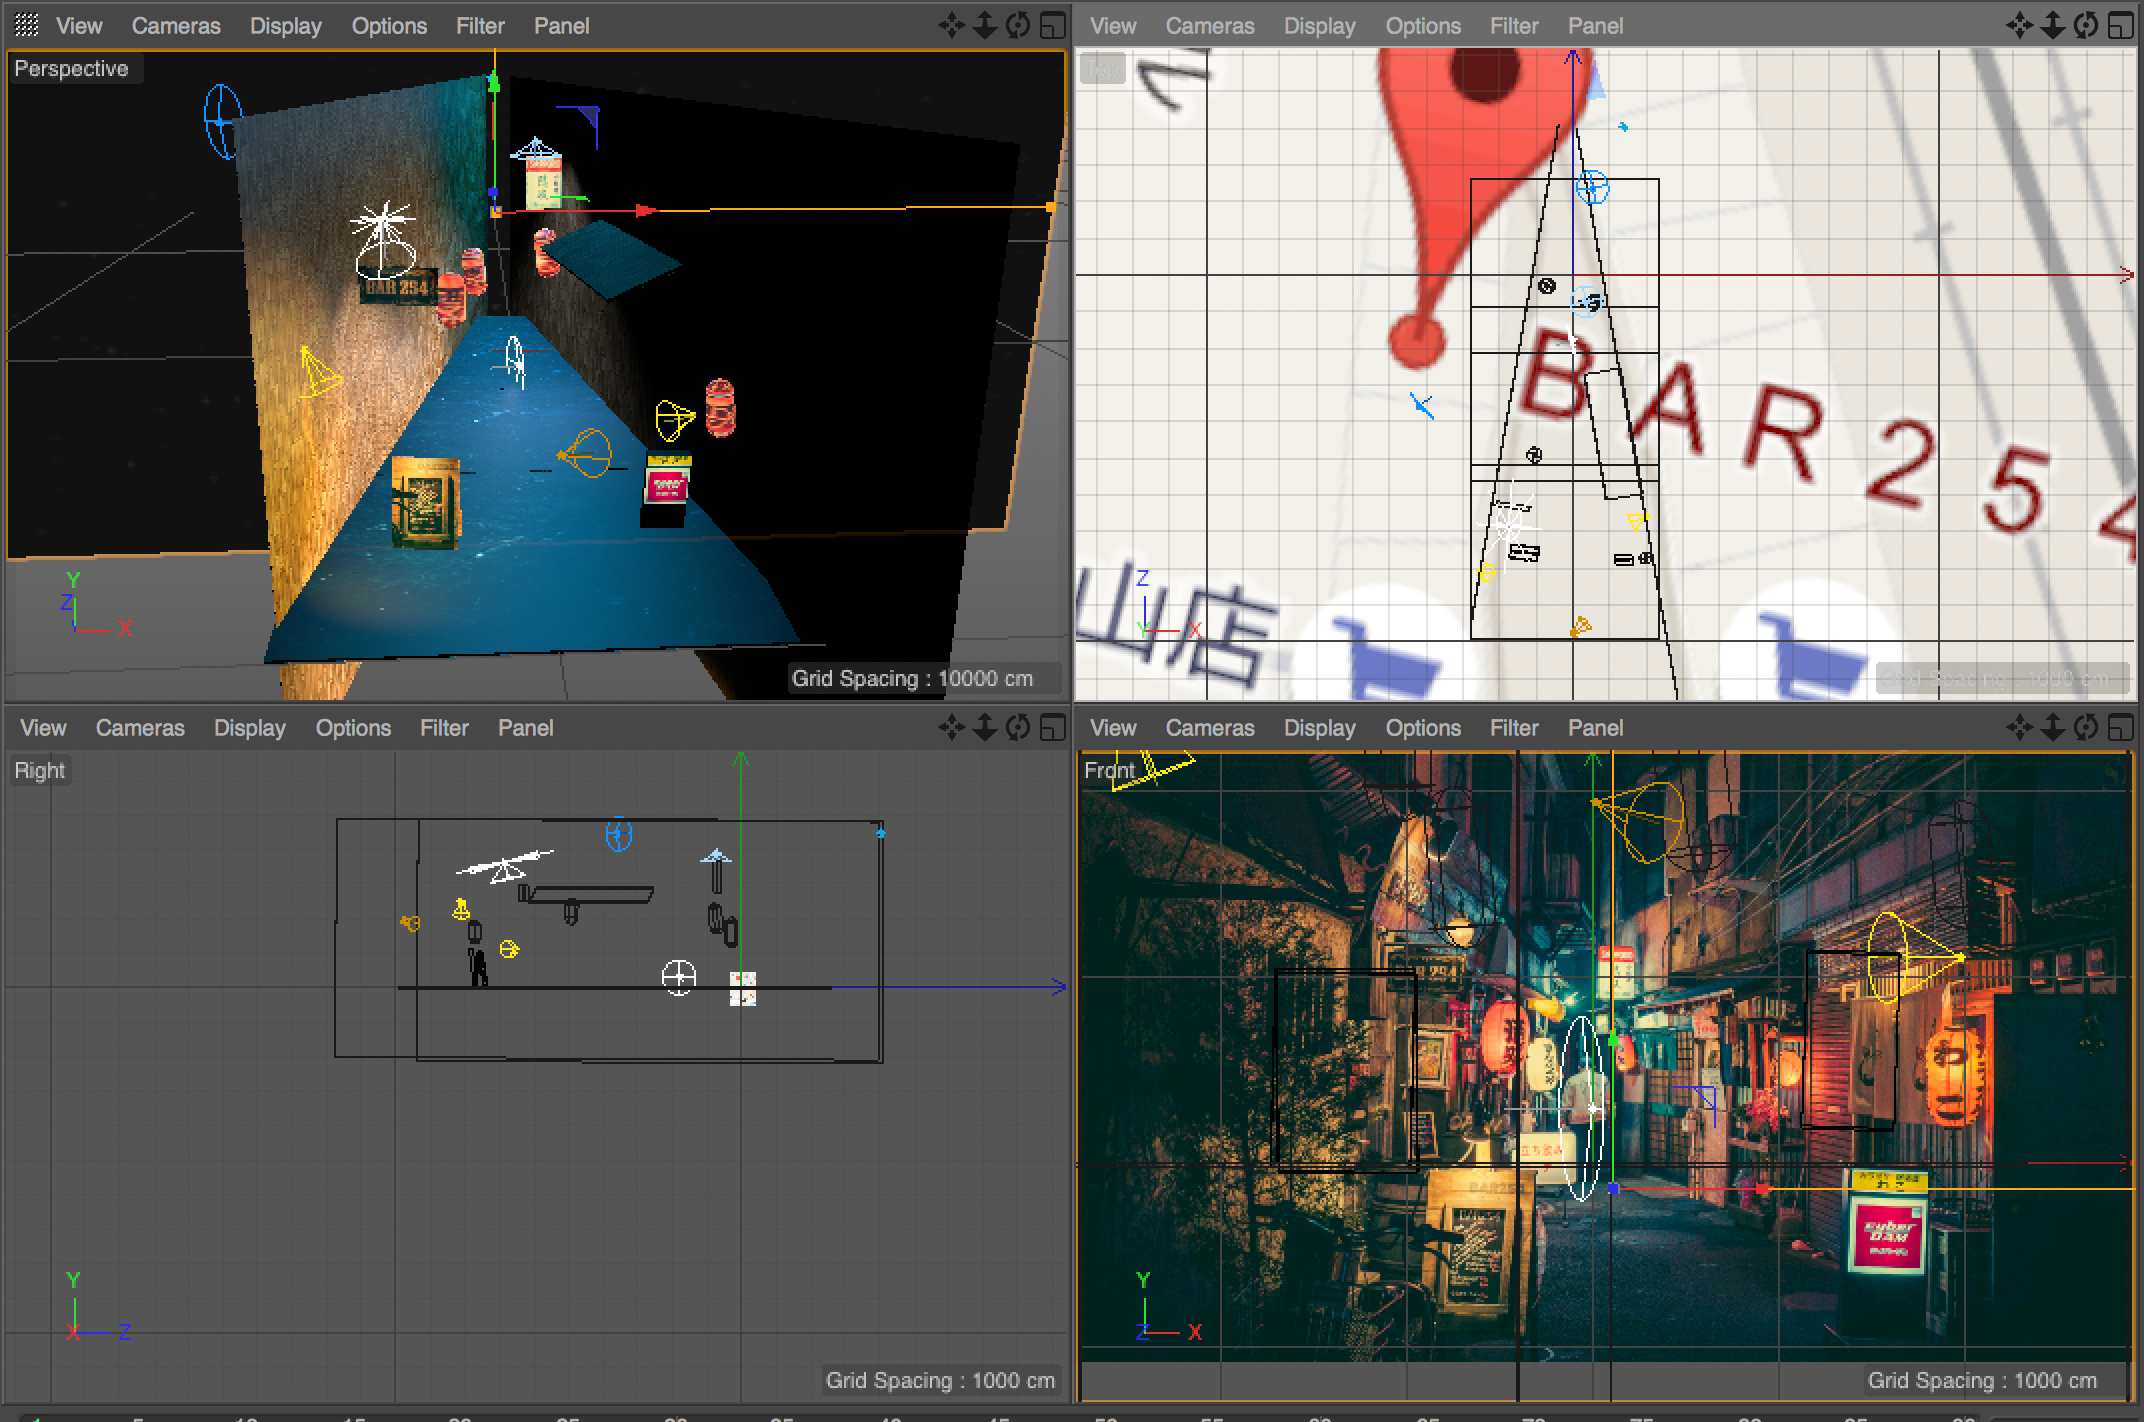
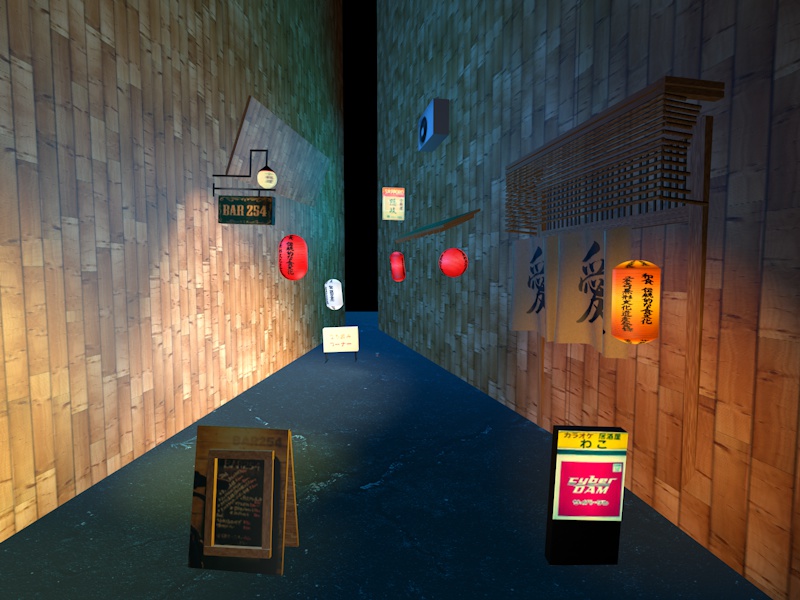
The scene now looked like this:


I added better lights:
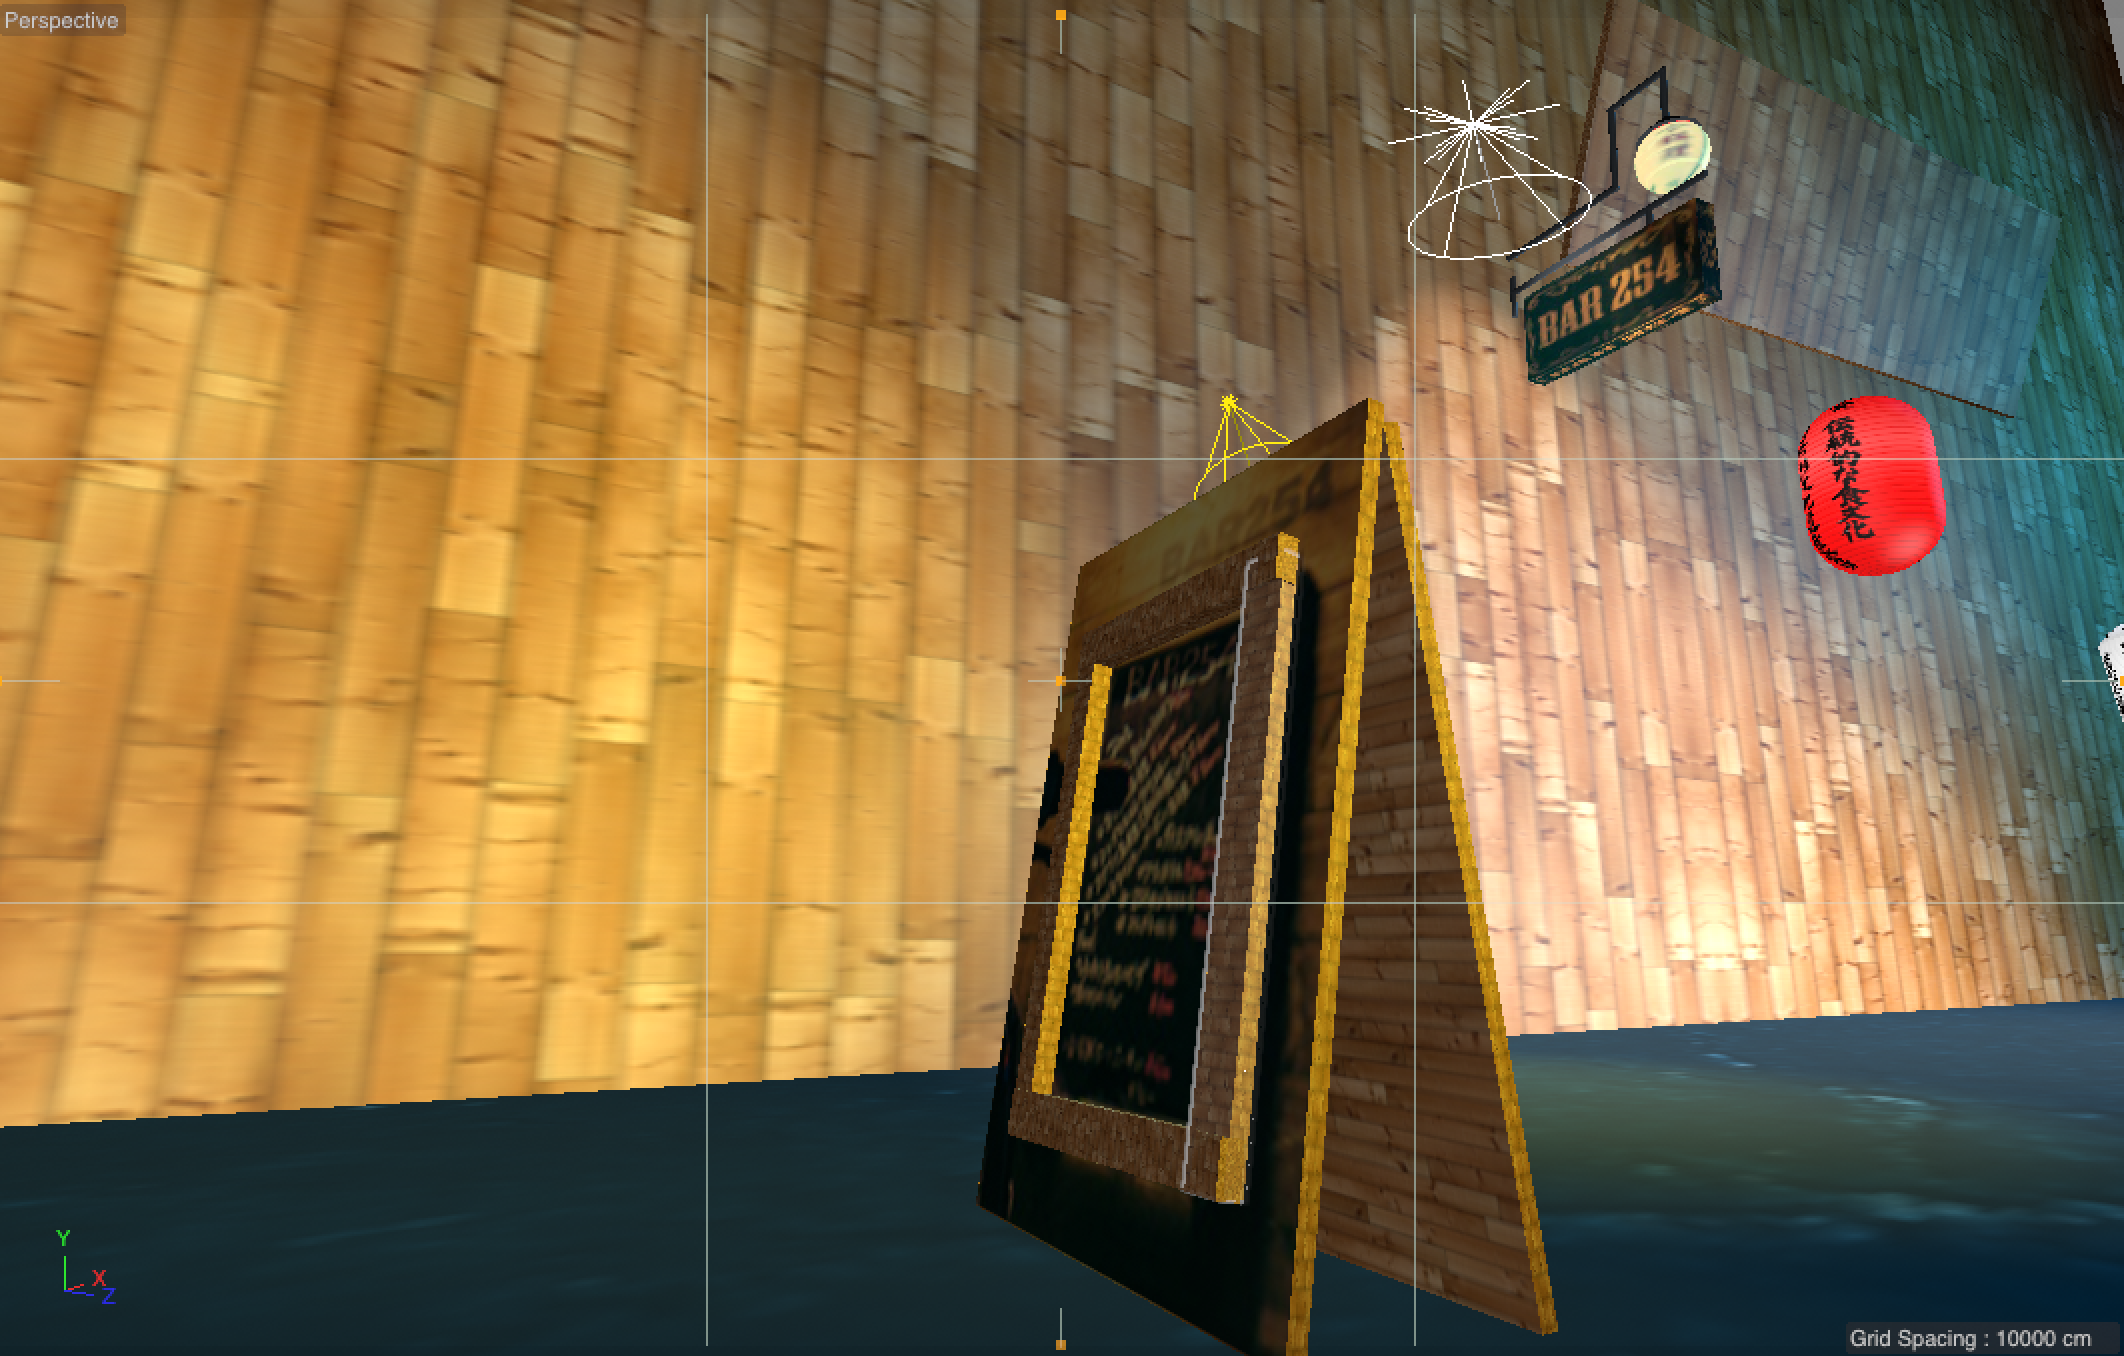
And I started adding more tiny details, like giving the wooden sign depth:
High res texturing
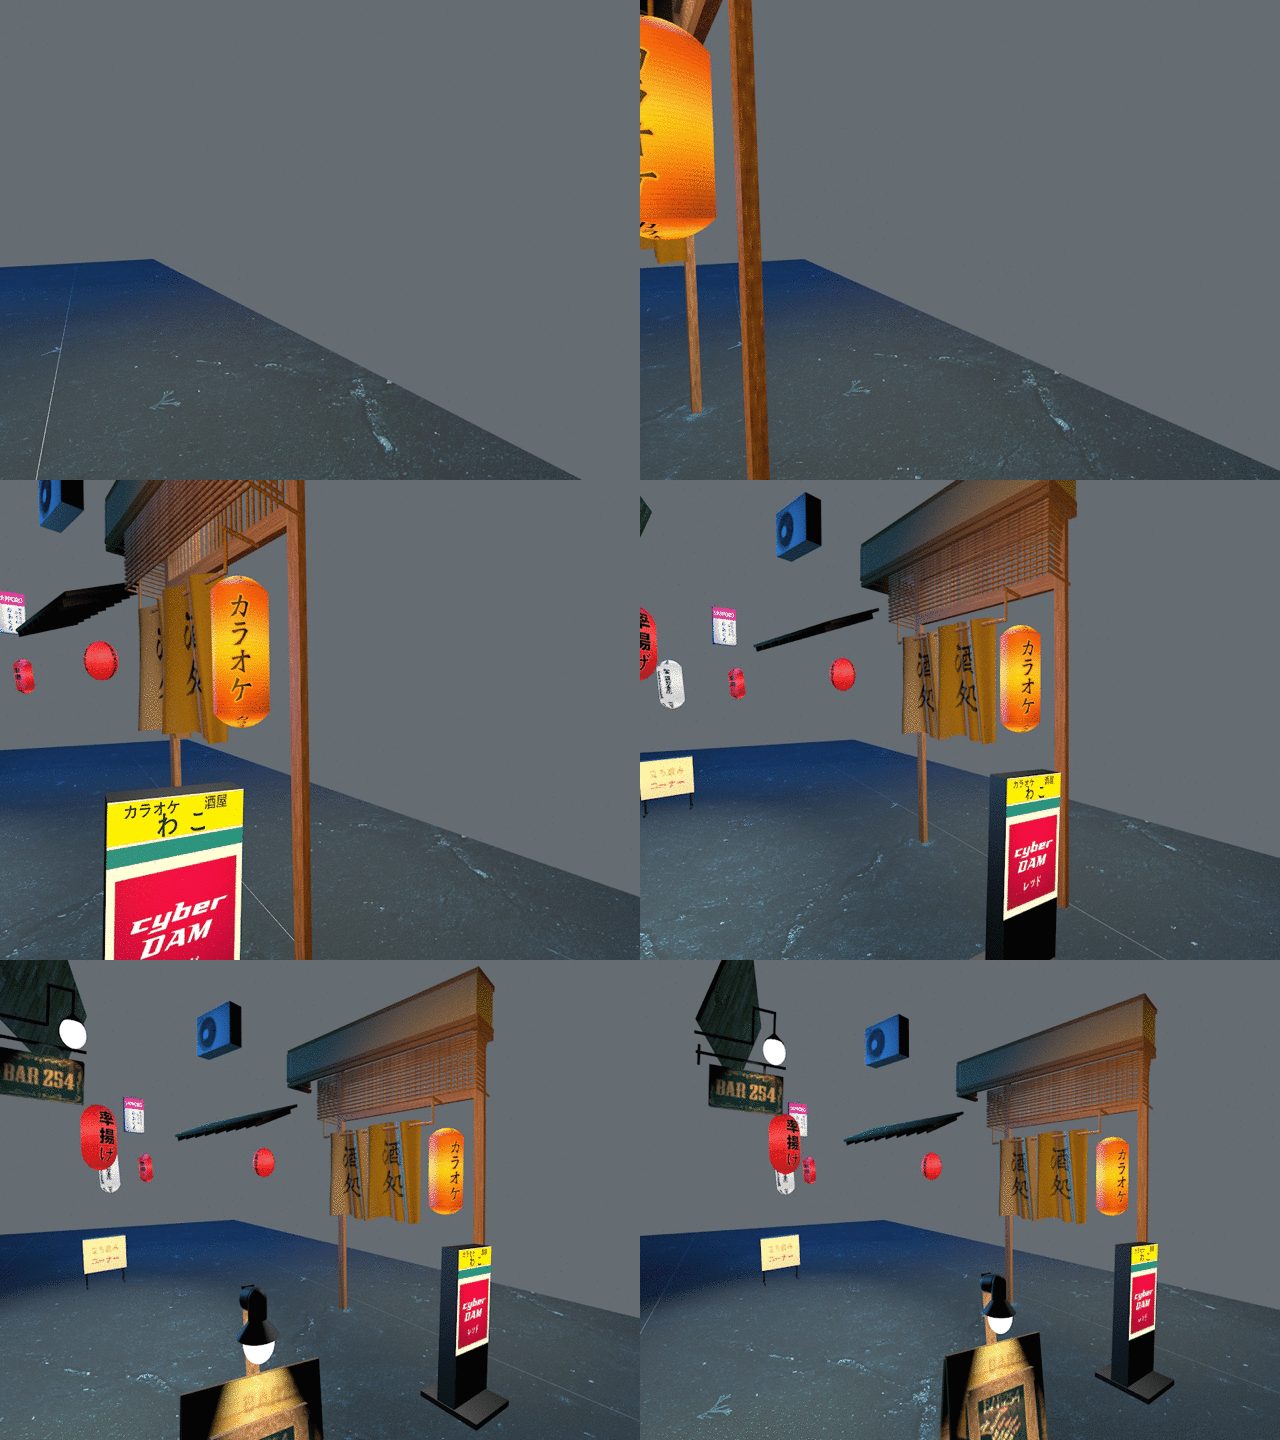
Until now I used textures straight from the lo-res photo. So I started recreating the textures in hi-res, simply with some Japanese fonts, paper textures and coloring:
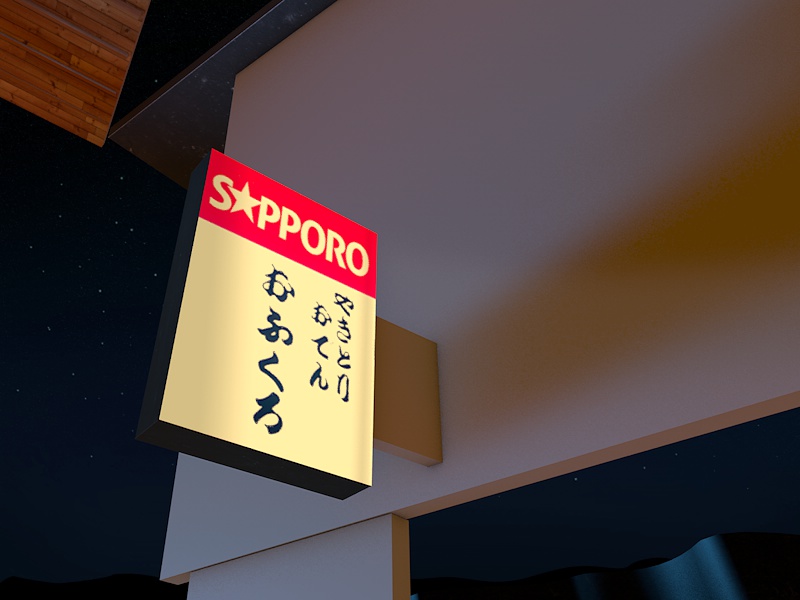
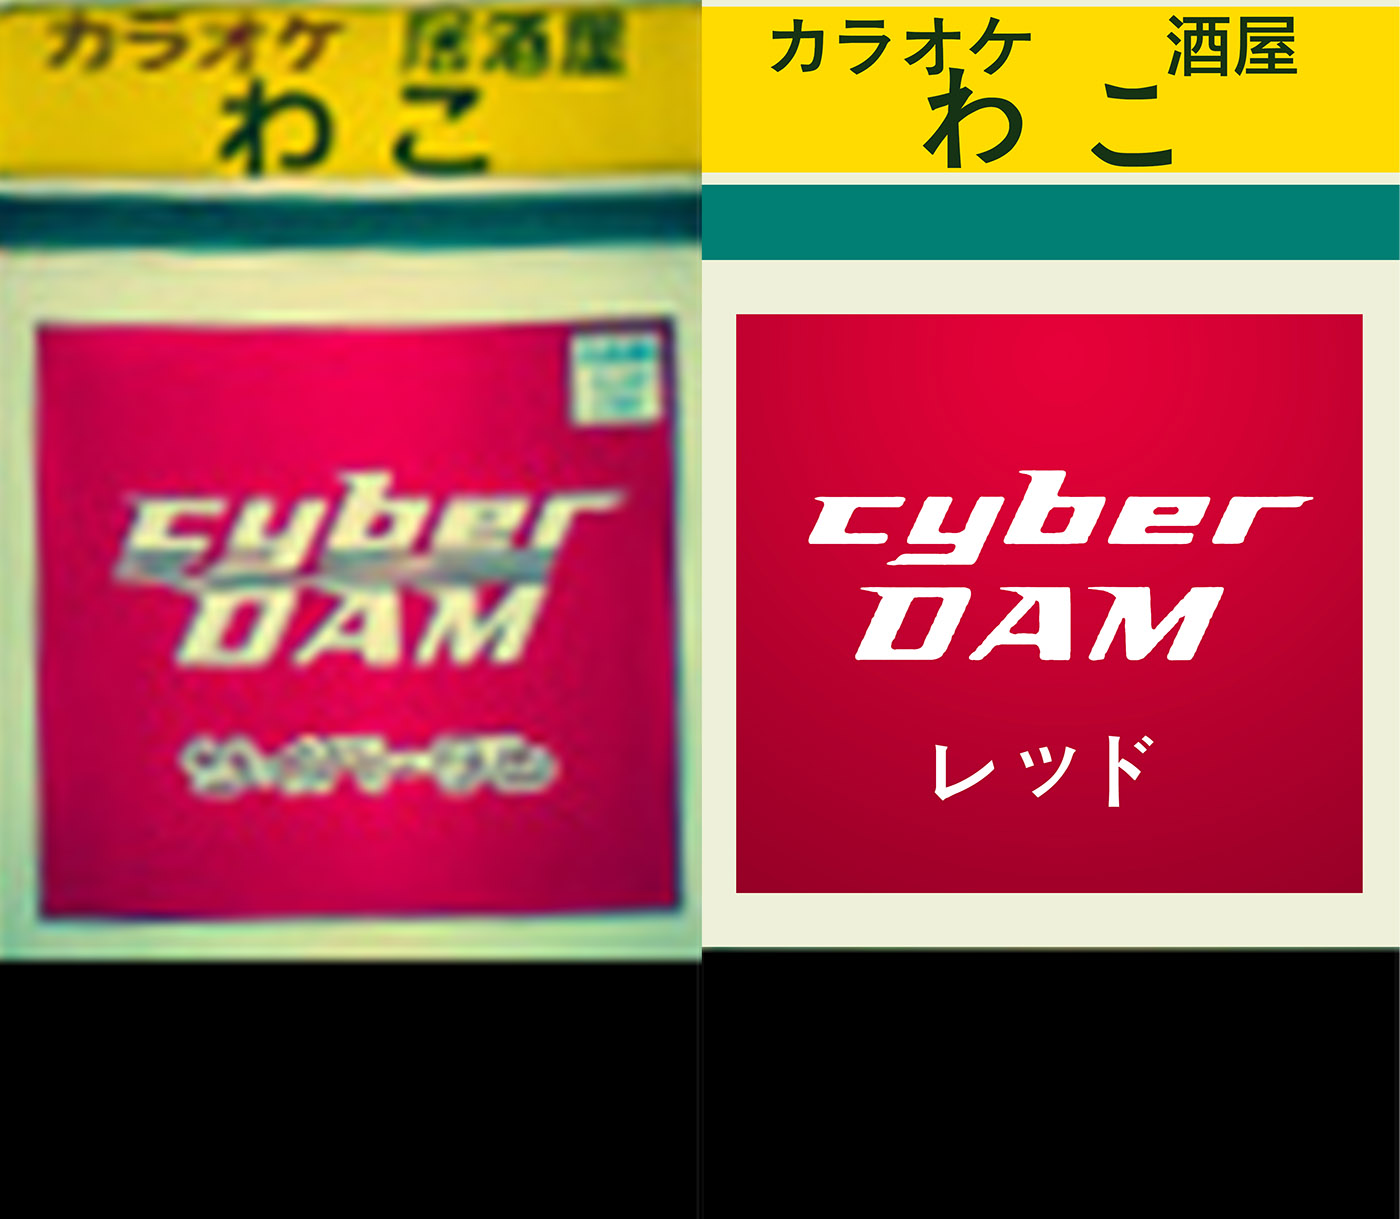
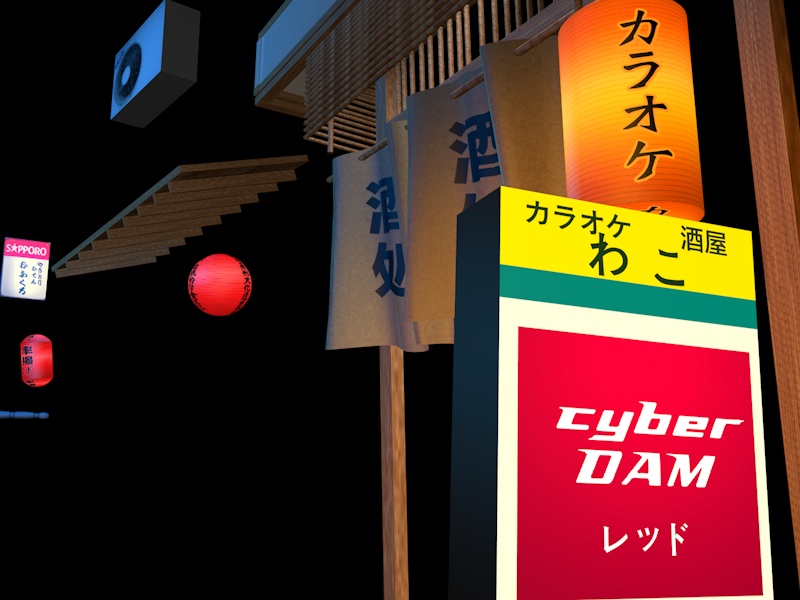
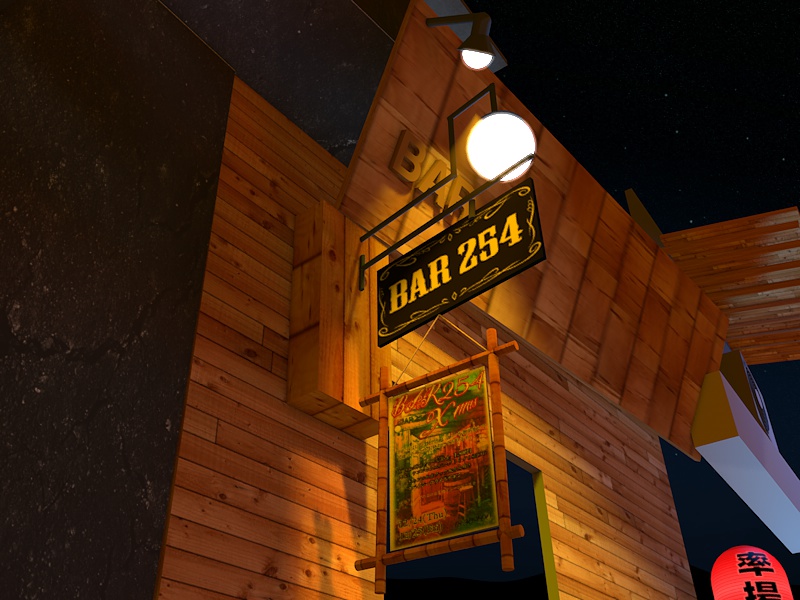
I found logos online from the places in the street, like Bar 254’s website:

I then applied my self-made textures and everything suddenly started to look much better.
Shadows
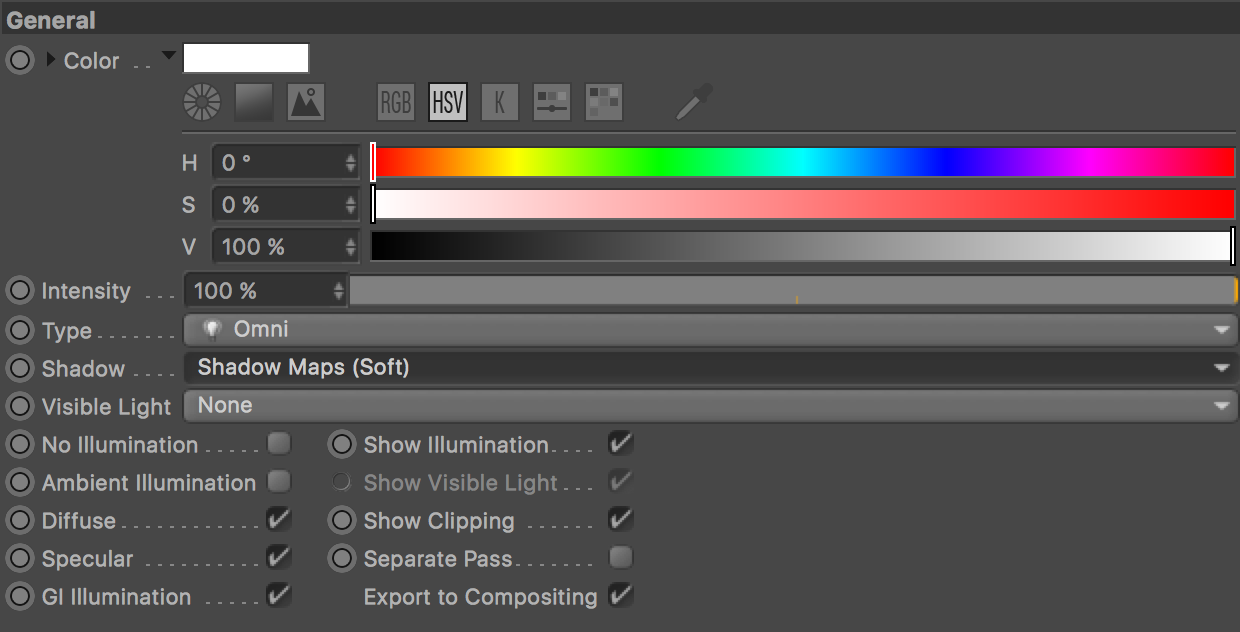
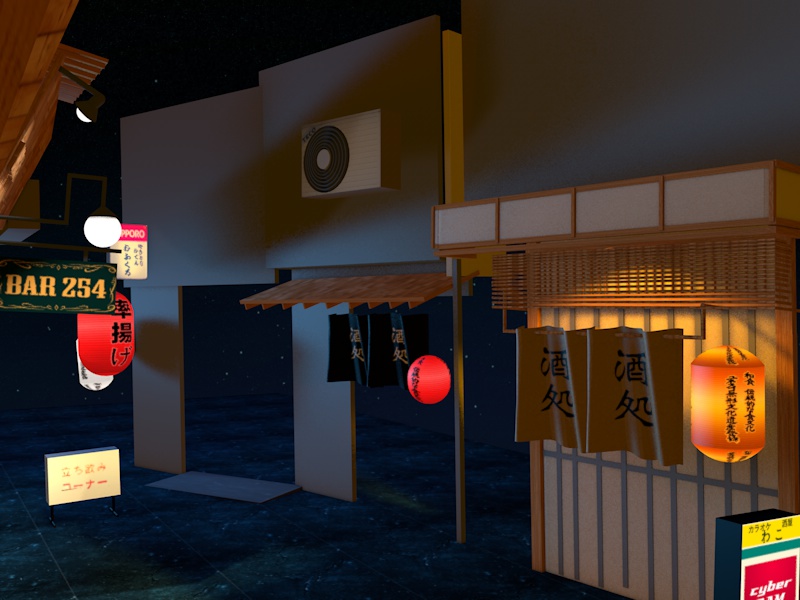
And I found the button to enable shadows:
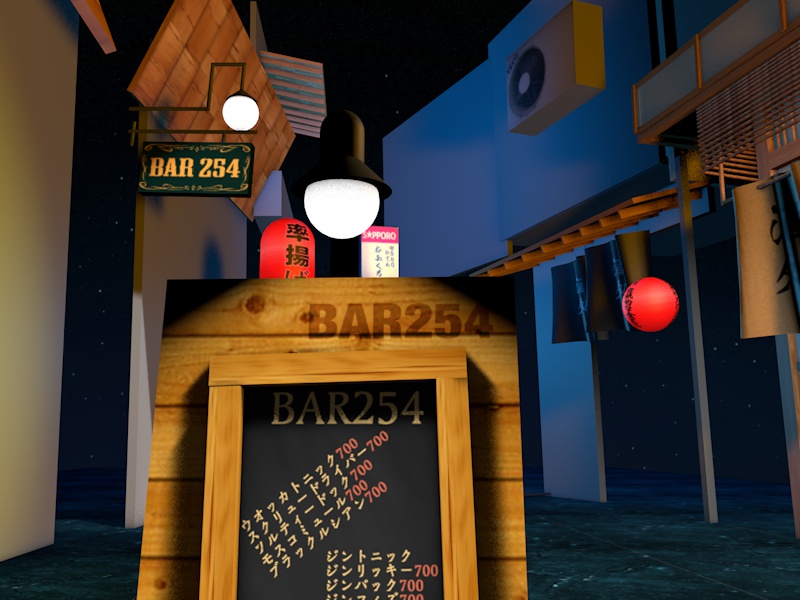
That worked:
Improving rendering
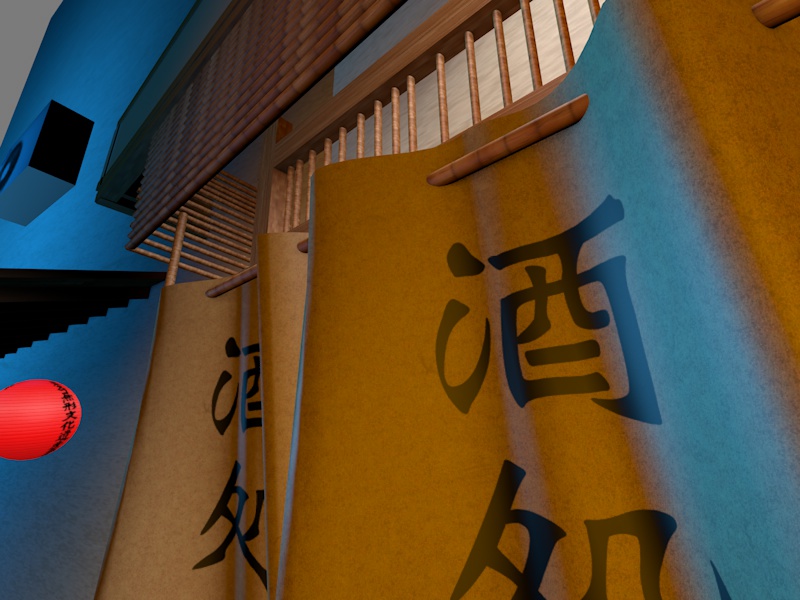
Then there was somebody who suggested tweaking my render settings. I changed my render mode to Physical, which results in more realistic but heavier rendering.
I also enabled Ambient Occlusion, which is a technique to increase realism by estimating shadows around objects, it’s subtle, but you can see it on the edges of the poles and the curtain here:
Lights
Adding lights was another challenge. I literally experimented for ages trying to get it right and it’s still not there. I think this is the hardest part about 3d modeling.
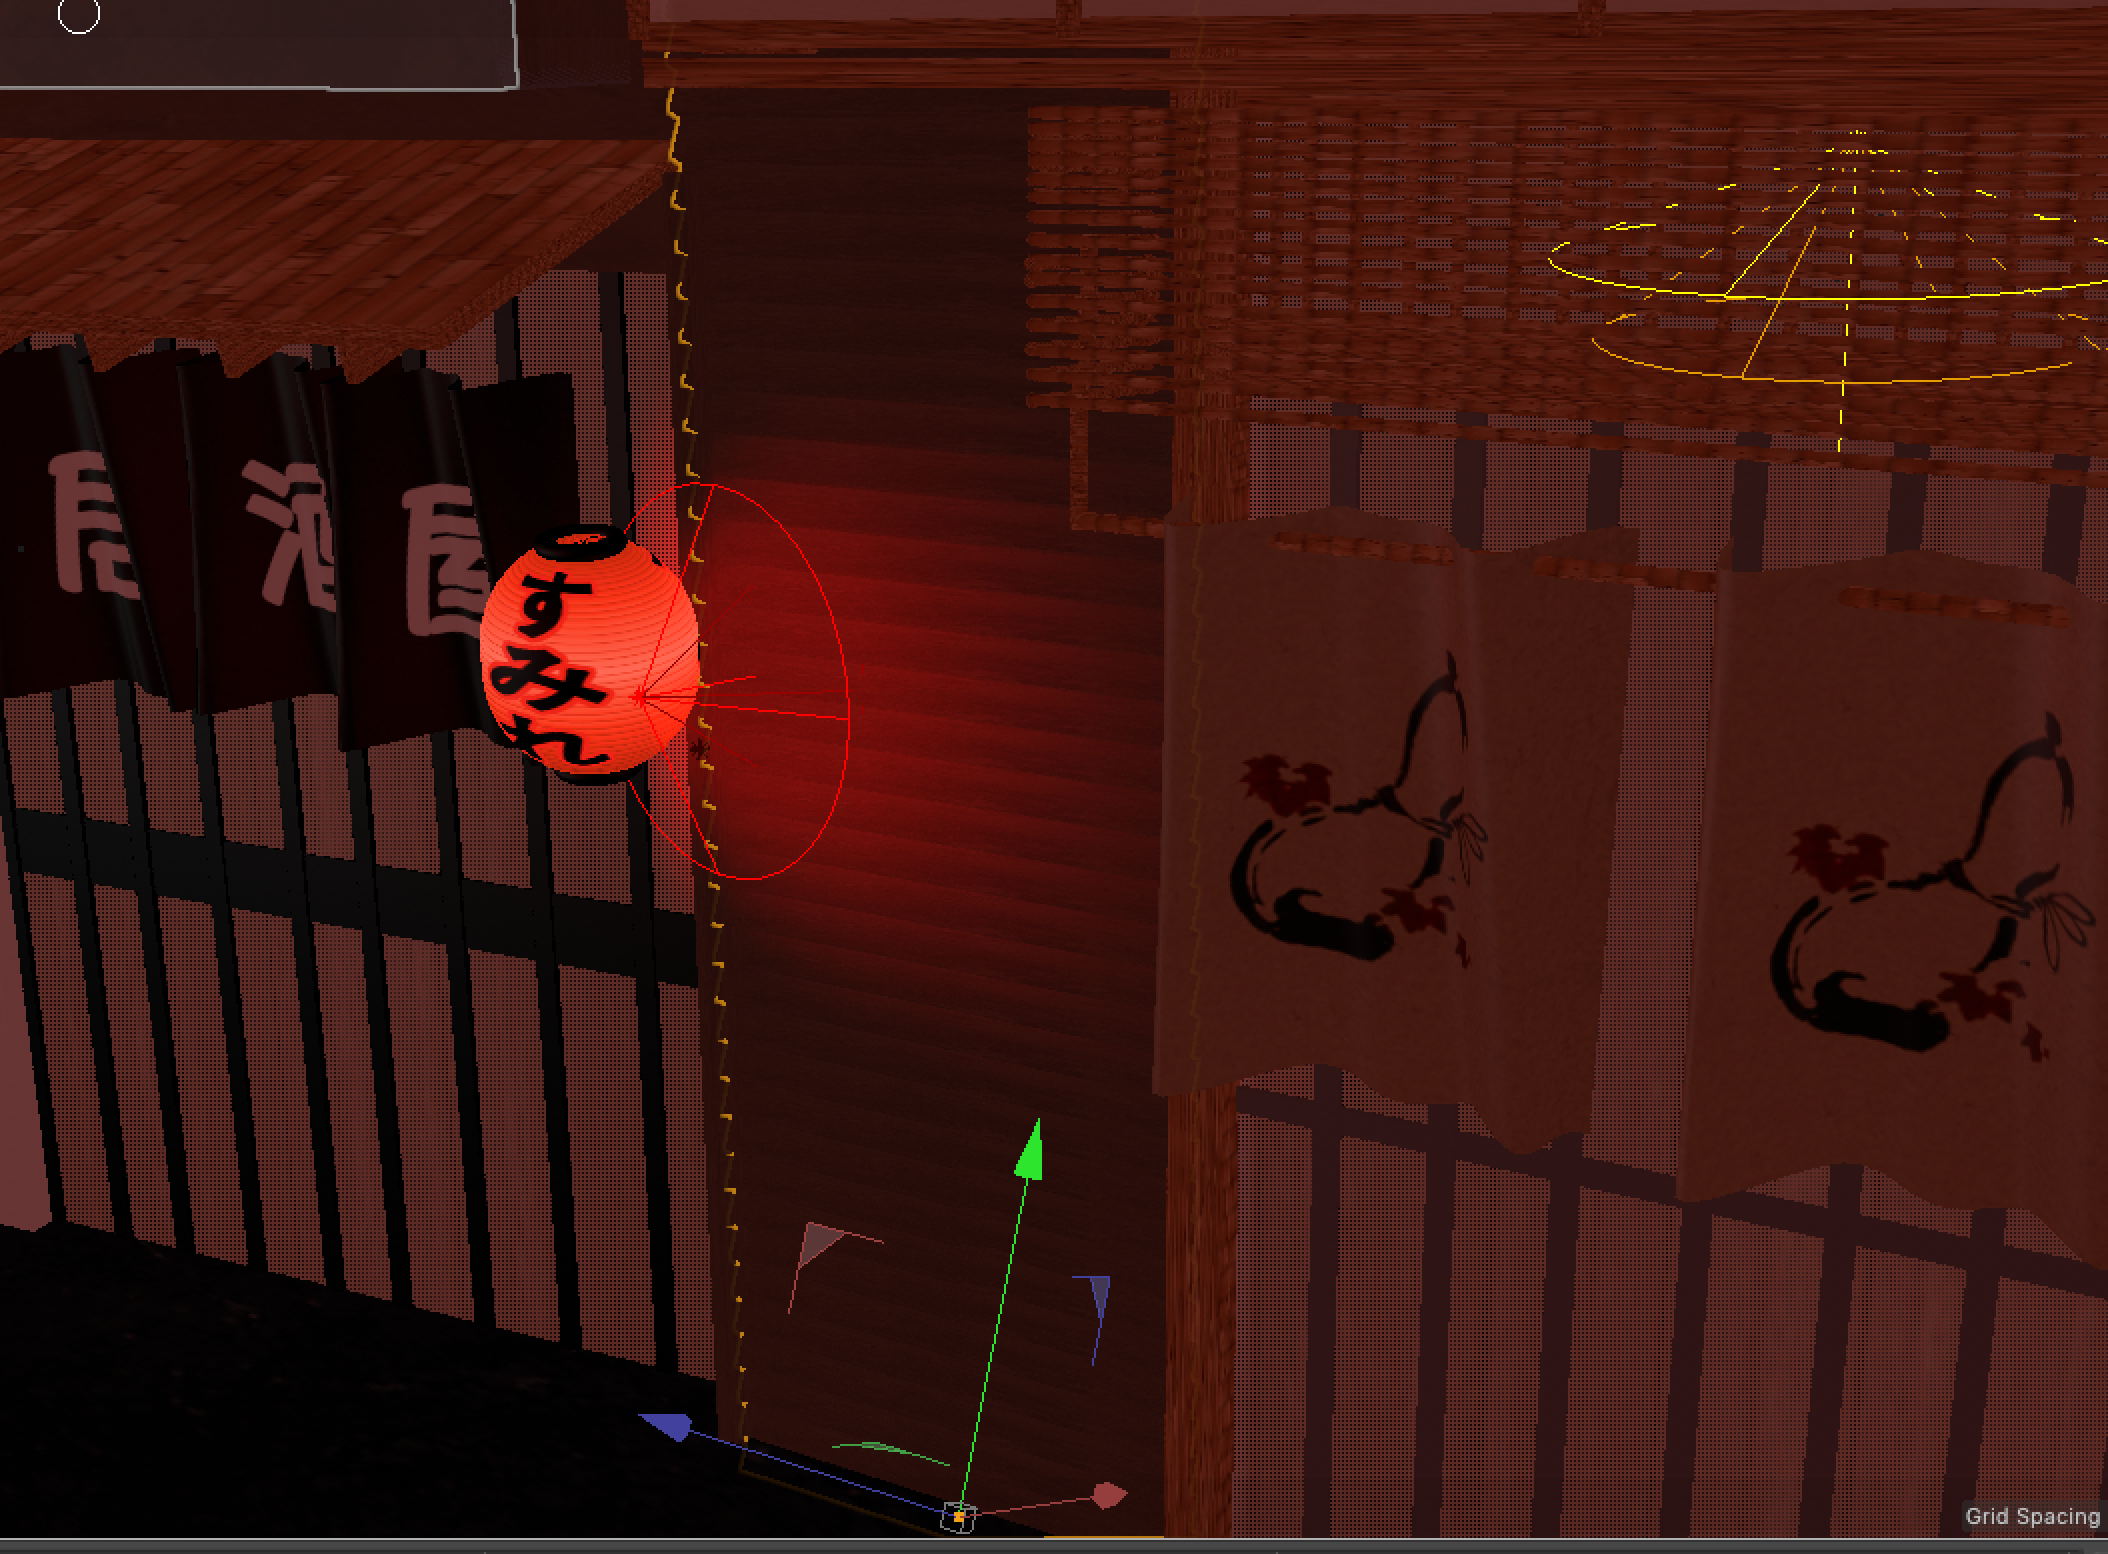
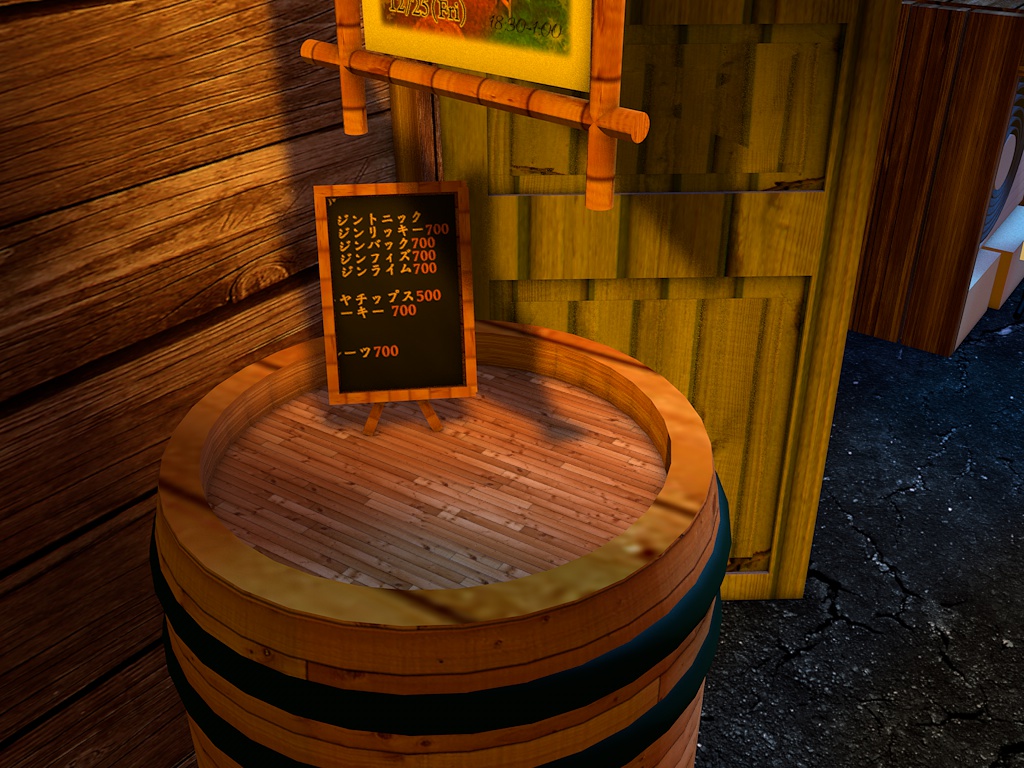
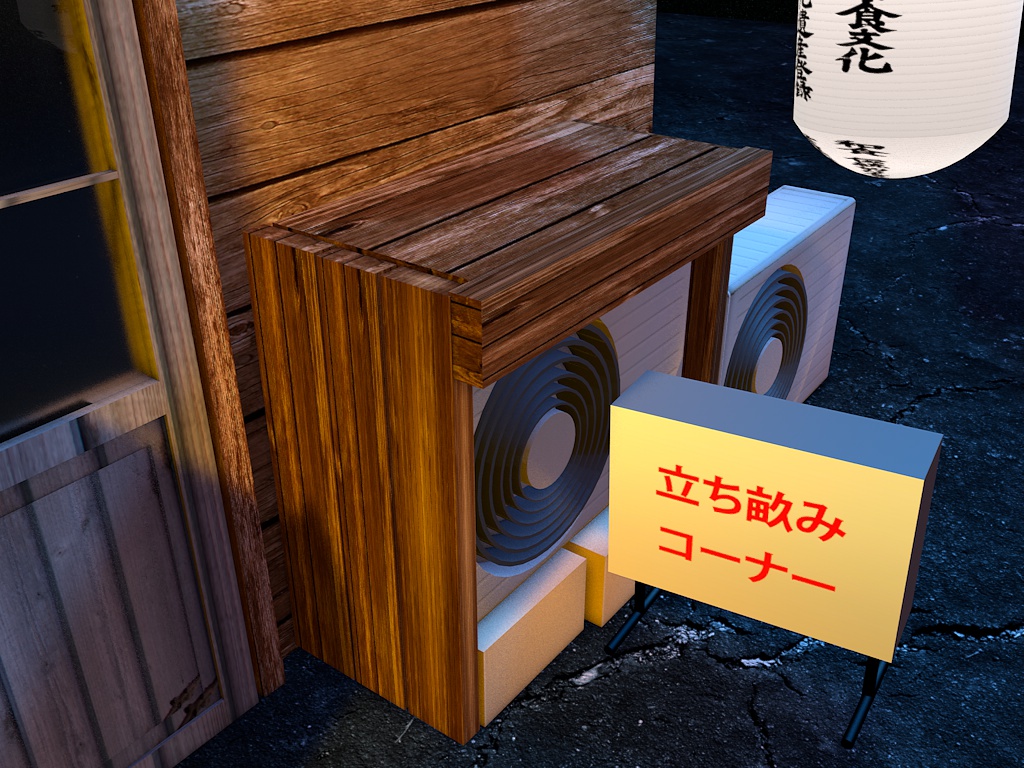
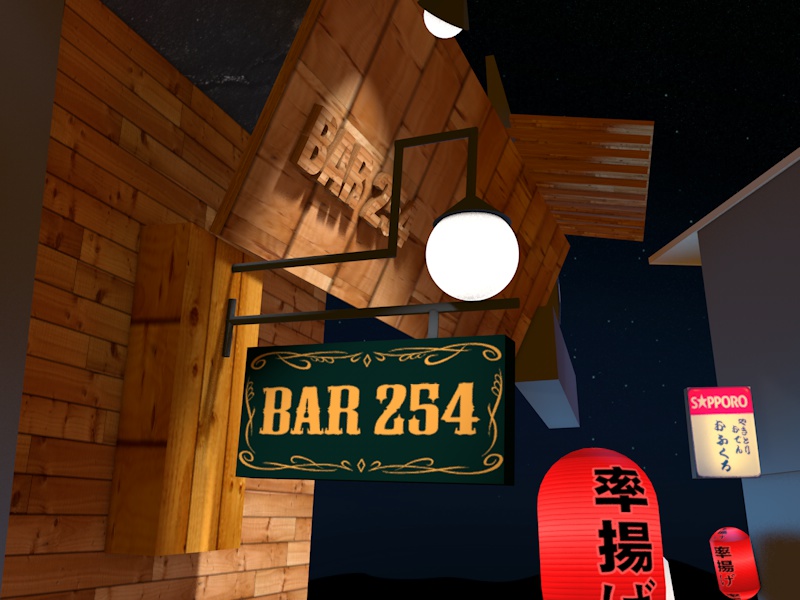
Slowly the shapes started to come together and it started to resemble the photo:
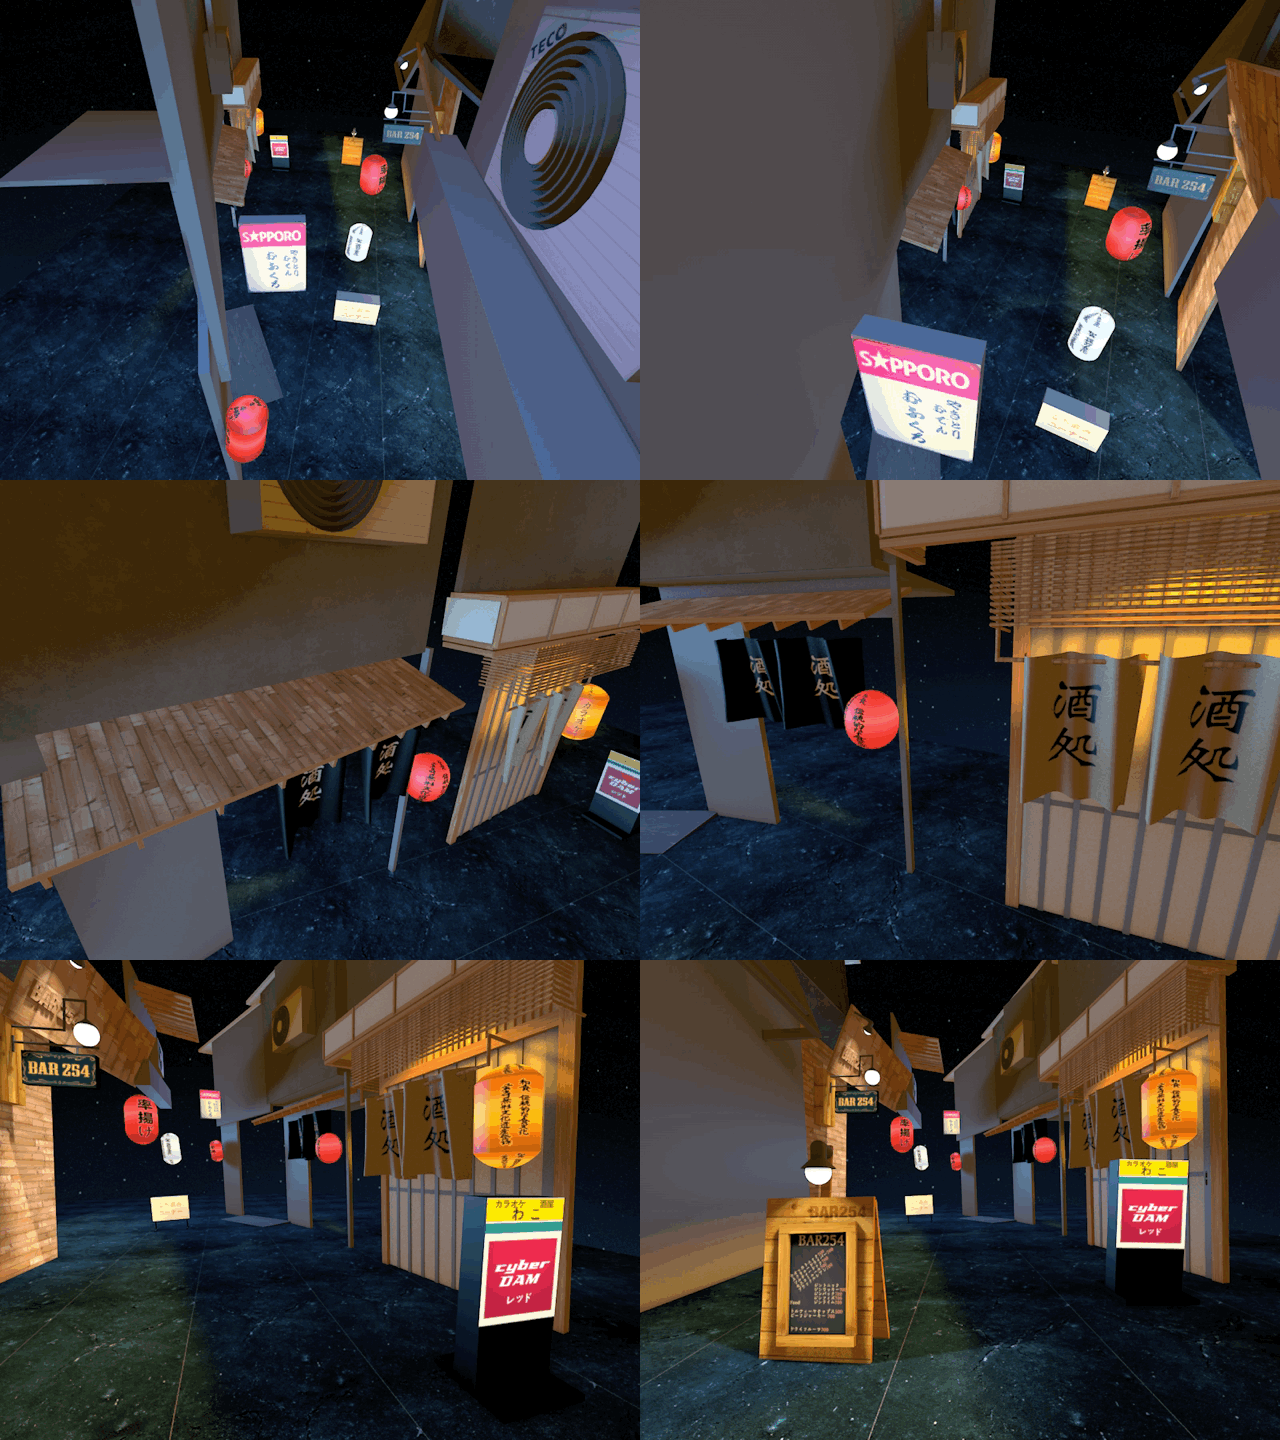
Manholes
We weren’t there yet though. I had to add more small details. Like the manholes in the street:

I found a photo of Tokyo manhole:
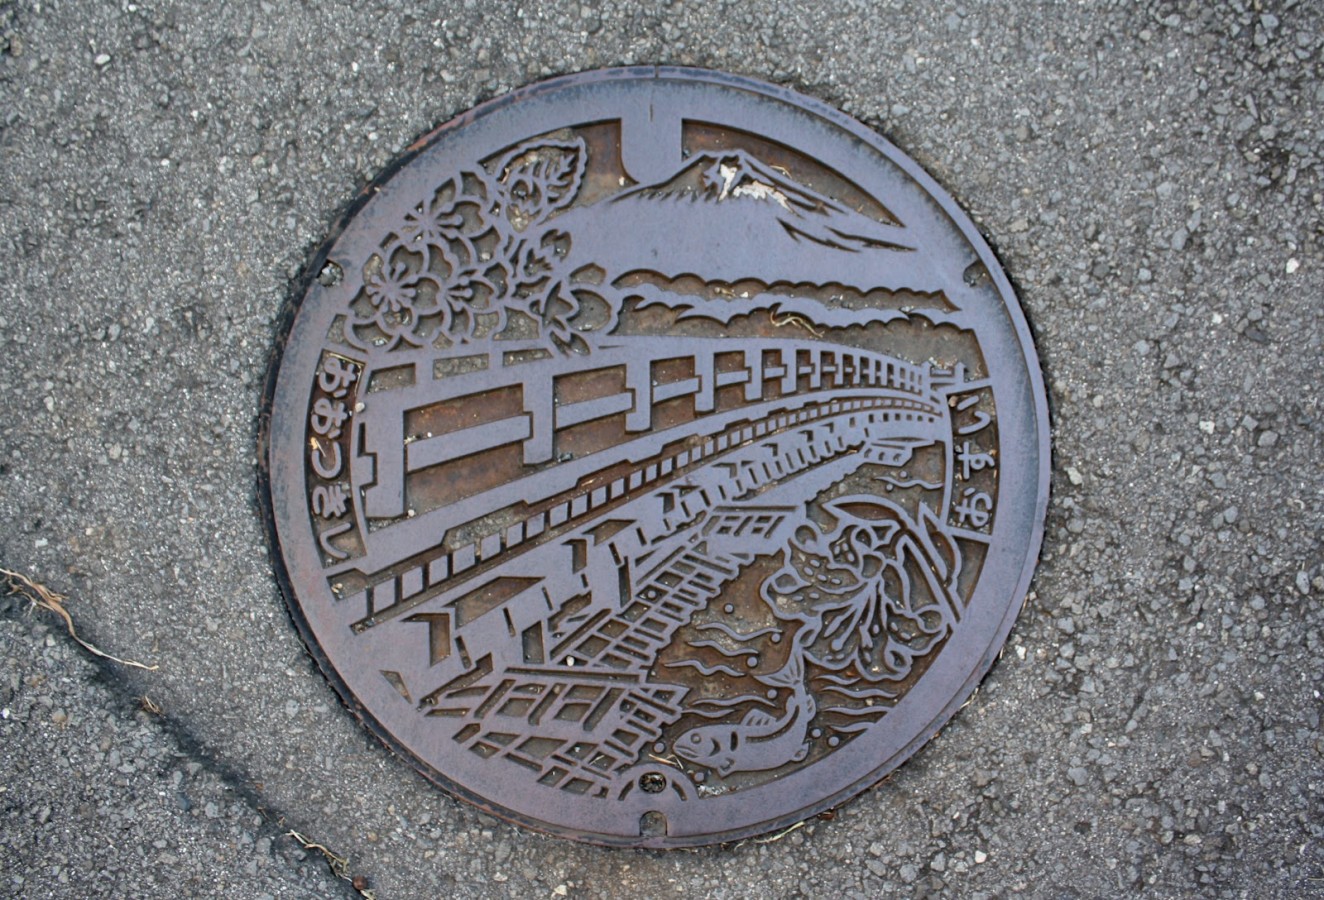
I then cut out the texture:
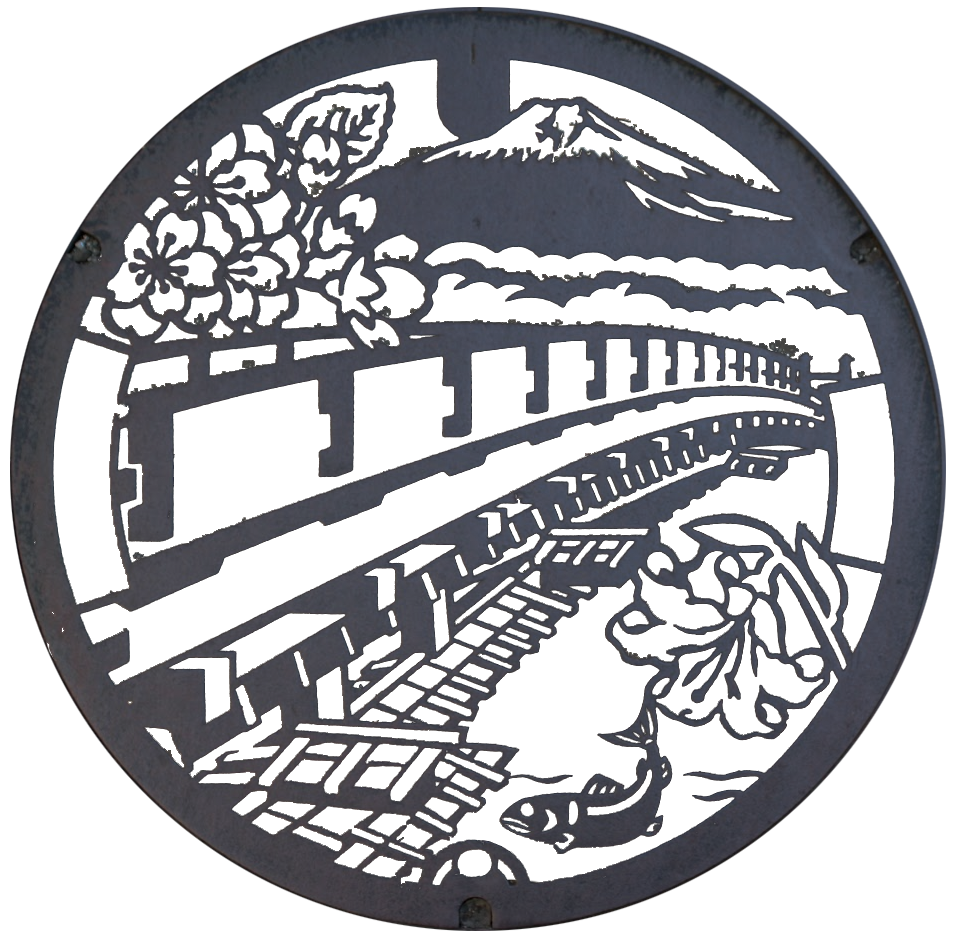
And put it in:
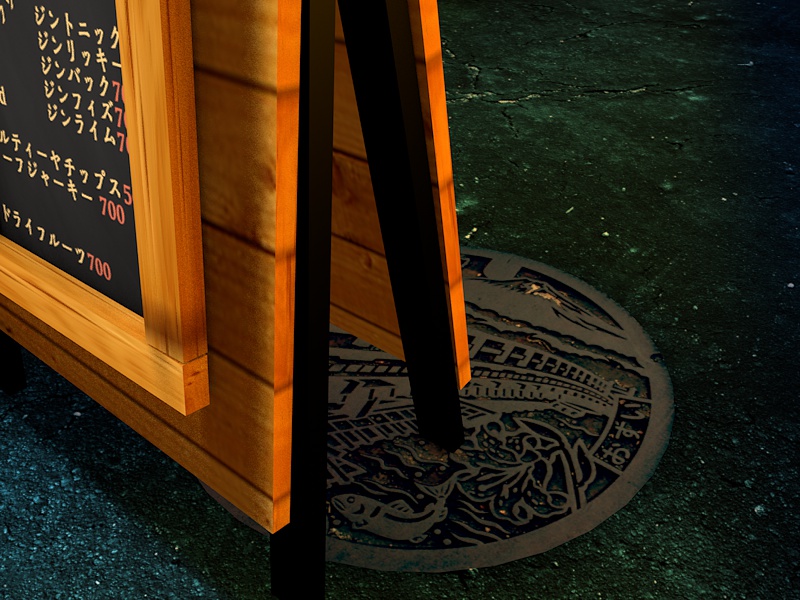
It now looked like this:
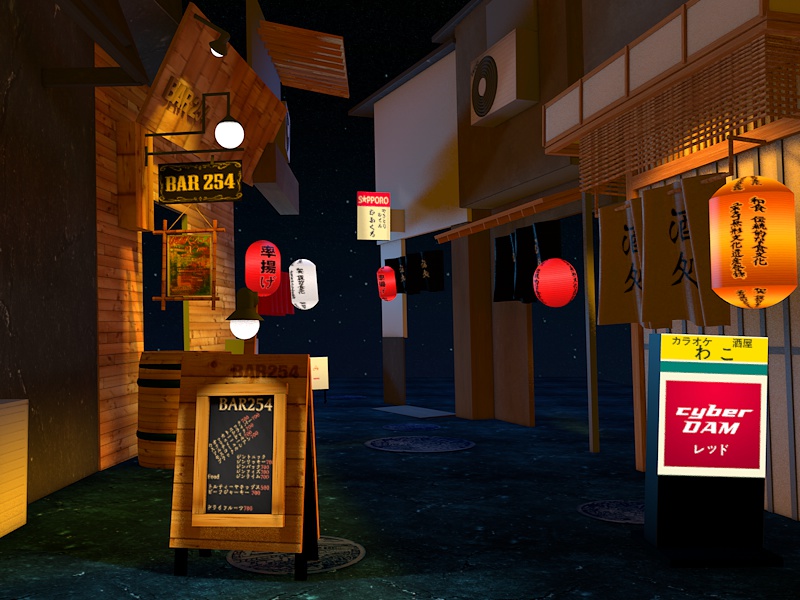
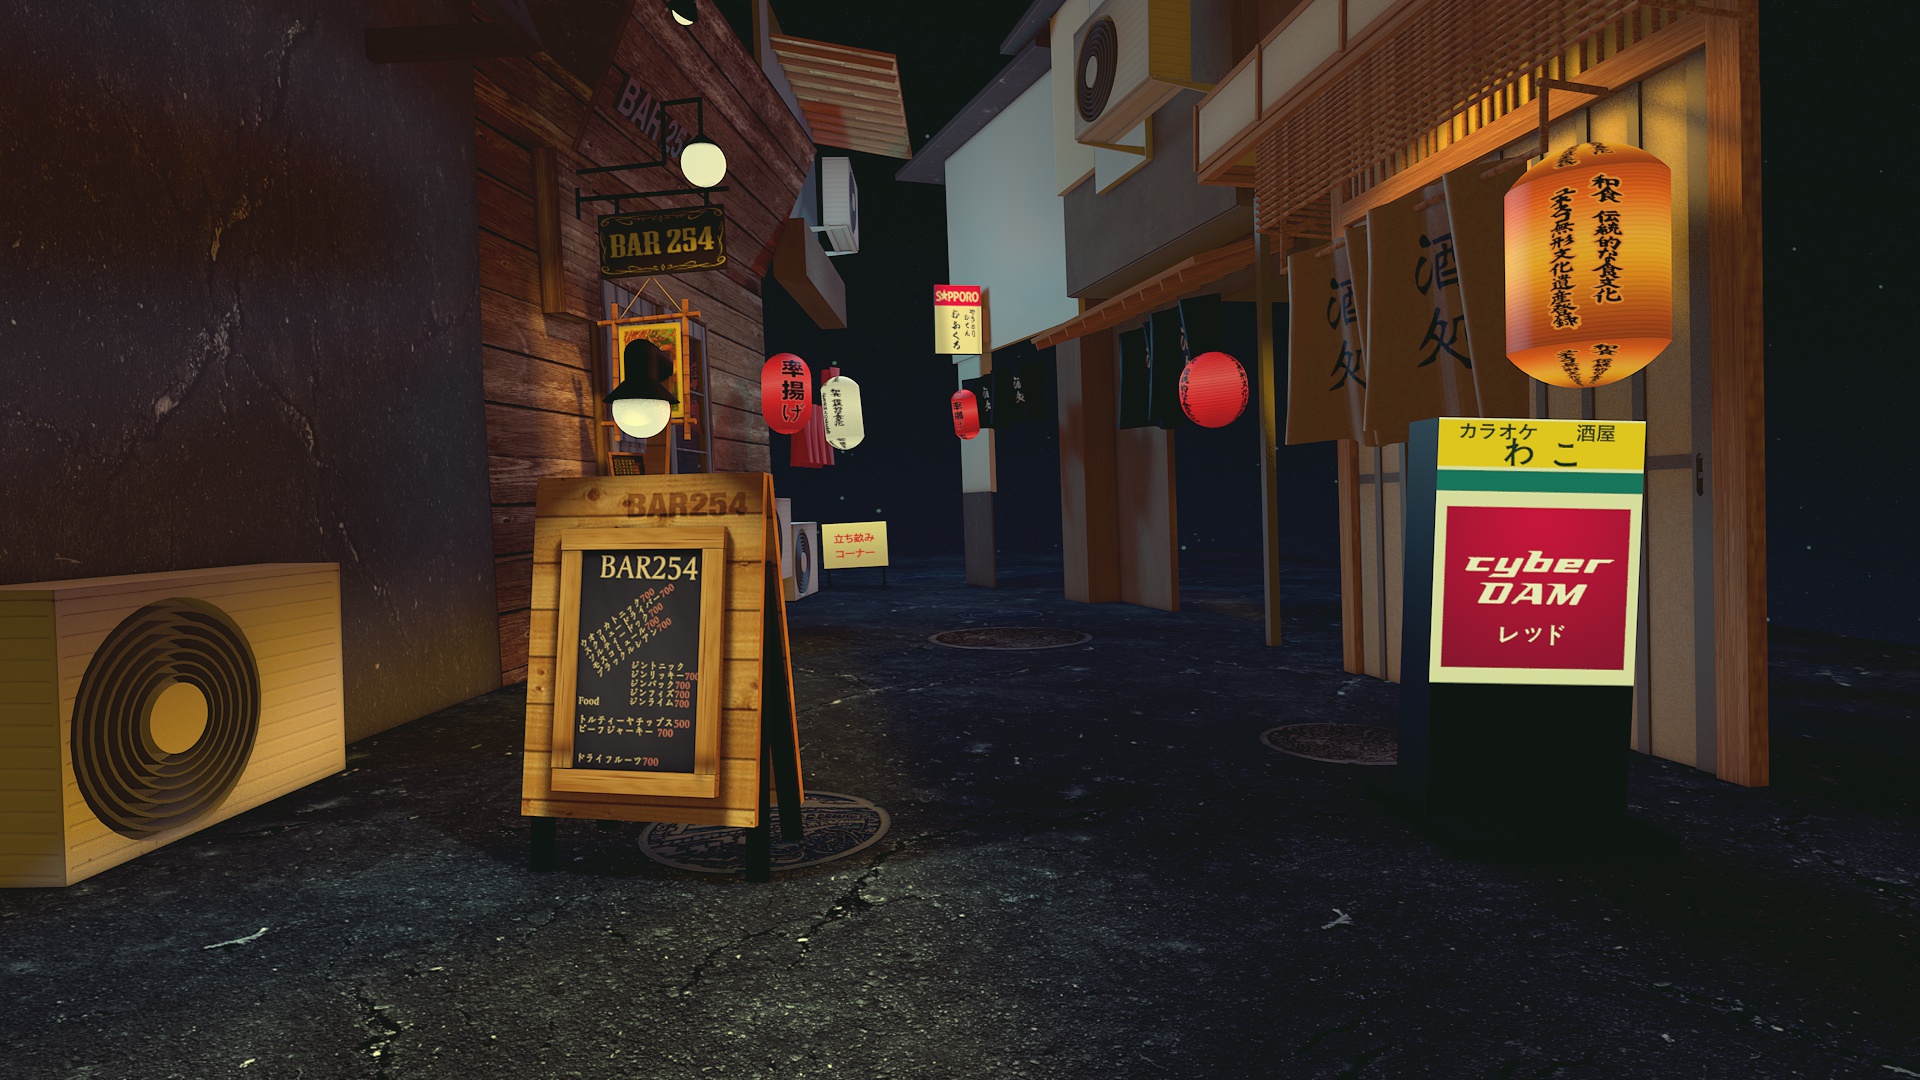
HD rendering
Until now I was limited to low-res rendering. I switched to HD rendering and everything started looking much better:

Doors
I added the door panels which was pretty much lots of copy and pasting of little bars:
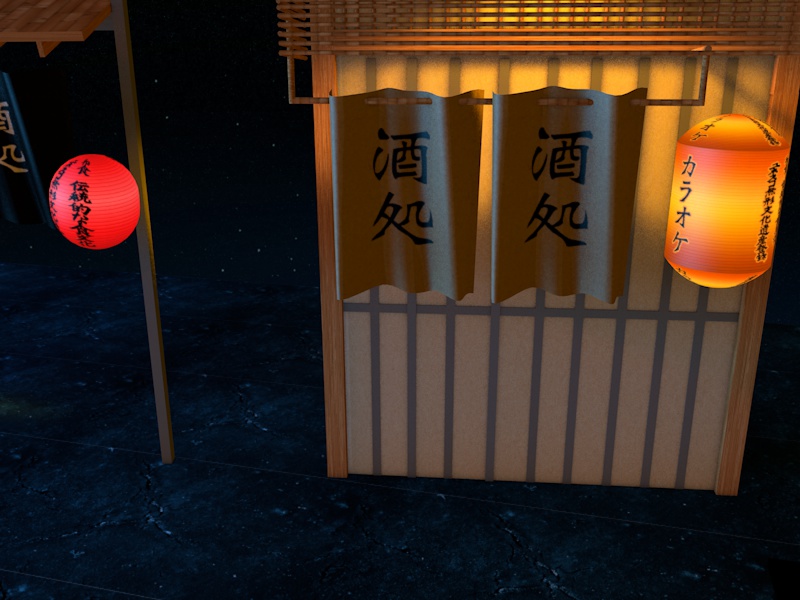
And another one:
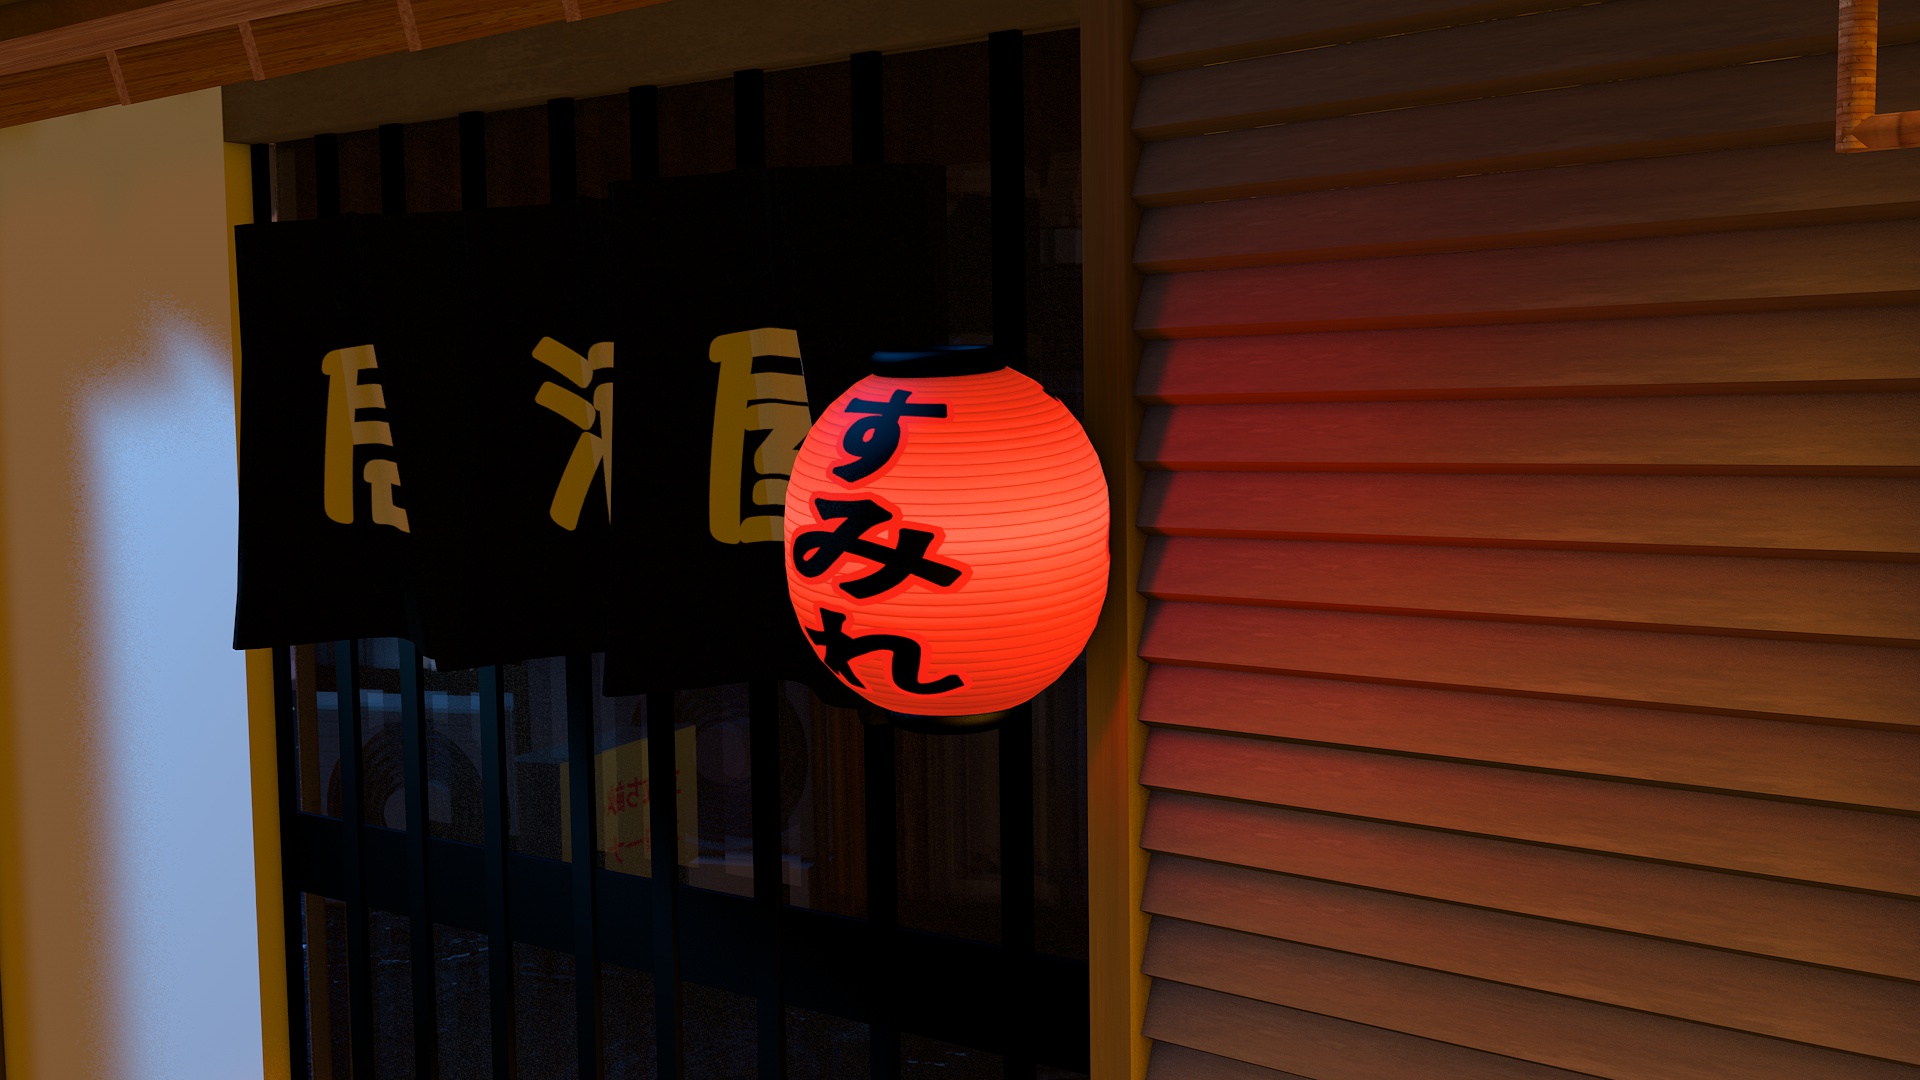
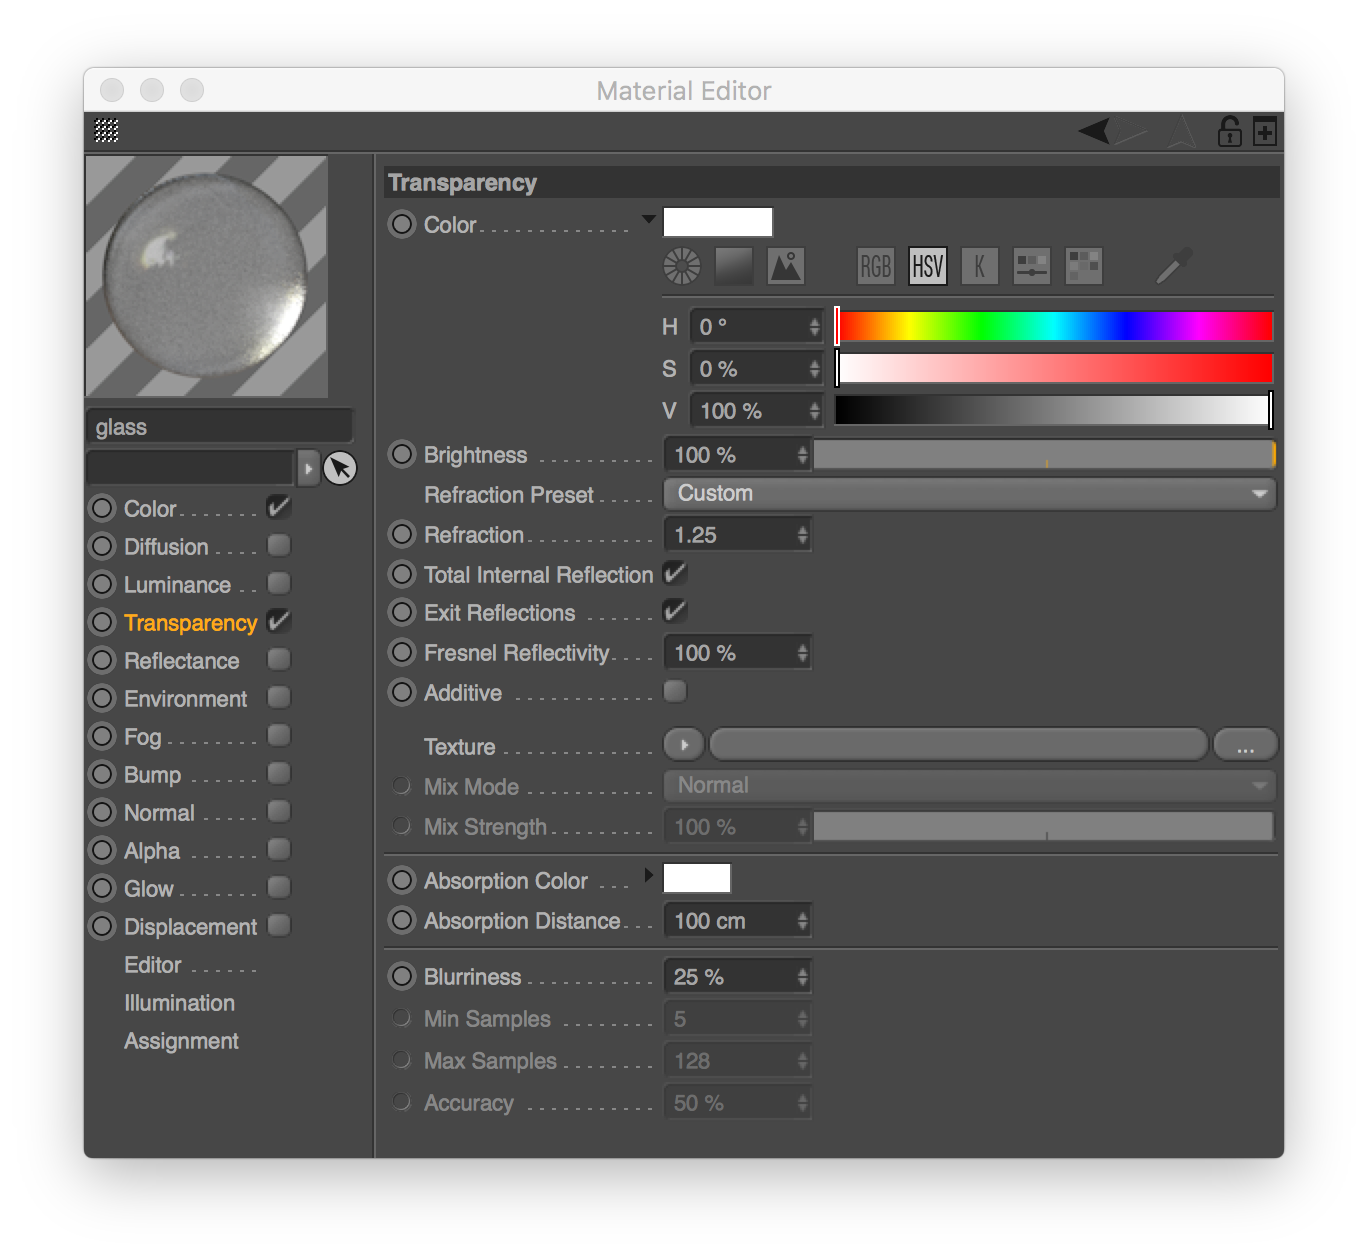
I made the door’s glass reflective. Which was simple by adding a texture that had high reflectivity:
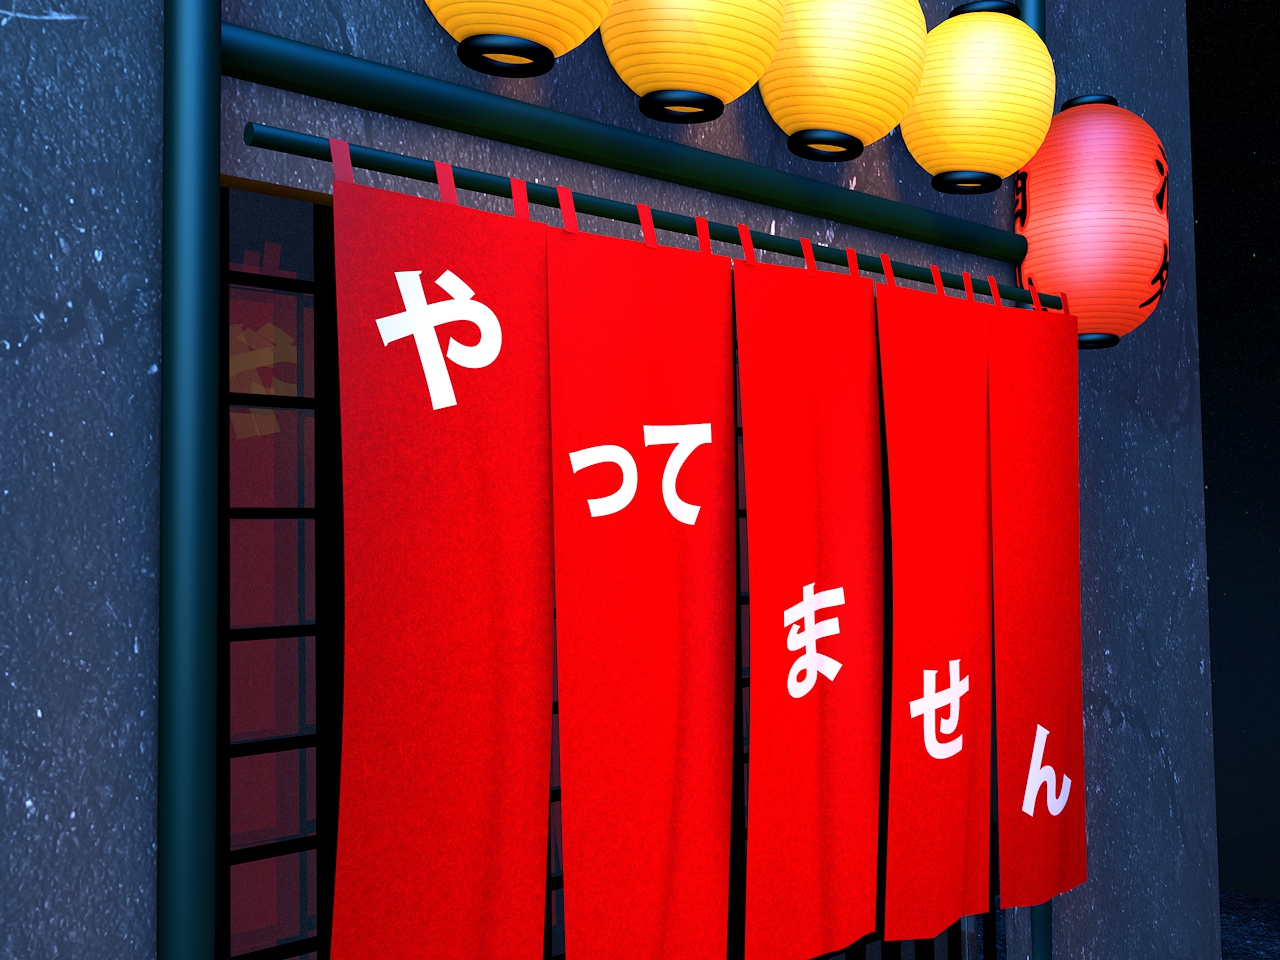
I then added the shop at the end of the street (hardly visible but it’s there):

Here’s the final wireframe and shapes:
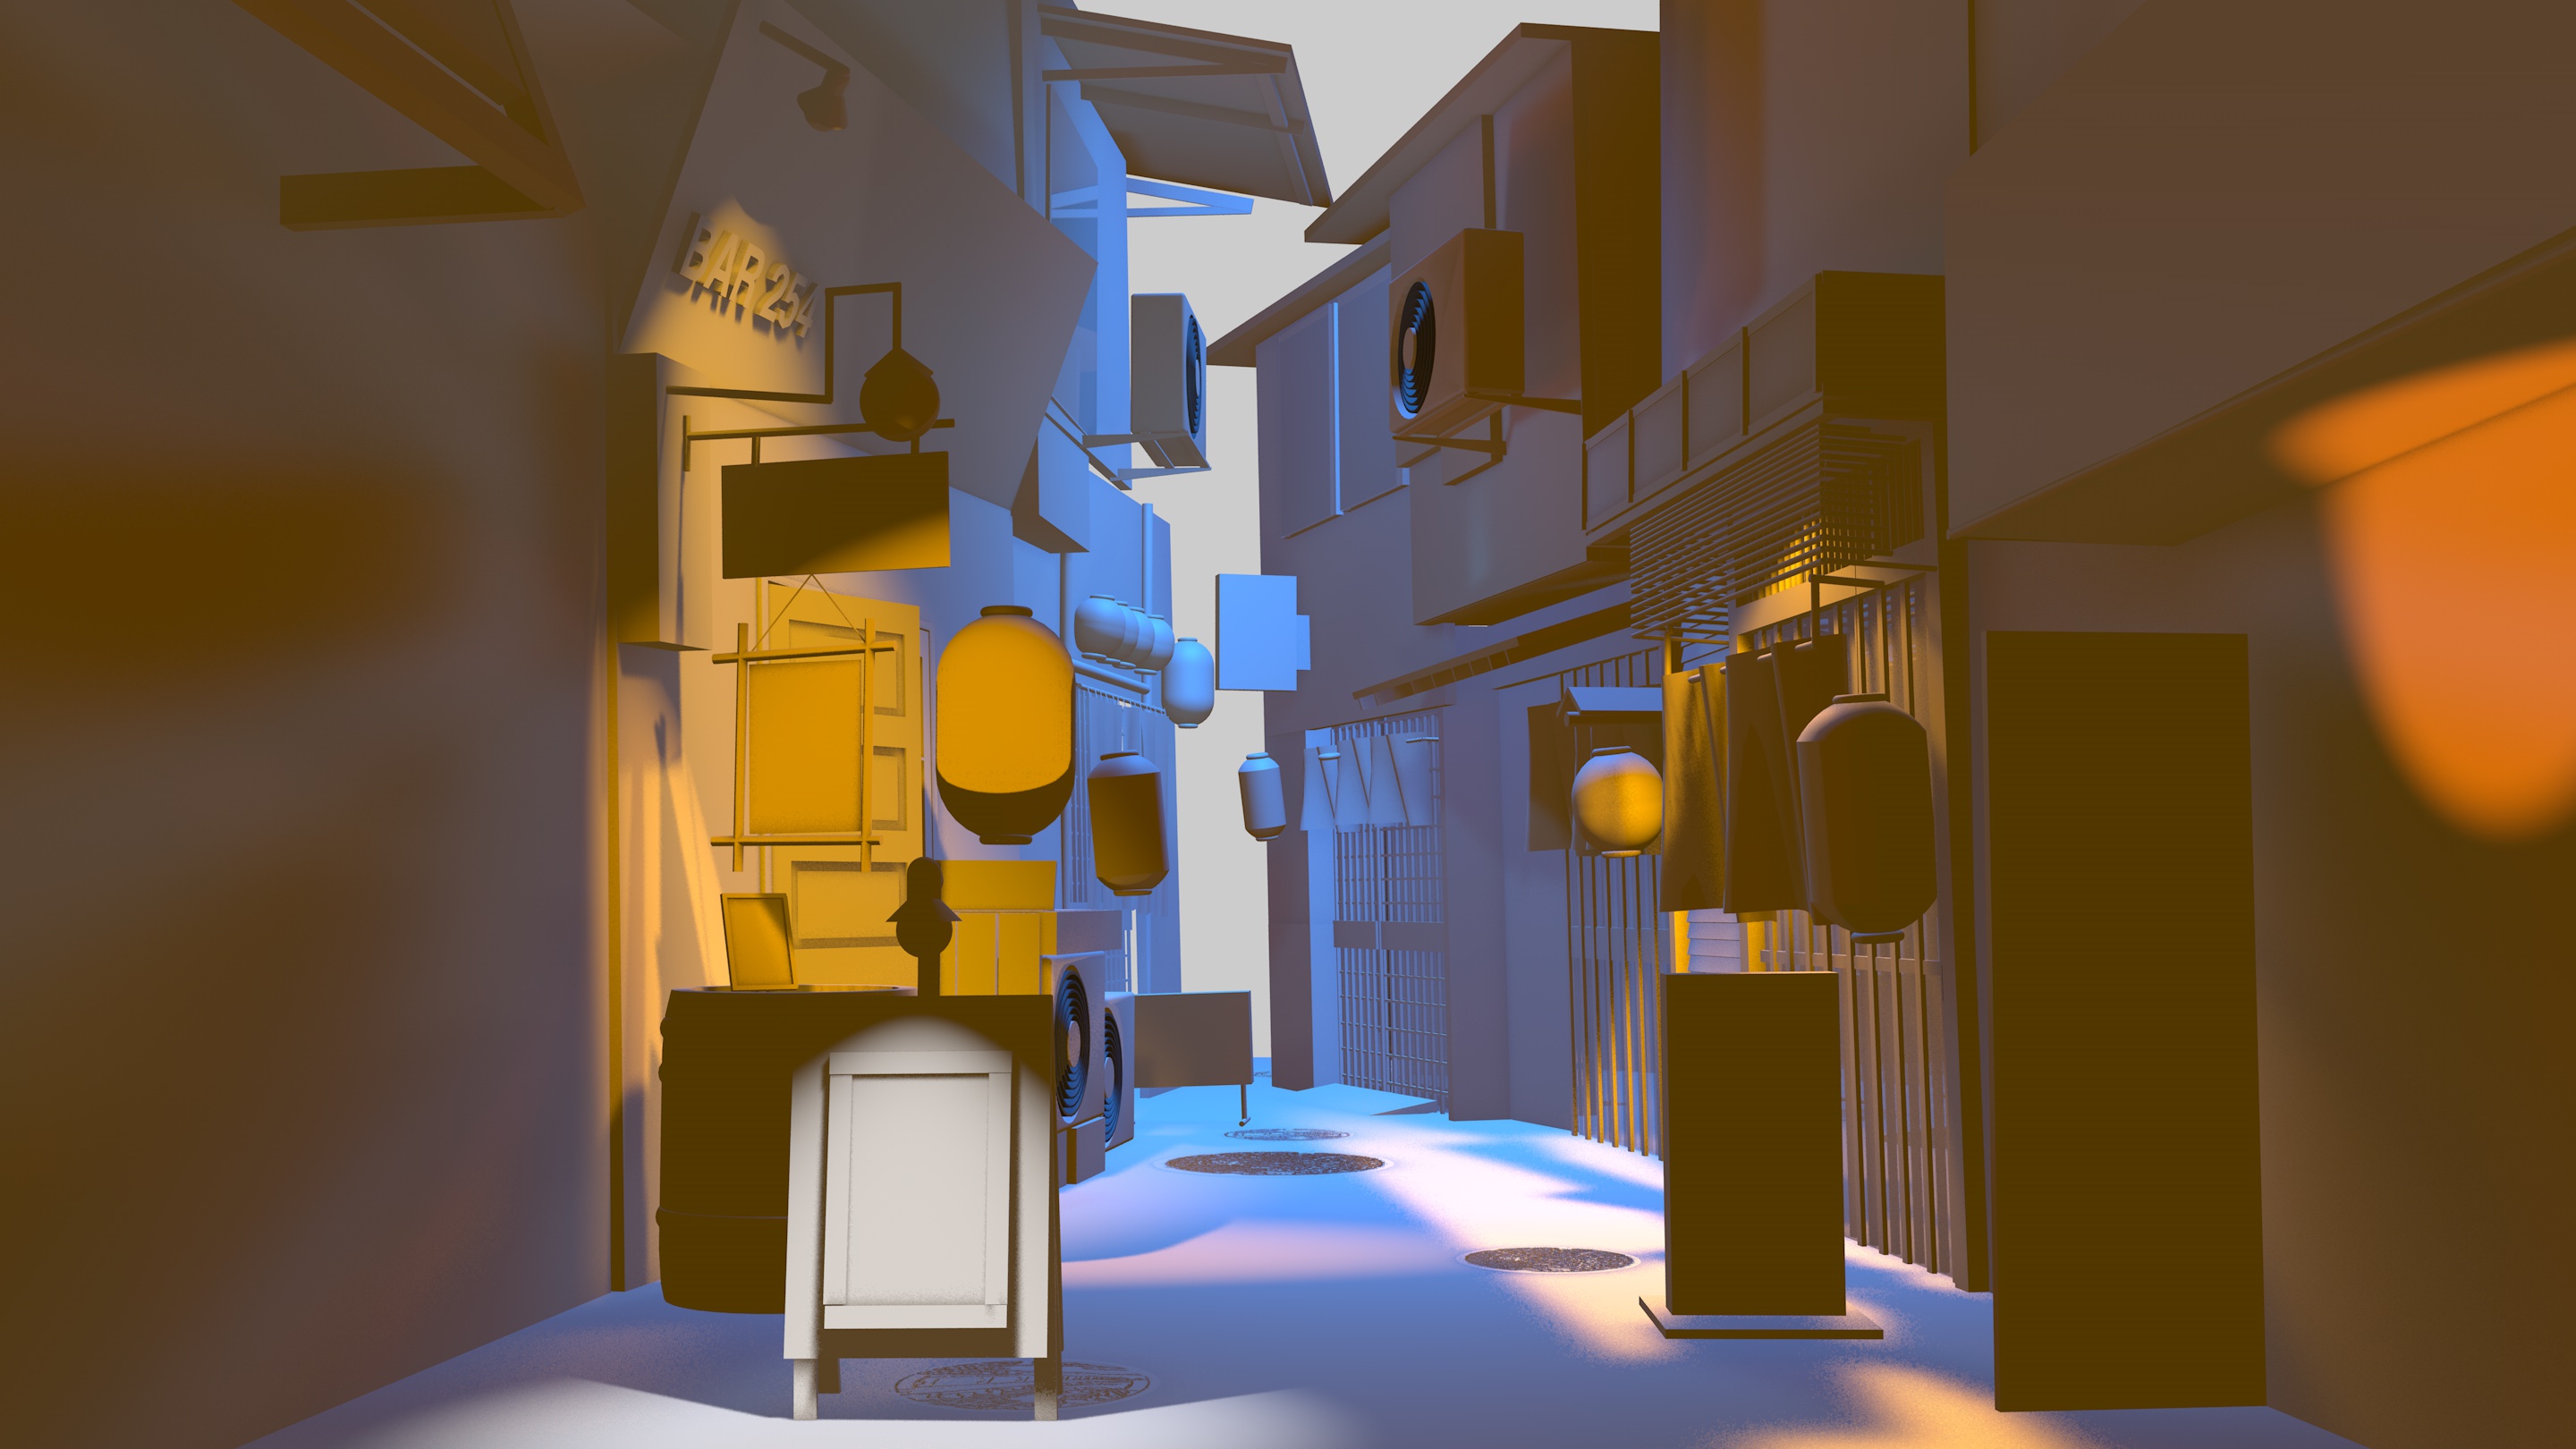
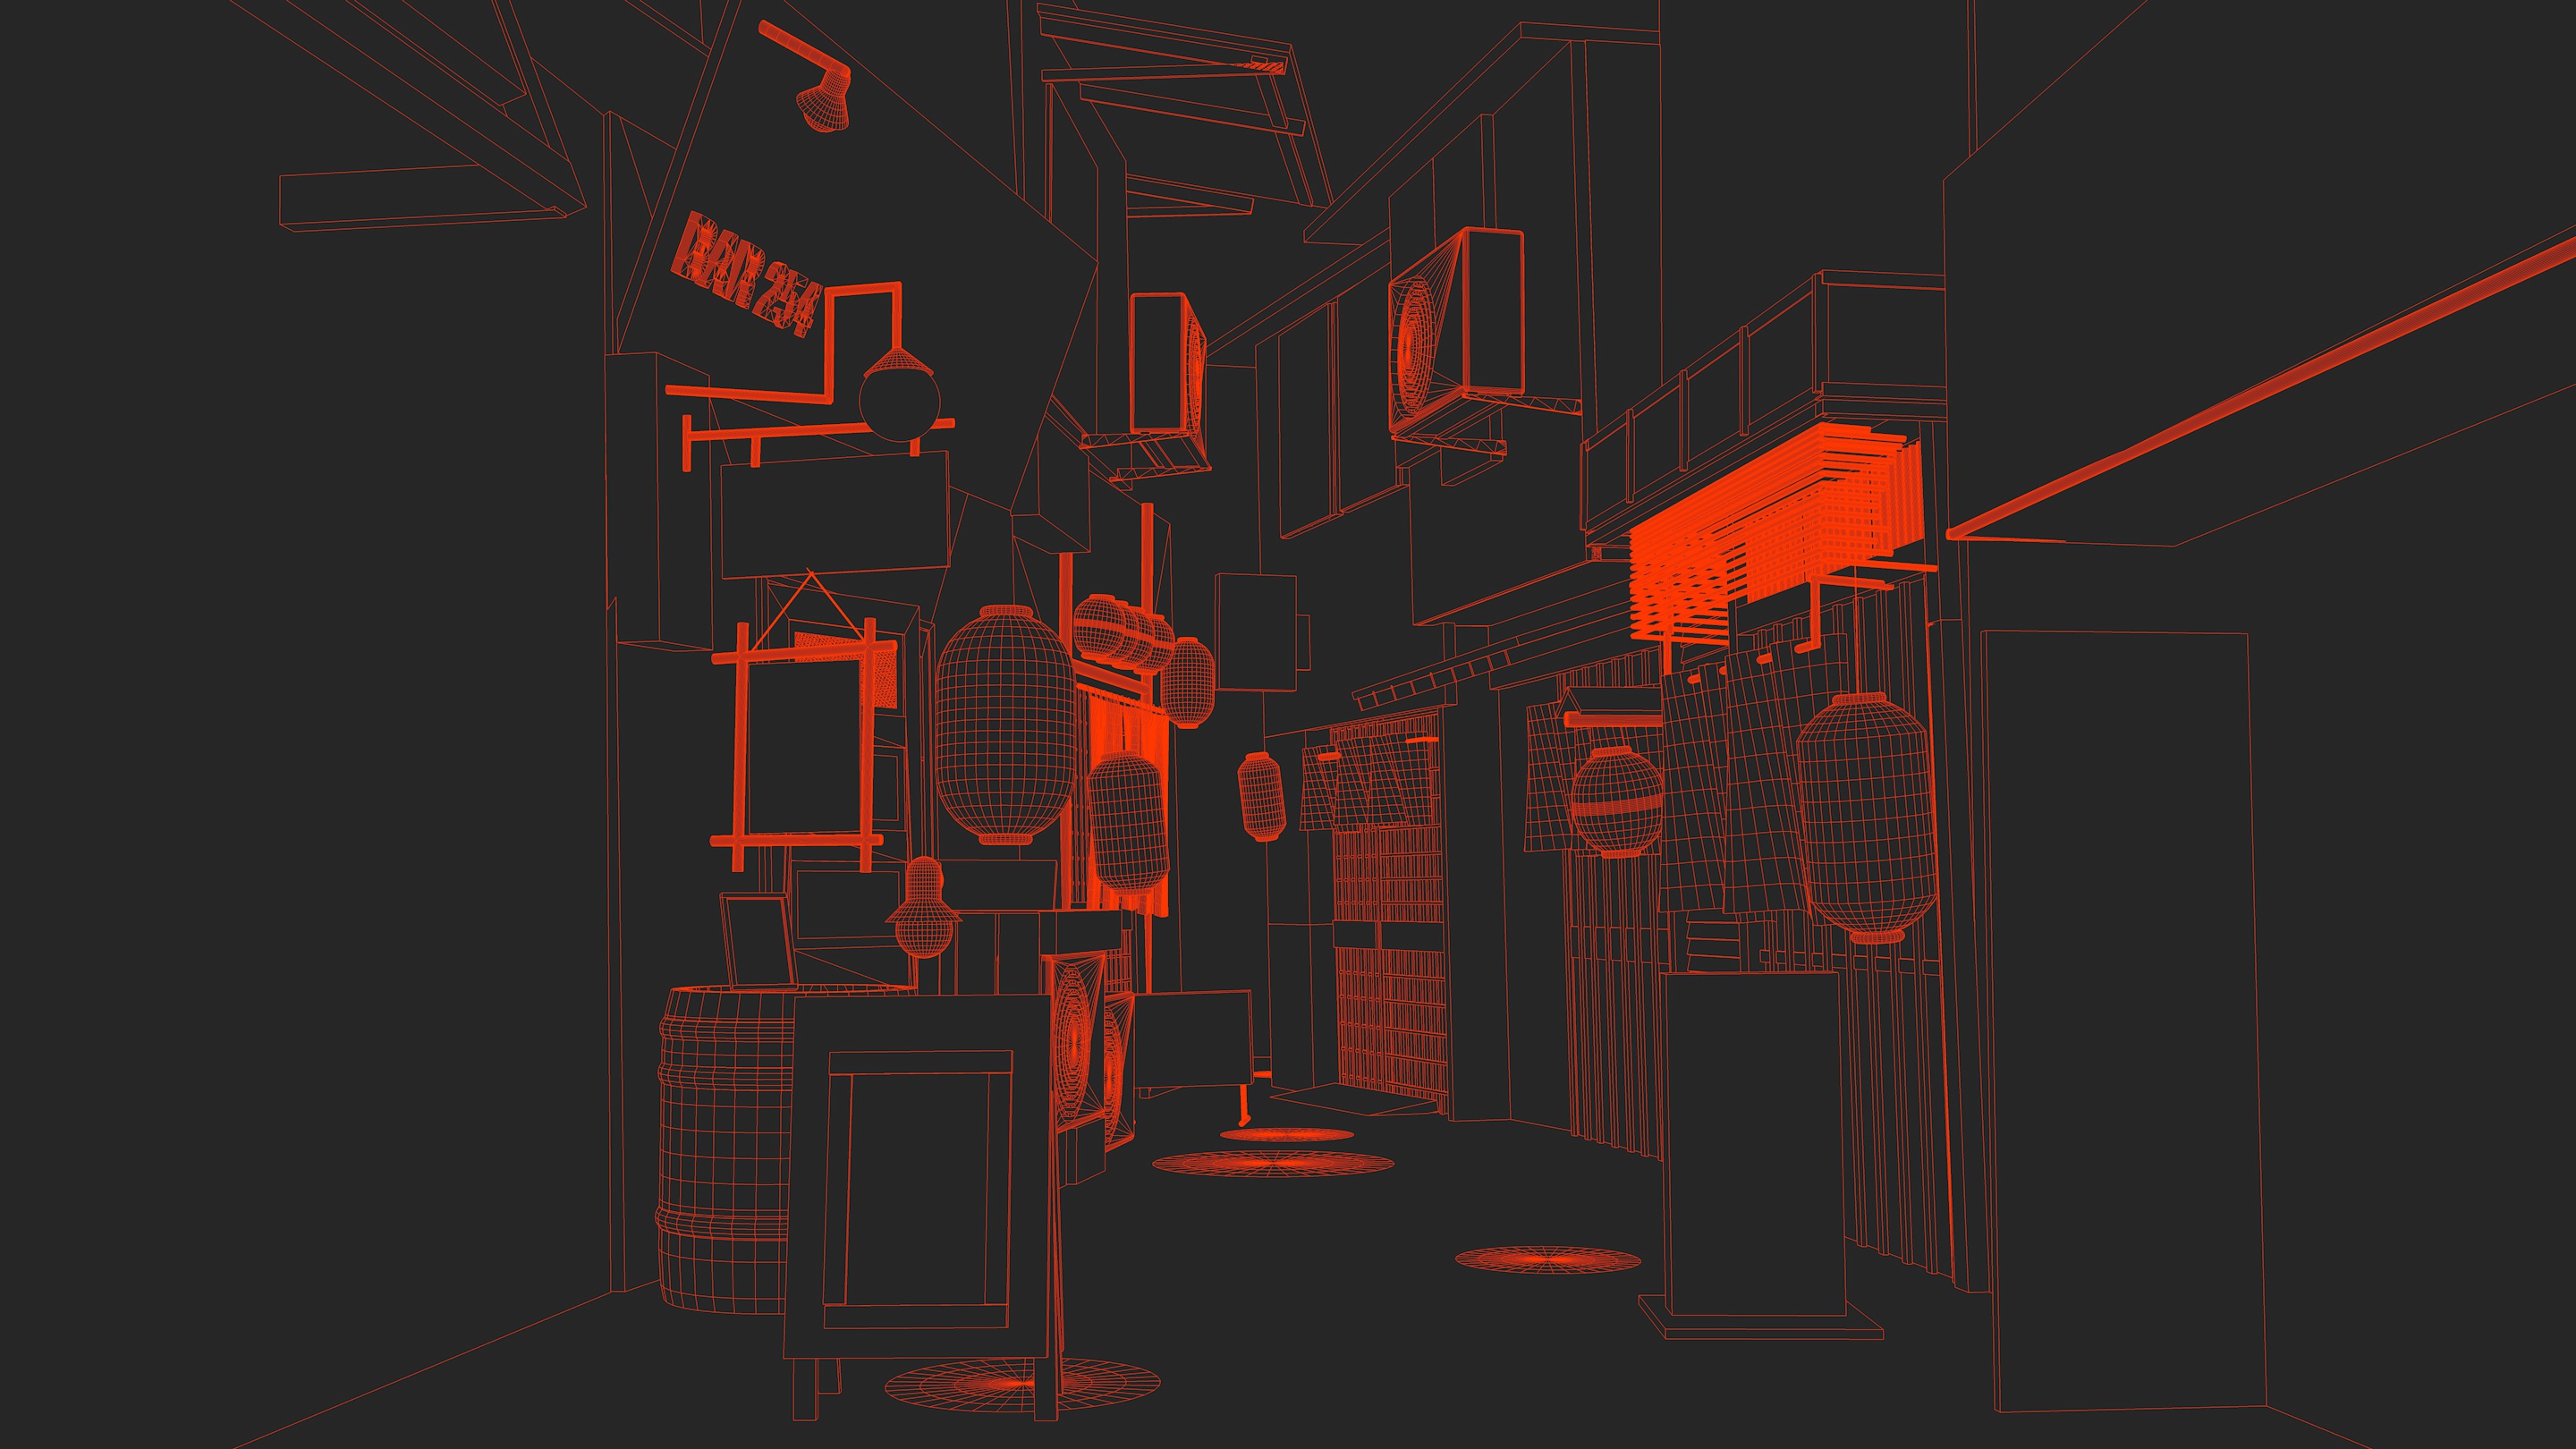
Finally, here’s what I ended up with on day 31:
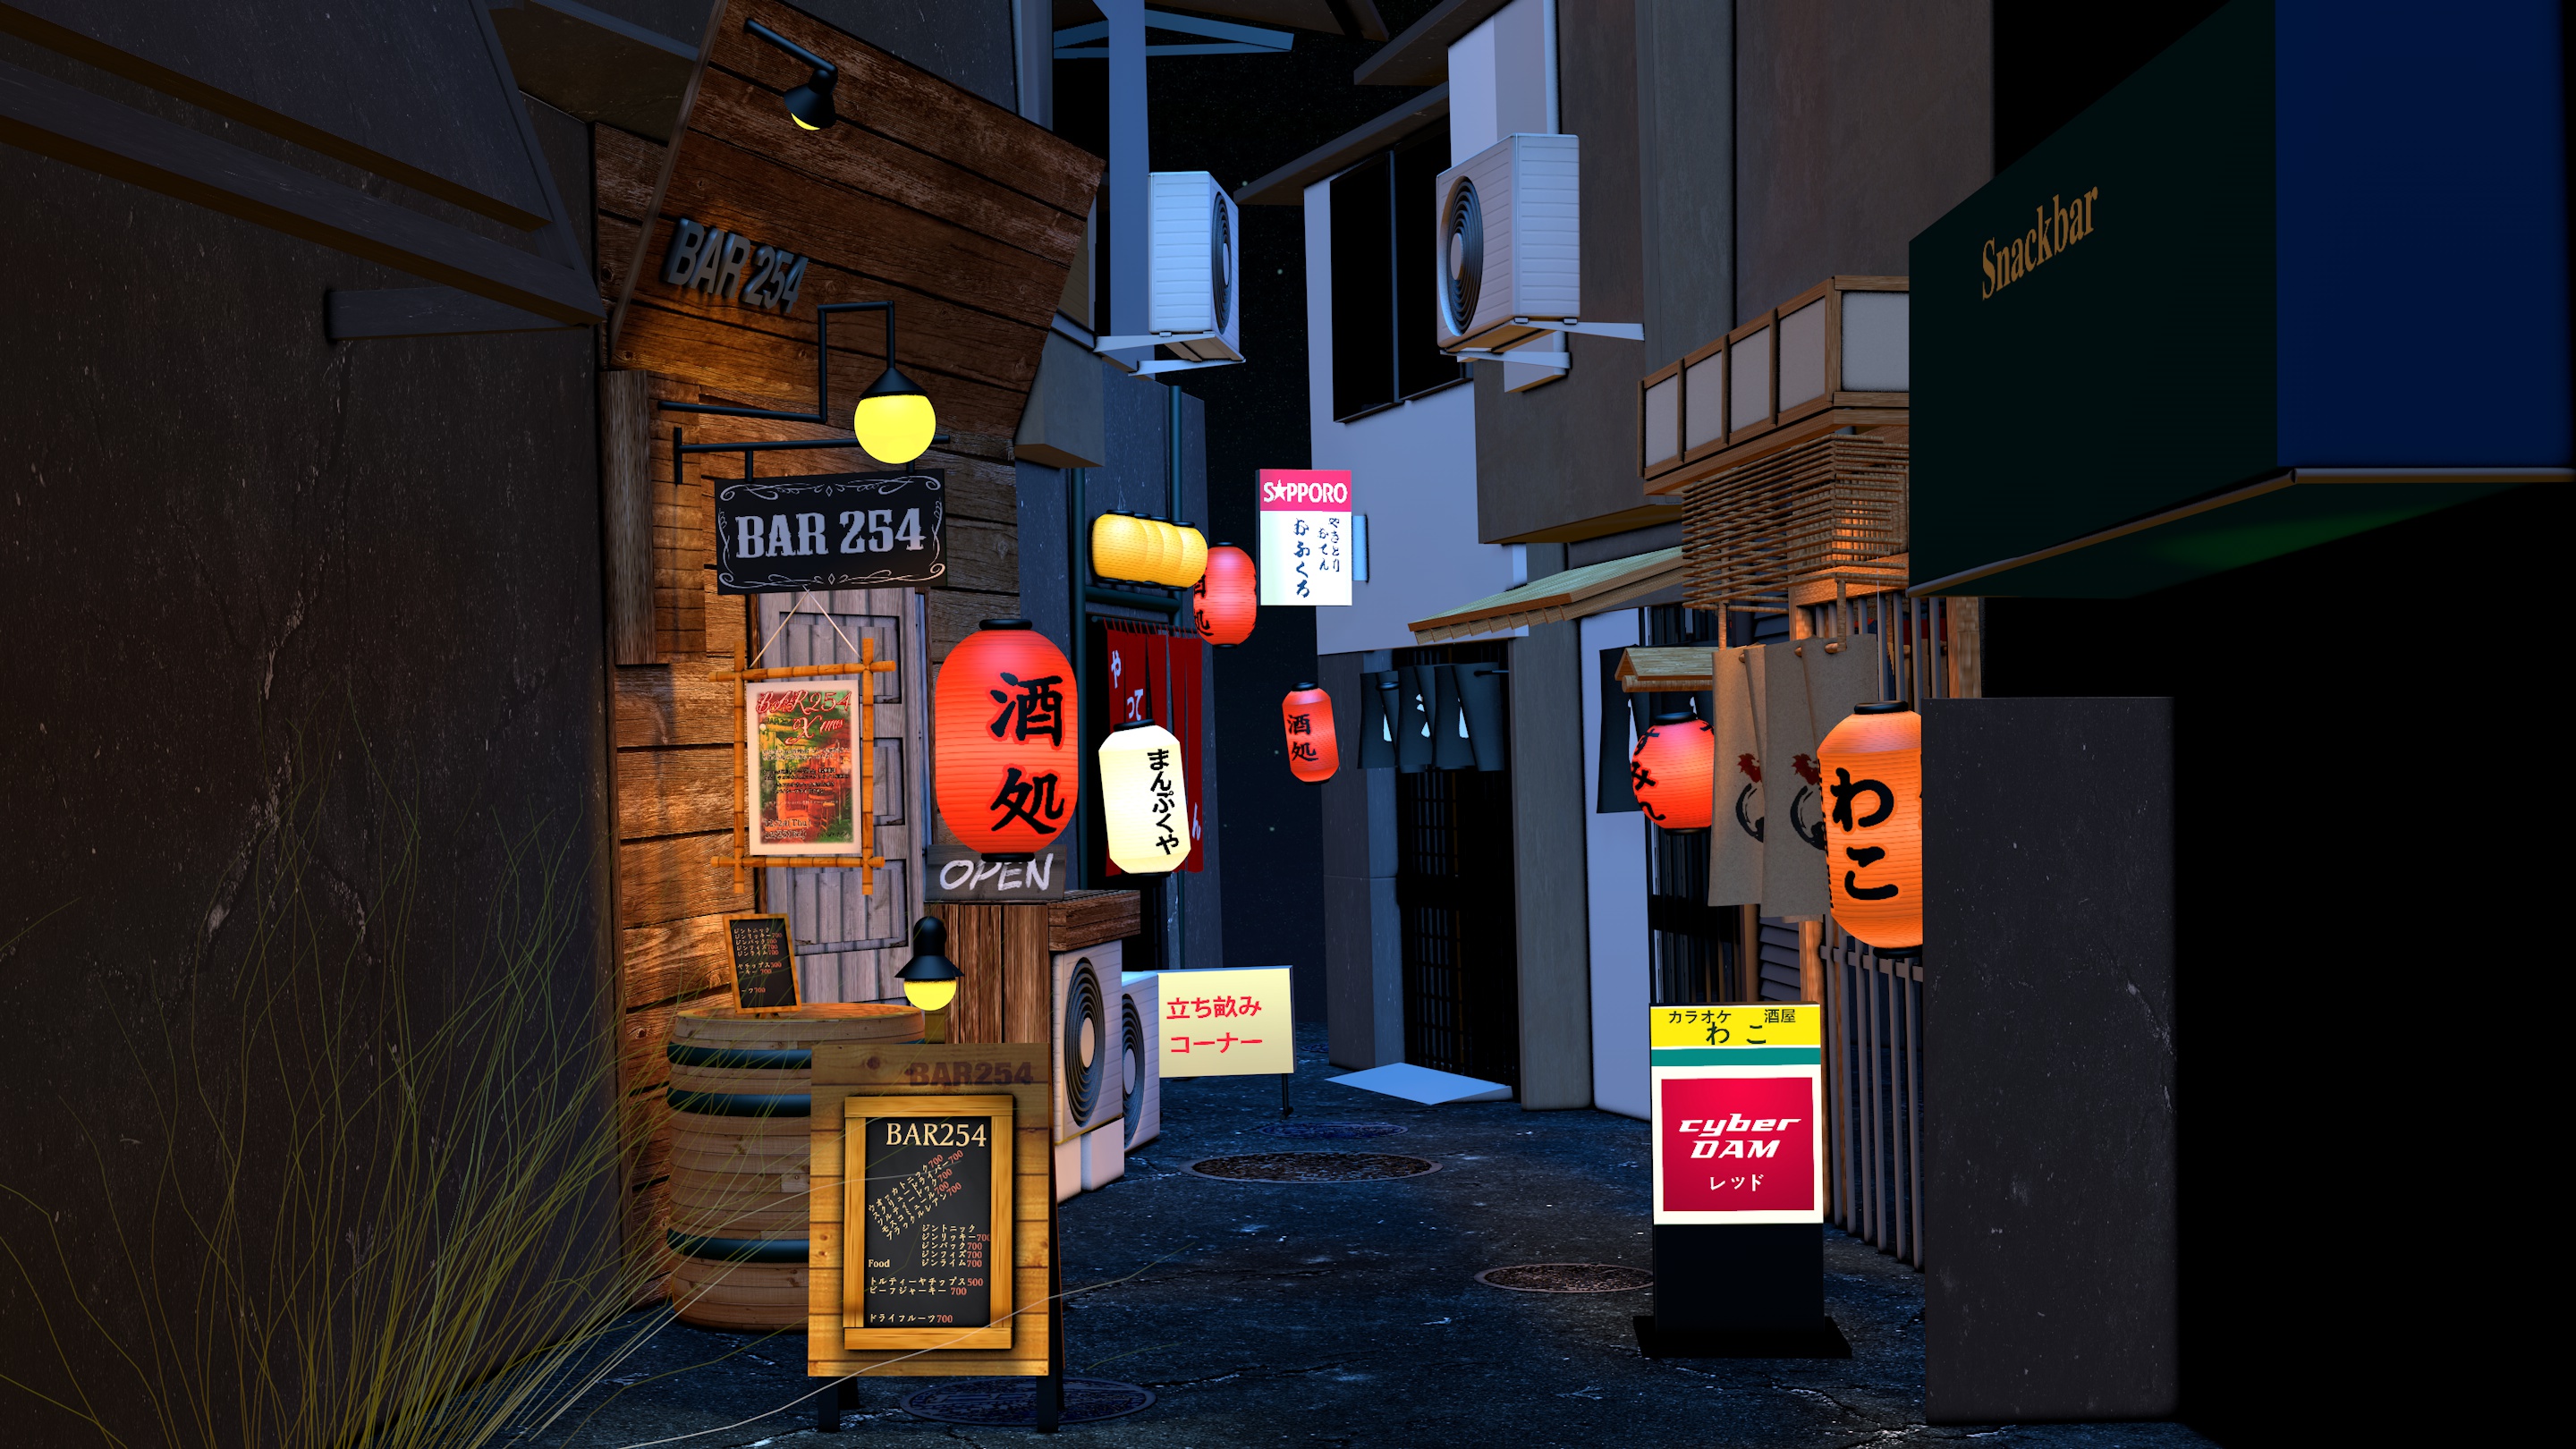
And in SketchFab 3d:
On mobile you can even see it inside a VR viewer:
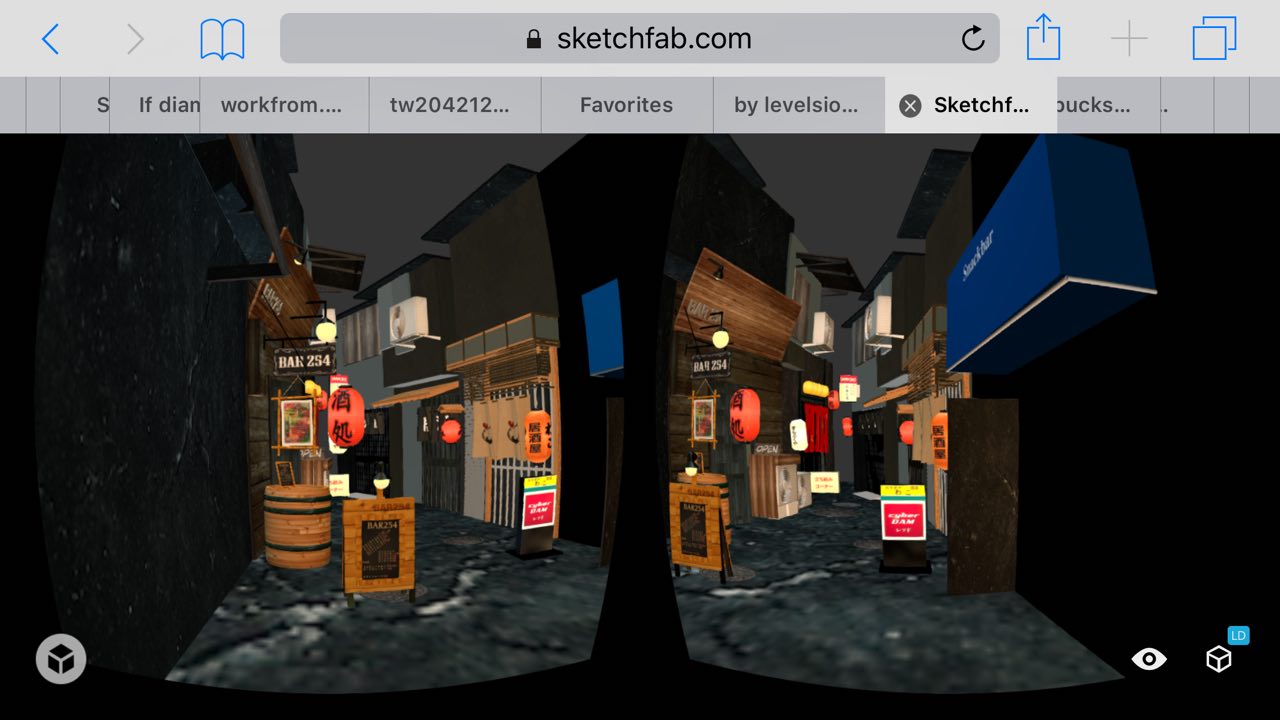
I then proceeded to add 100 cats…
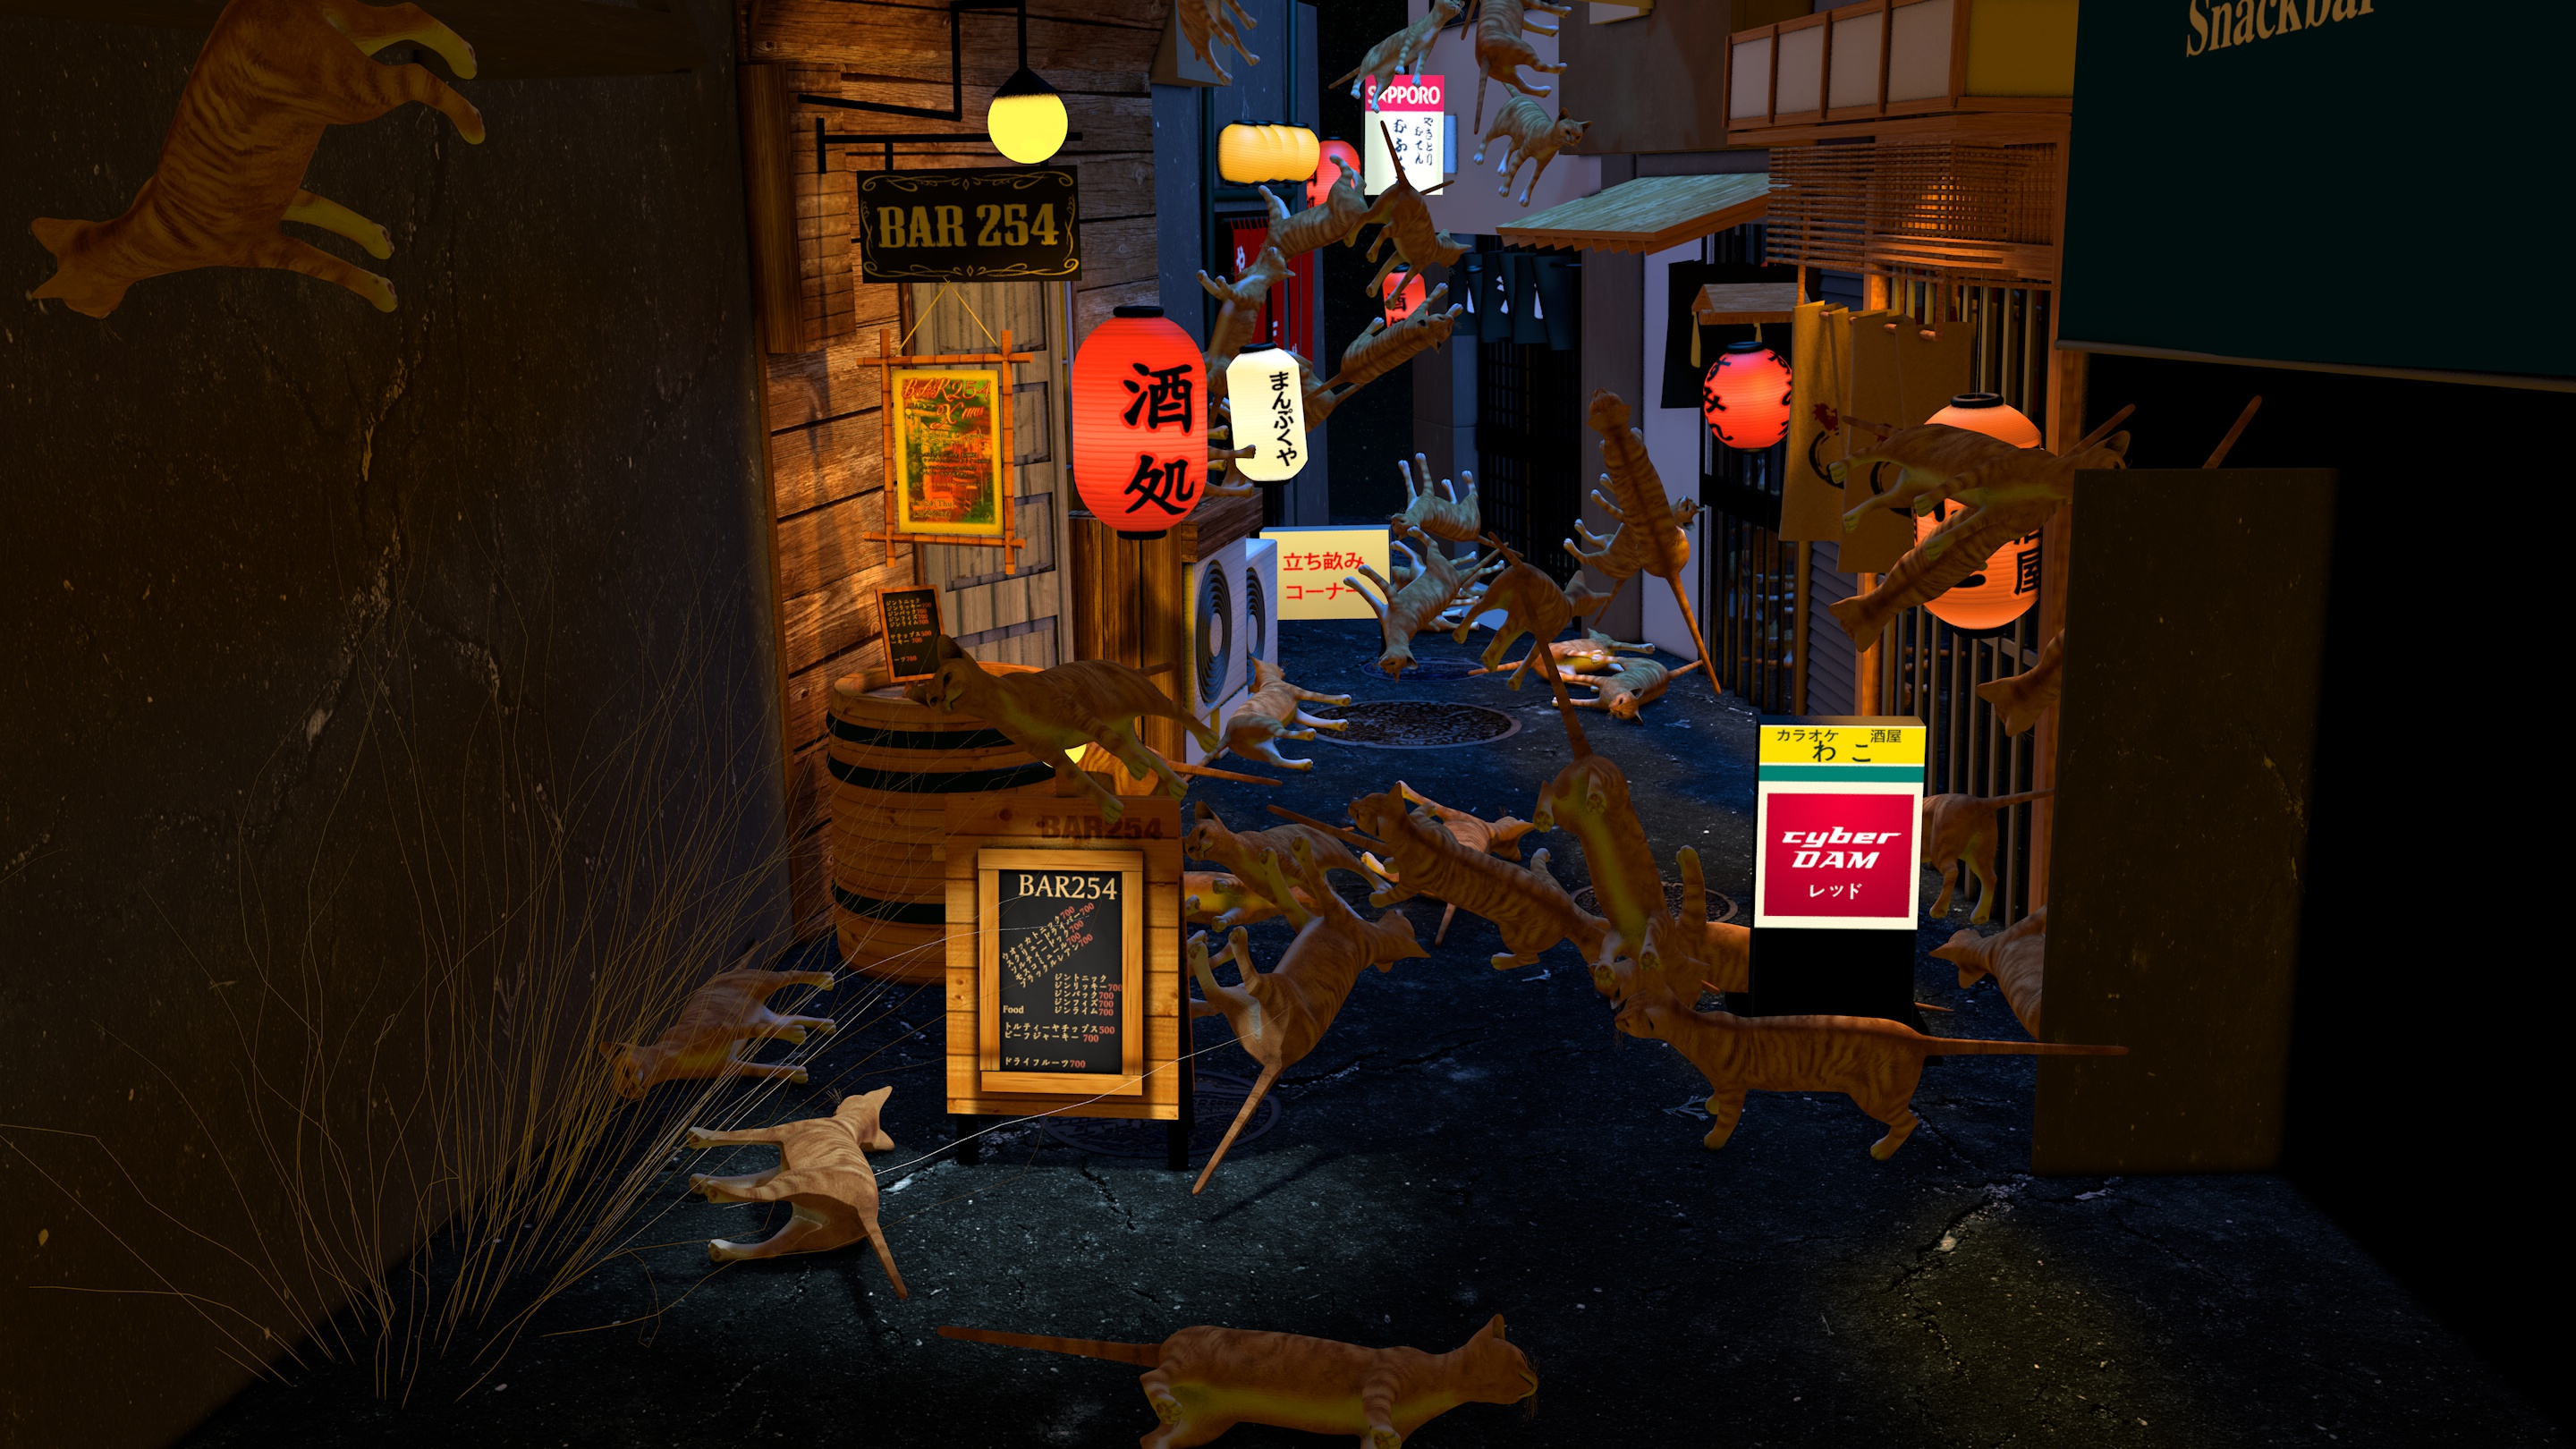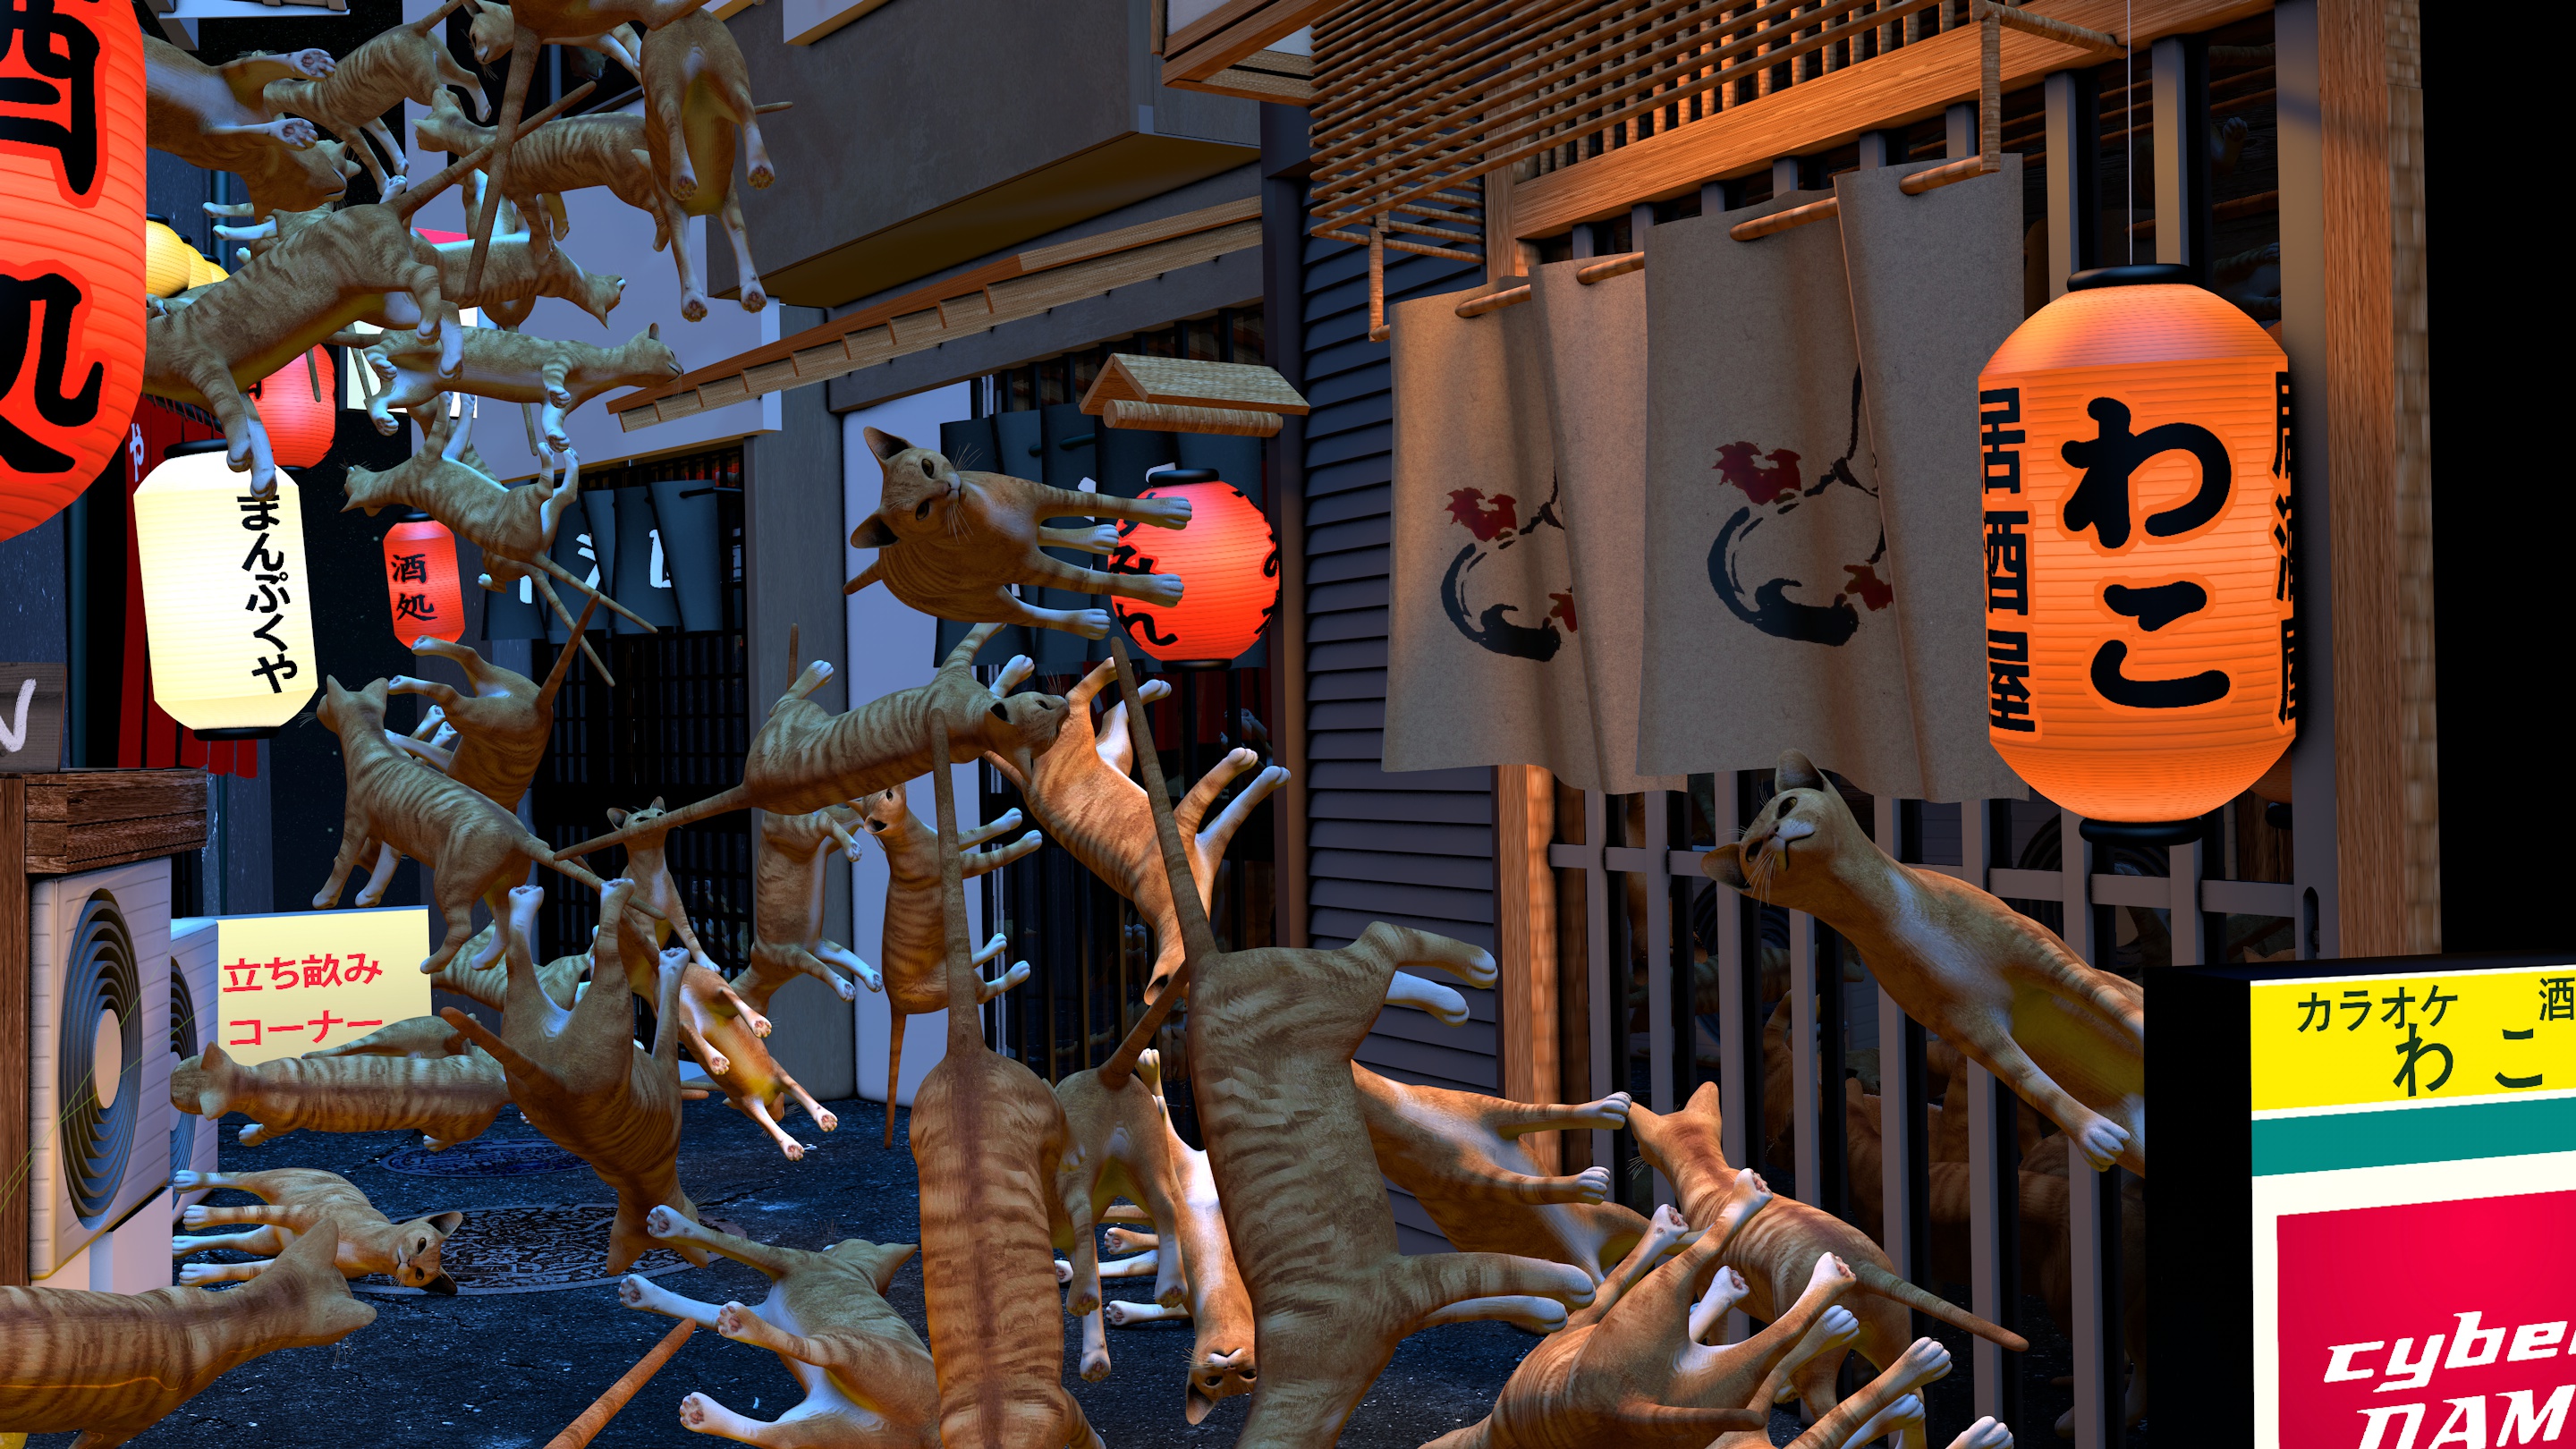
During the whole 30 days of learning 3d, I shared my 3d updates on Twitter:
Day 29 of Learning 3d (GIF) 🎮 Glass, 💎reflectives, 🔍HD, 🌈coloring and more details 🇯🇵🏮✏️ https://t.co/aqDVGss8oA pic.twitter.com/ZdFQV9j50x
— levels.io (@levelsio) March 3, 2016
Then a random guy from Twitter called @shoinwolfe sent me a video of the street I was modeling, IN REAL LIFE!
@levelsio Brb gonna go into the dark depths of northern Tokyo 🏮😎🏮 Will send pics tomorrow 👍🏻
— Shoin Wolfe (@shoinwolfe) February 4, 2016
@levelsio Found it! Teaser vid 📽 pic.twitter.com/TNrKE58LJd
— Shoin Wolfe (@shoinwolfe) February 5, 2016
I watched his video hundreds of times to get an idea of the depth of the scene. Because the photo I had was flat and I had to guess everything.
Let’s…go….to Tokyo!
Coincidentally, I was visiting Korea, which is, well, next to Japan! And what better way to get a REAL idea about what I was modeling than, well, actually standing in it?
24 hours later, I land in Tokyo.
— levels.io (@levelsio) May 4, 2016
I meet up with Shoin (the guy from that random Twitter video) and Shane (those names tho).
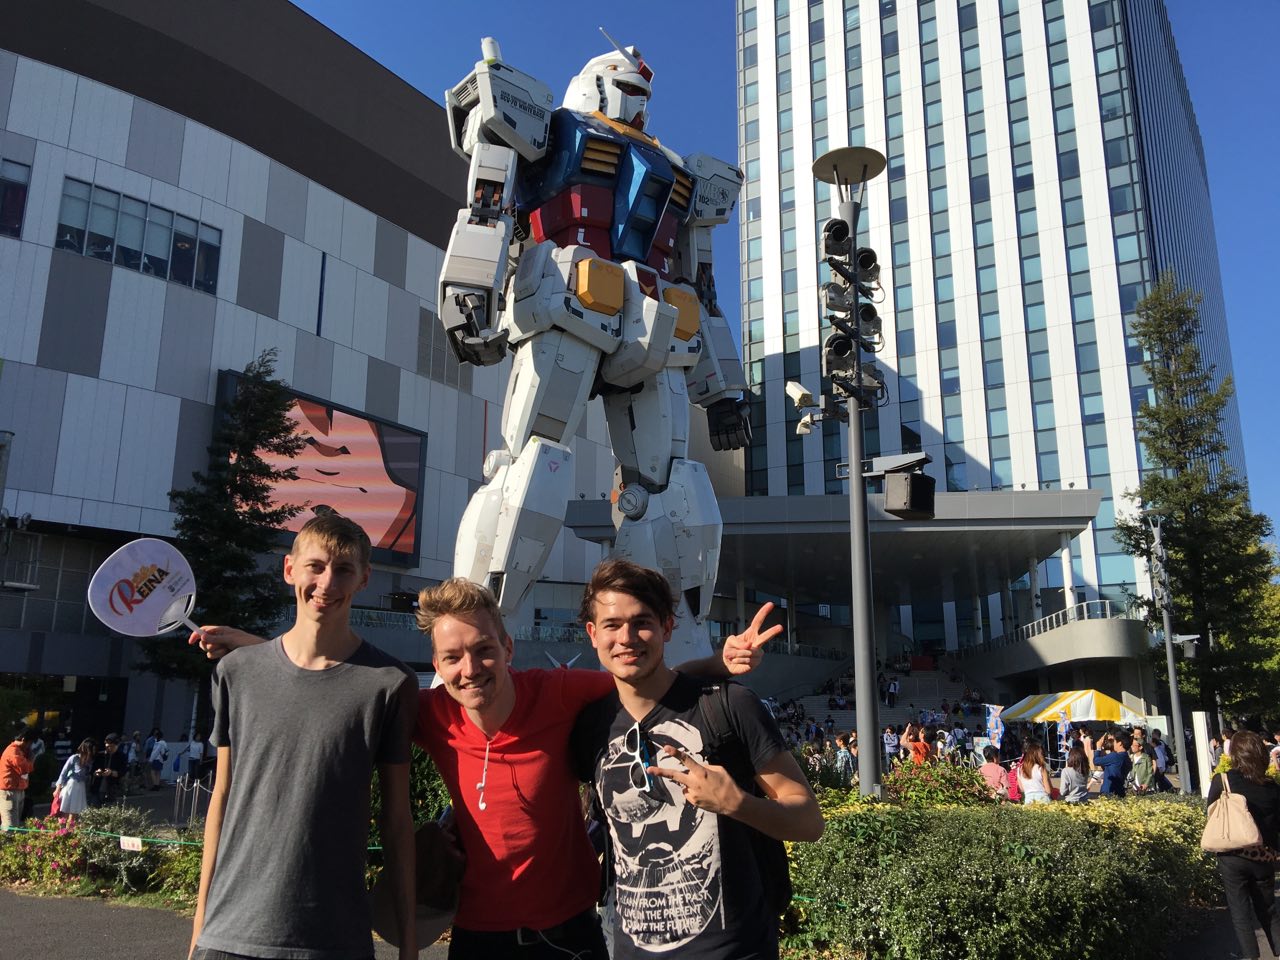
Yes, that’s Gundam (I was told).
Shoin takes me to the neighborhood of Itabashi in Oyama-cho.
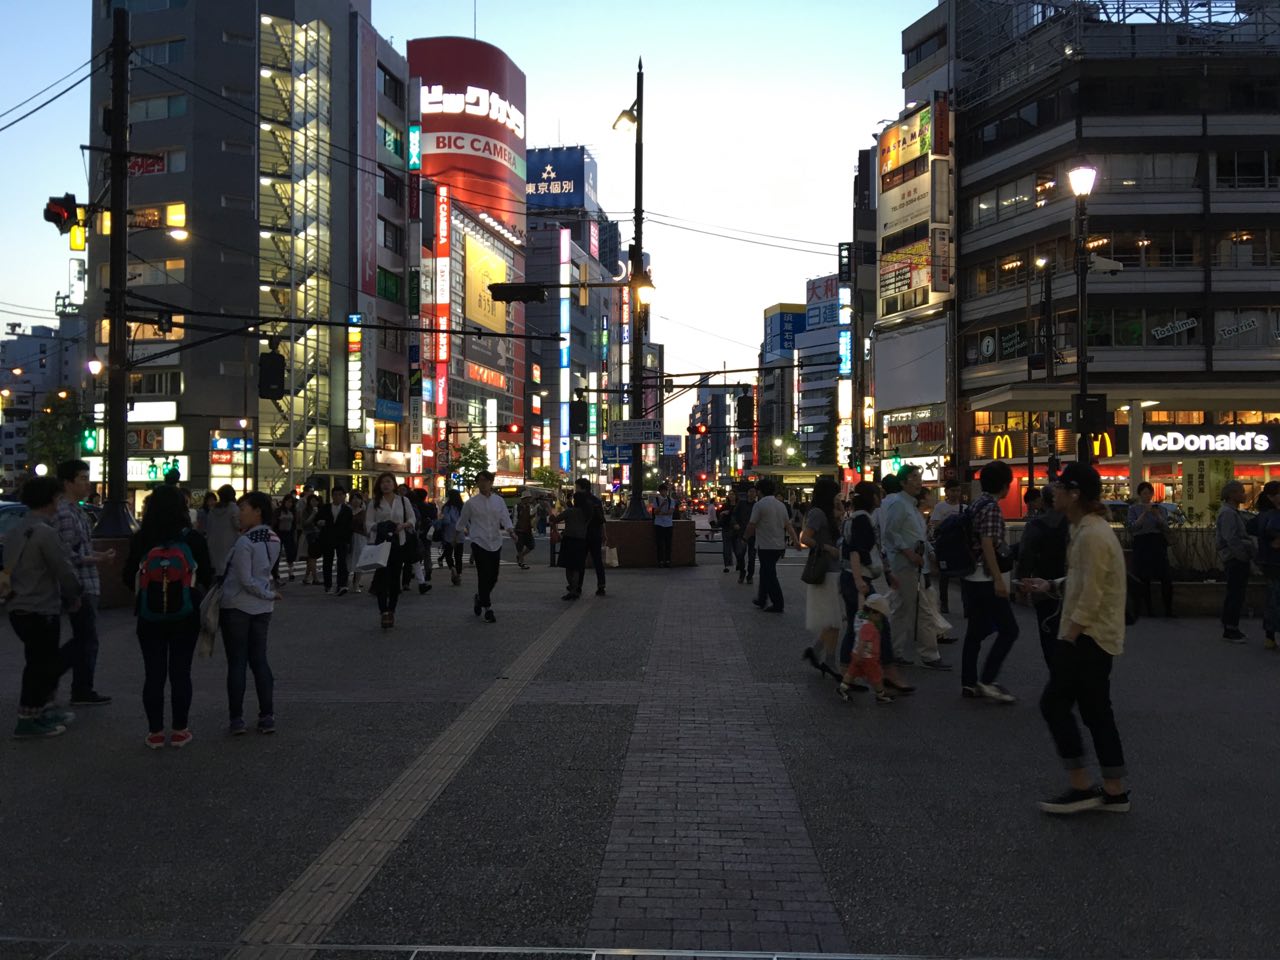
On our way we saw a gun shop that could’ve come just out of a video game.

Walking on towards the alley, I started periscoping the whole journey:
It’s so weird as I’ve seen this scene so much, modeling it for hours on end based on different photos to try and get an idea of how it looks in depth. And now Shoin brought me here and we’re on a side street of it.
We go right into a dark little pathway and suddenly, there it is!

OMGs were had
I’m slightly shaking and shocked. I’ve been in this street for ages, inside Cinema4D. Now I’m actually there. Everything looks much smaller than I thought. It’s tiny! But just as impressive as the photos I saw. There’s endless details everywhere. From small plant pots, to little menu signs, to small random artifacts. It’s really dark and that’s why the lanterns dominate the coloring of the entire scene so much. It’s hard to capture in a photo as it’s so dark, so any photo you make has to be quite a long exposure shot.
The main area of interest of this scene is clearly the bar on the left side called Bar 254. It’s a whisky bar (I googled it) and it’s literally considered a “tiny bar”. These are small Japanese drinking establishments literally the size of a tiny room or closet. You can just fit in a barkeeper, and maybe 4 or 5 guests. But it’s cosy. And impossible to keep a conversation to yourself. So it usually becomes one big group shouting match inside a tiny bar. Haha.
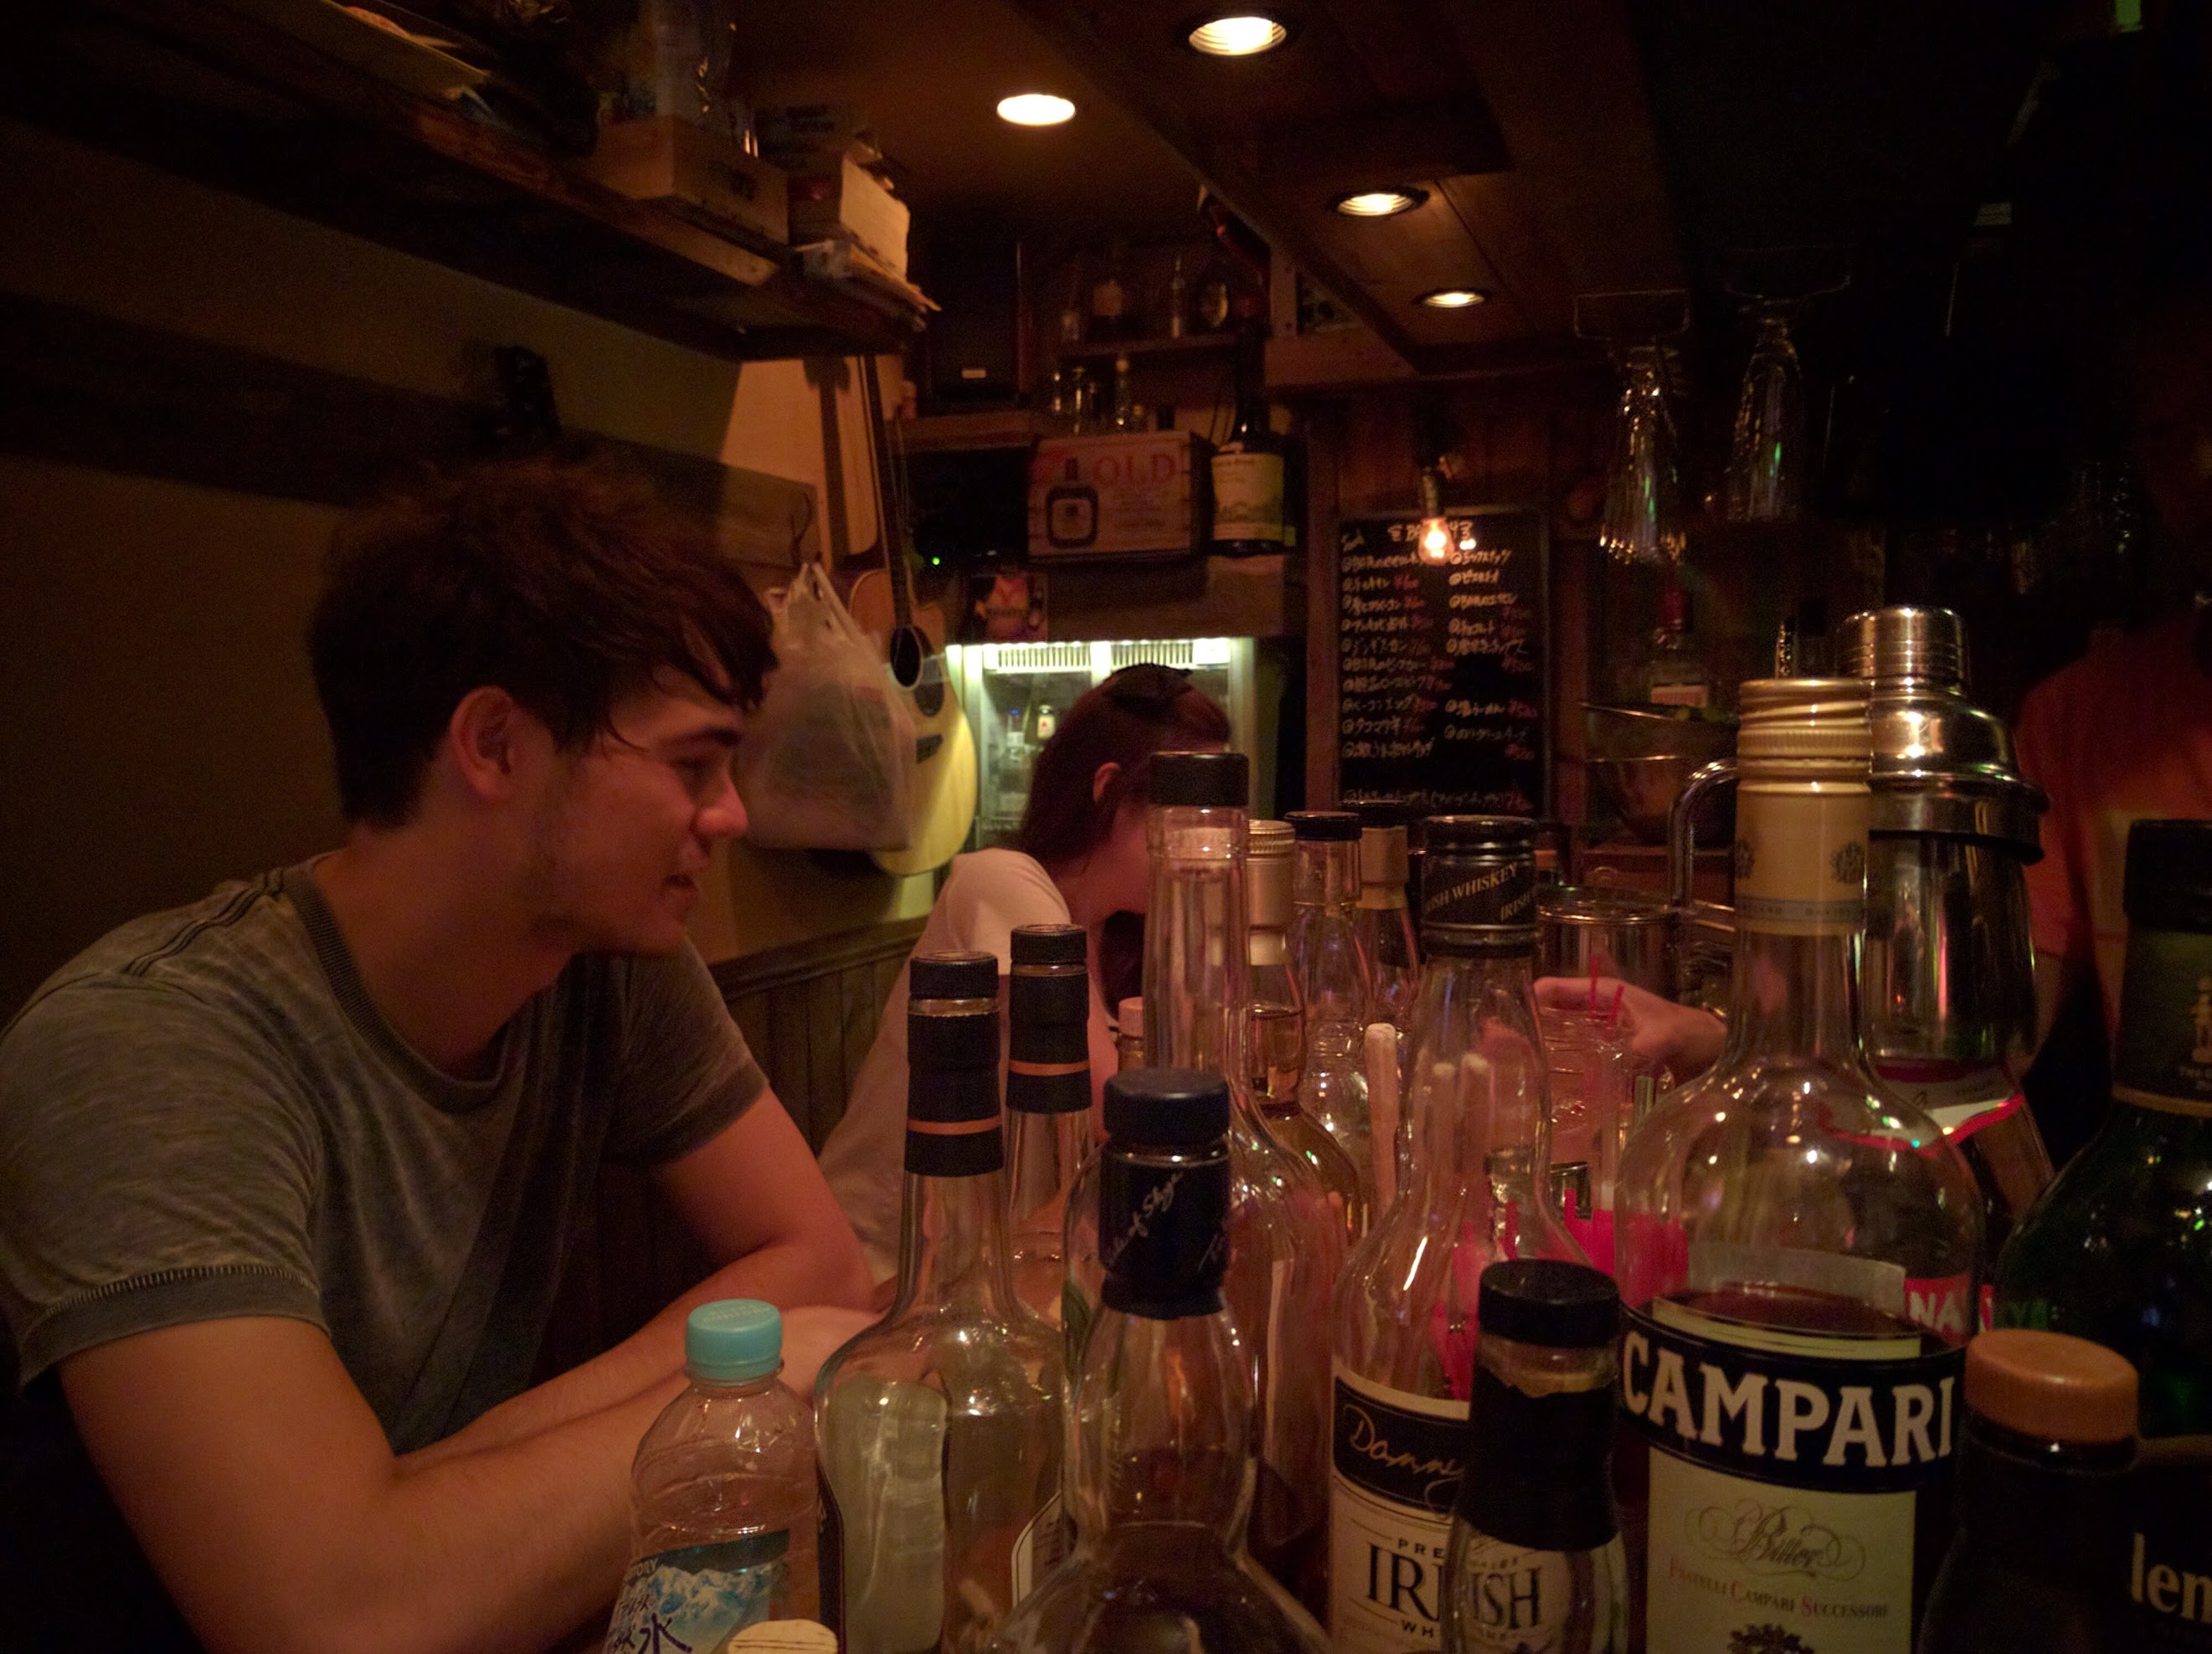
We enter Bar 254 and meet the owner. Shoin uses his Japanese and asks if the owner knows his street is getting slightly famous. He tells us he knew there’s a professional photographer who took a picture here but instead of mentioning the right name (Masahi Wakui), he mentions someone else…
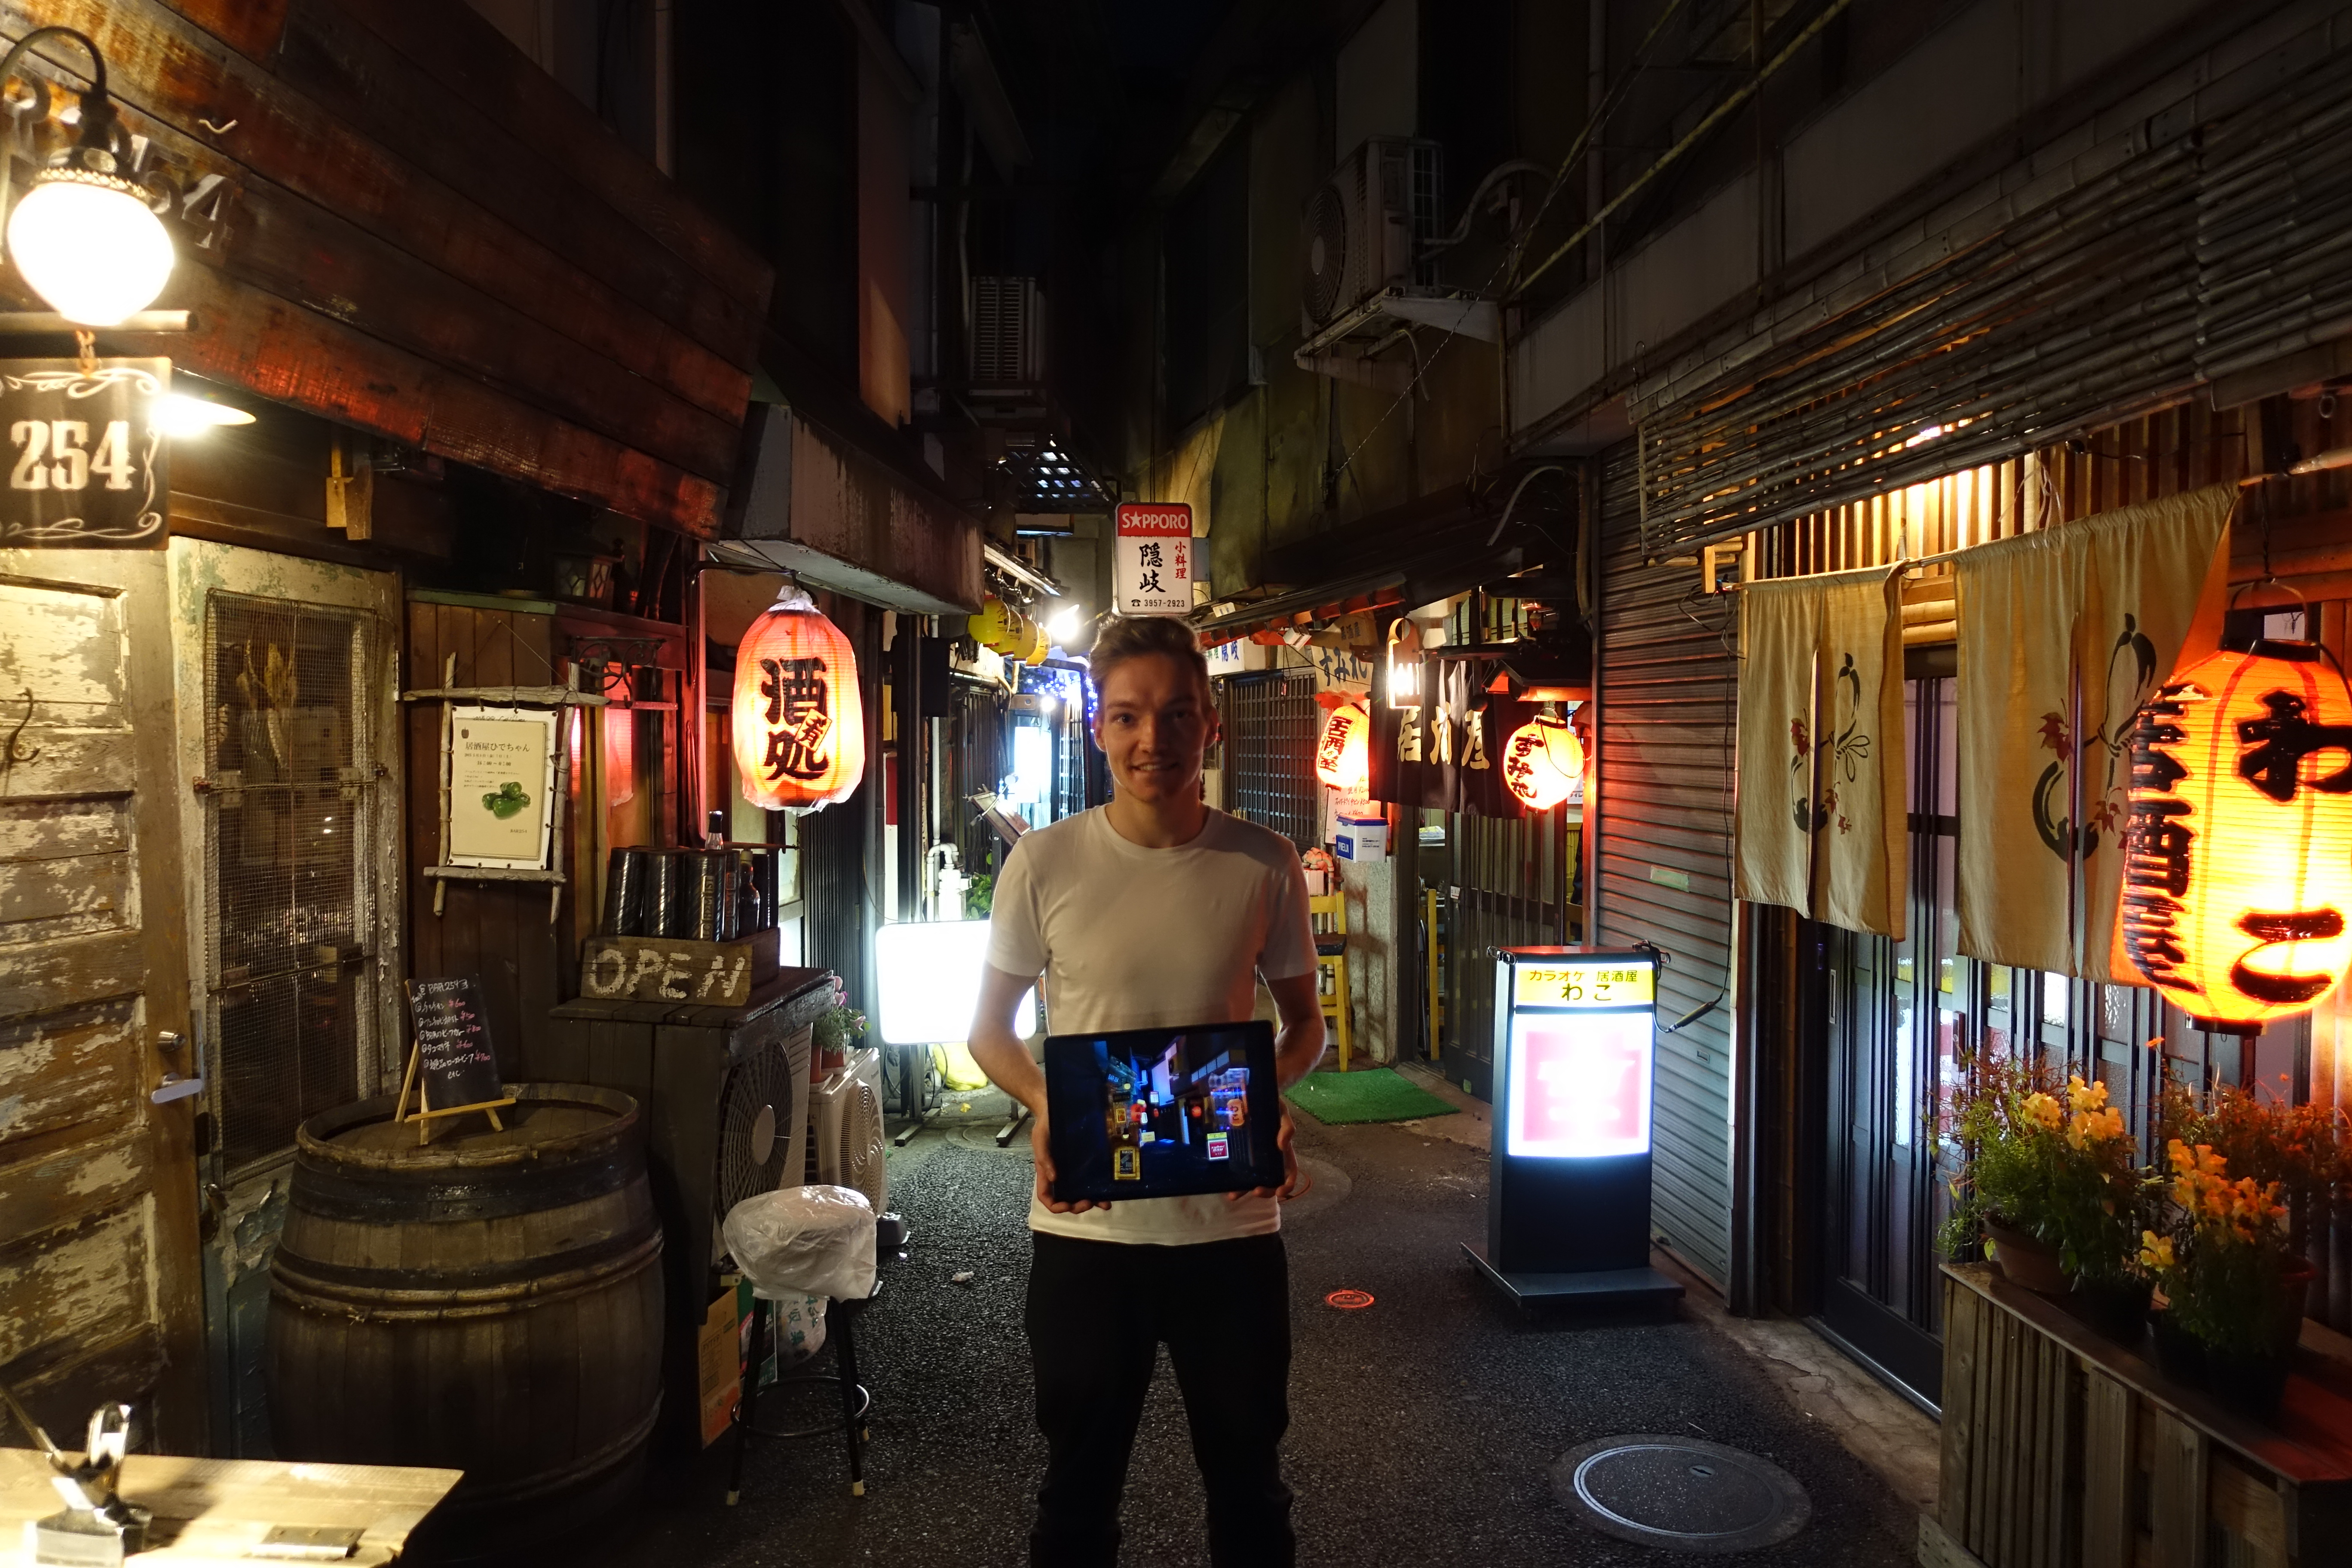
I tell the owner I modeled his bar and street for weeks. He seems impressed but also completely oblivious why anyone would pursue such an endeavor. I show him my 3d scene and he smiles. He still doesn’t understand why though. Haha, I don’t understand why either!
Shoin says he feels like we’re kids from a local art college who did a school project, haha. I see why.

Comparisons
I take some shots around the street, so I can compare them here now with the 3d scene and make the score:
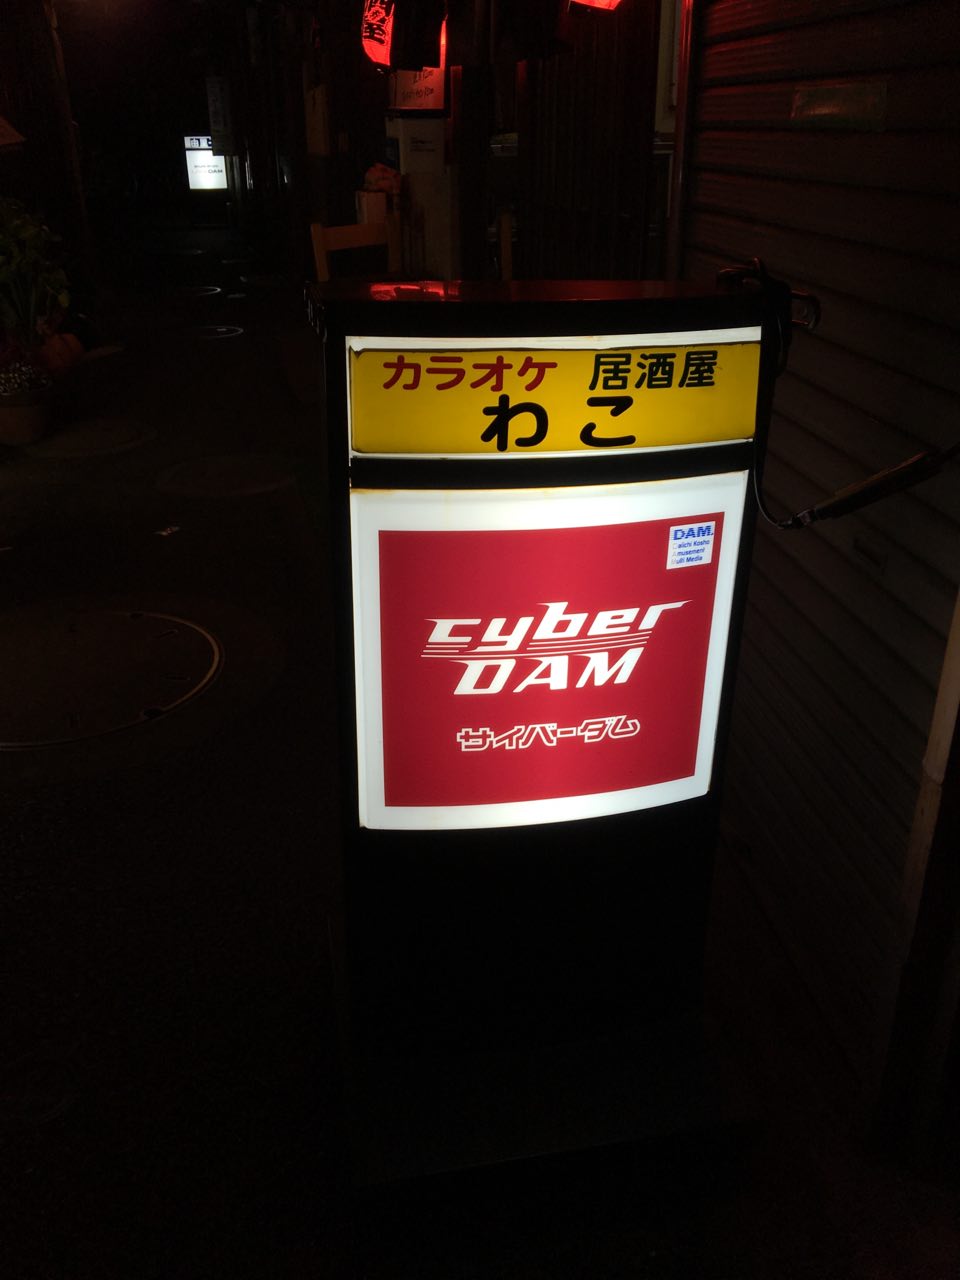
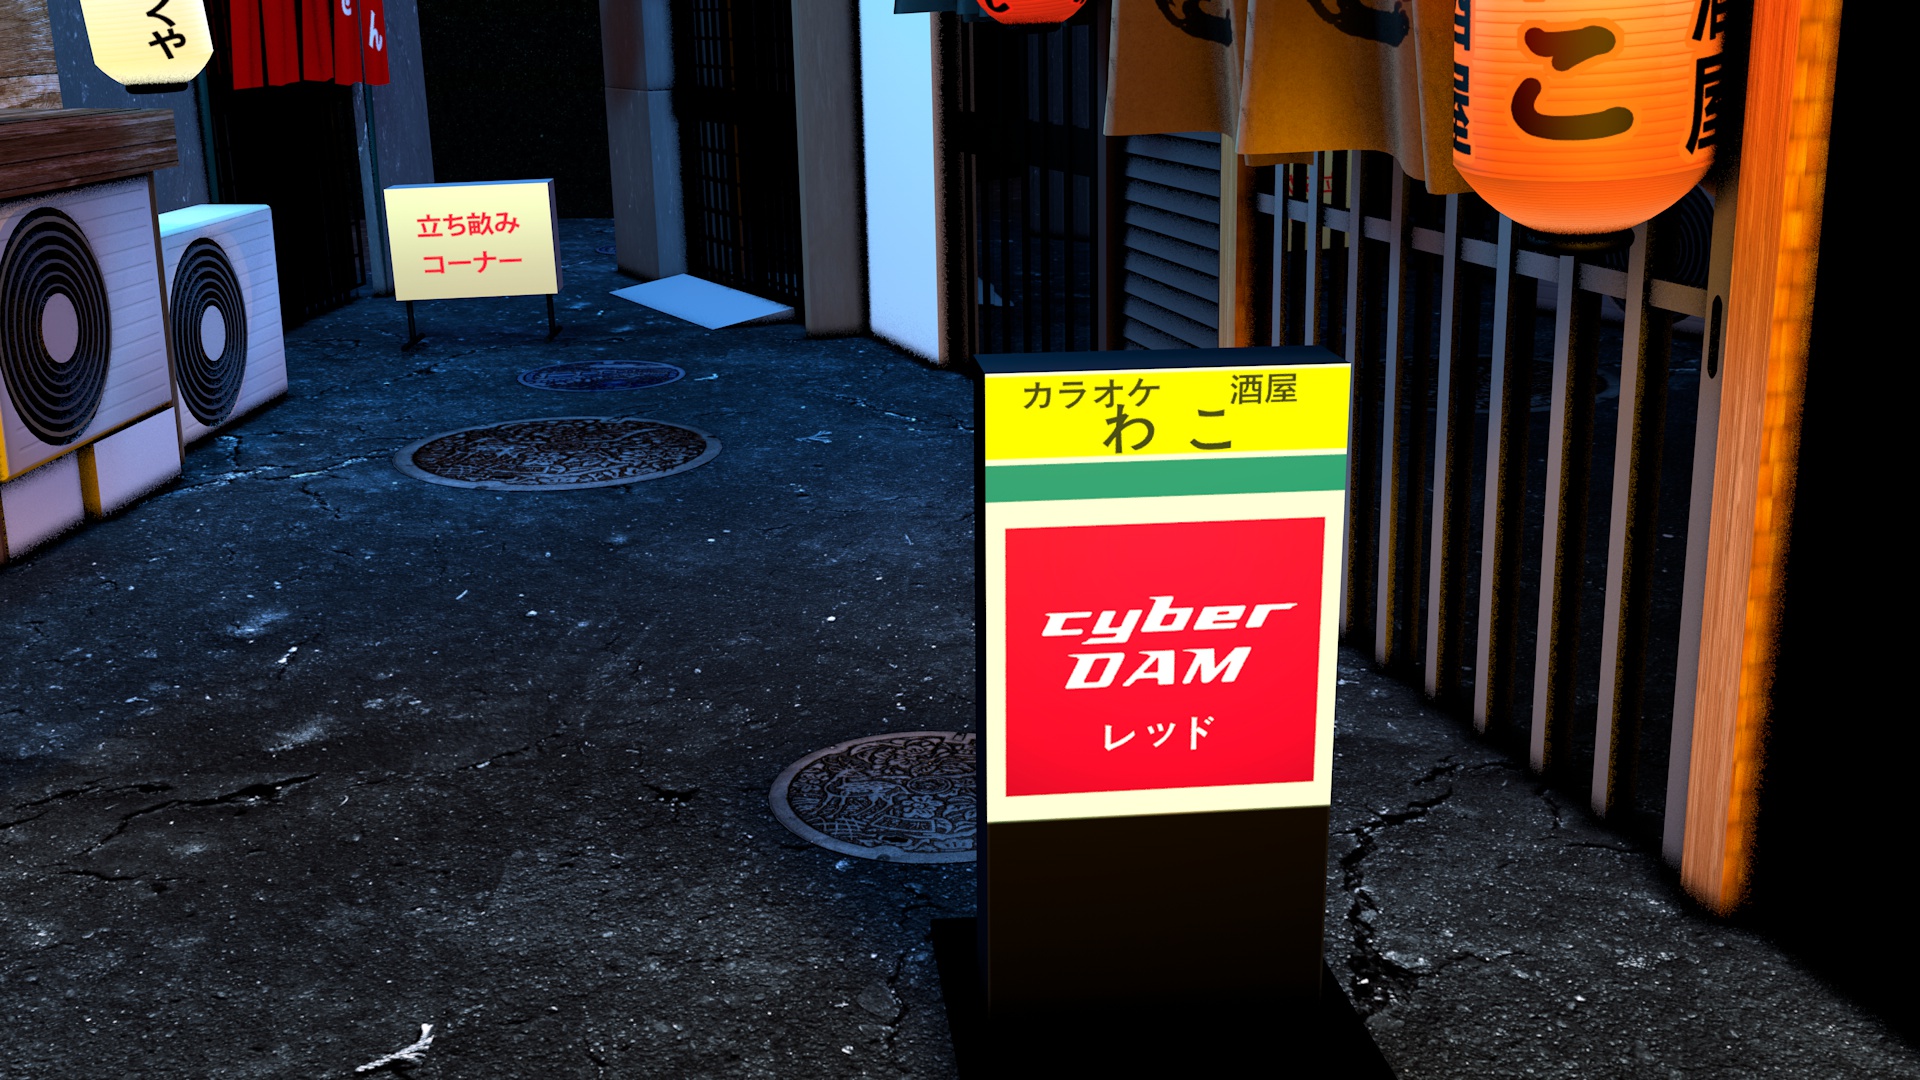

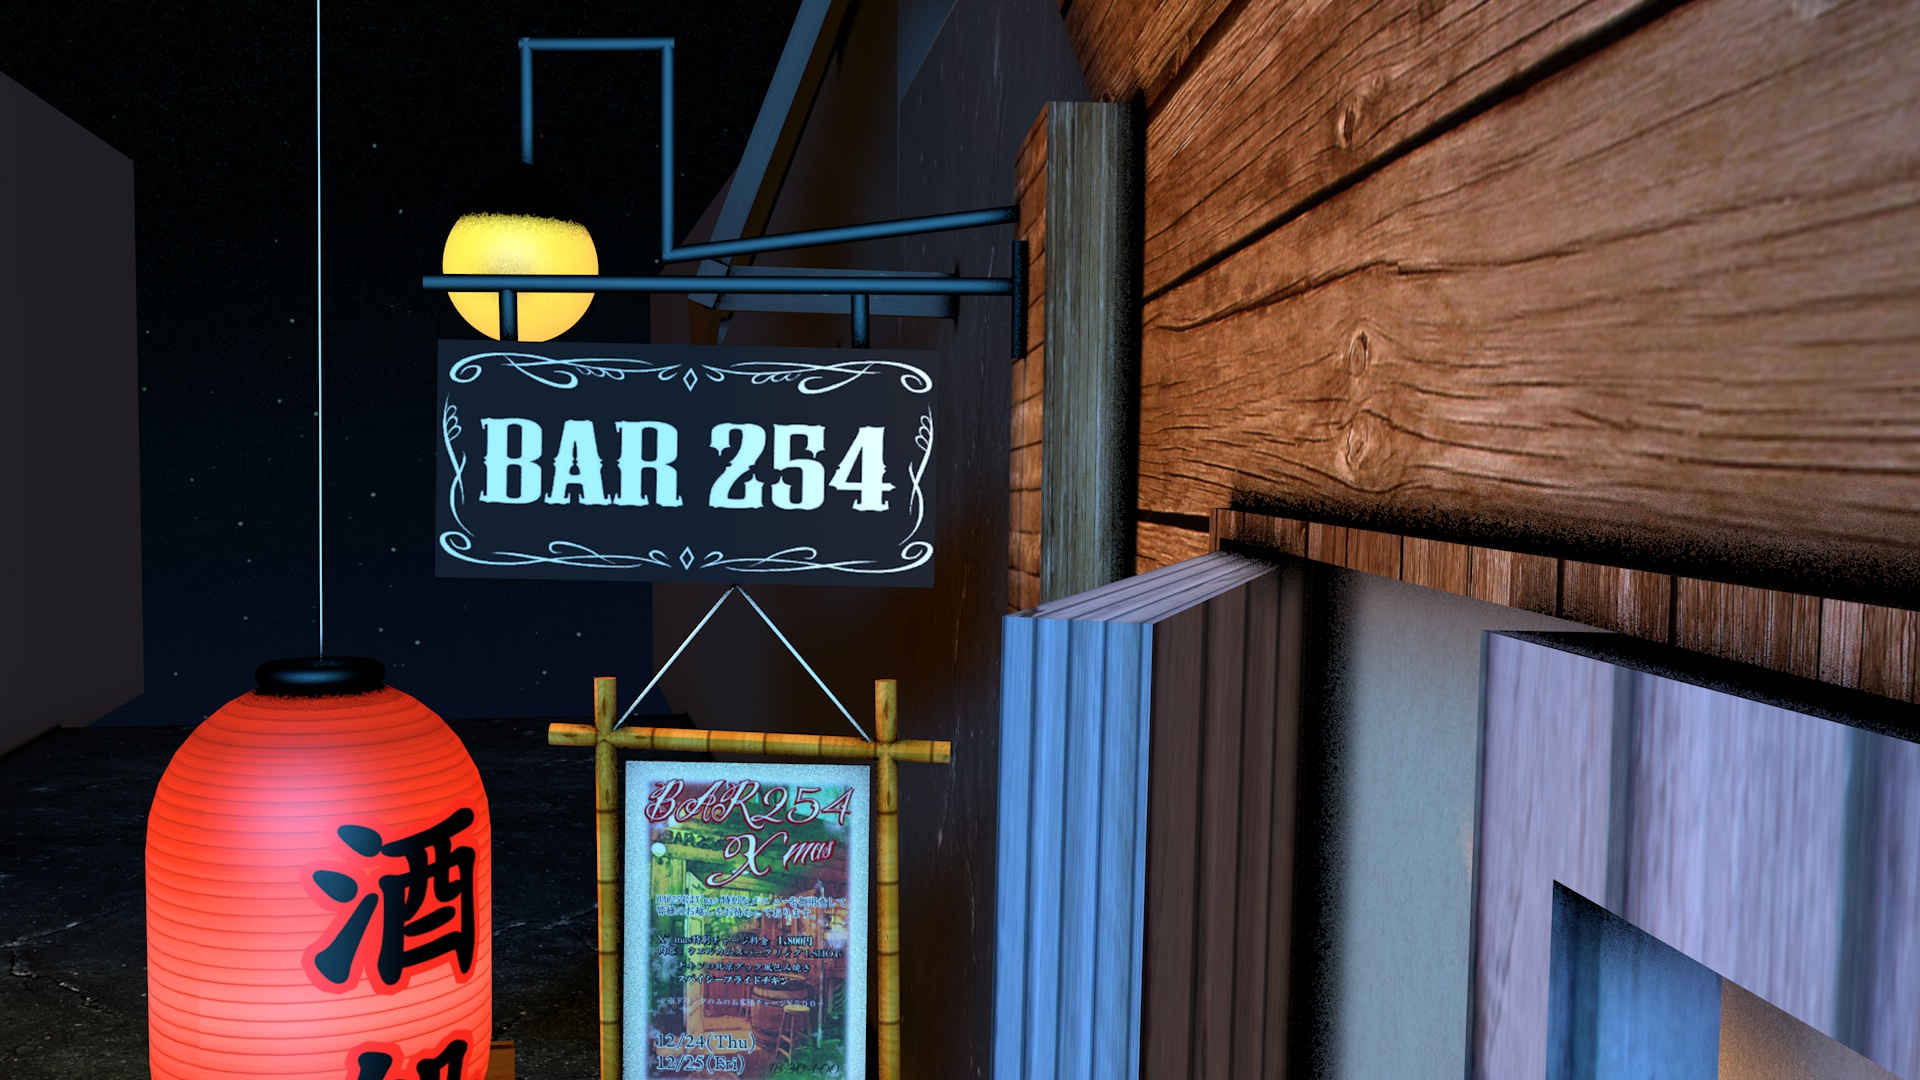
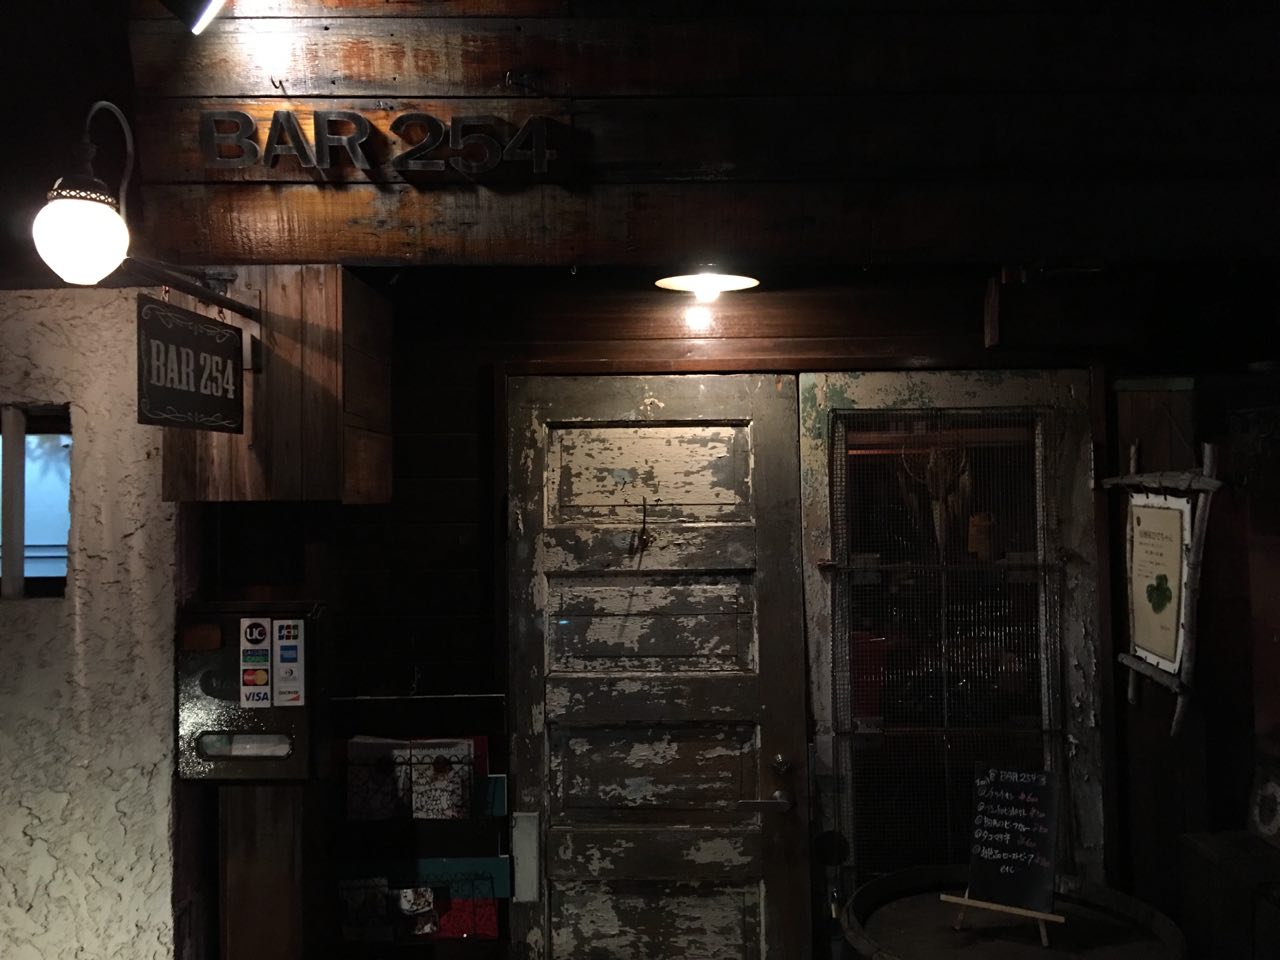
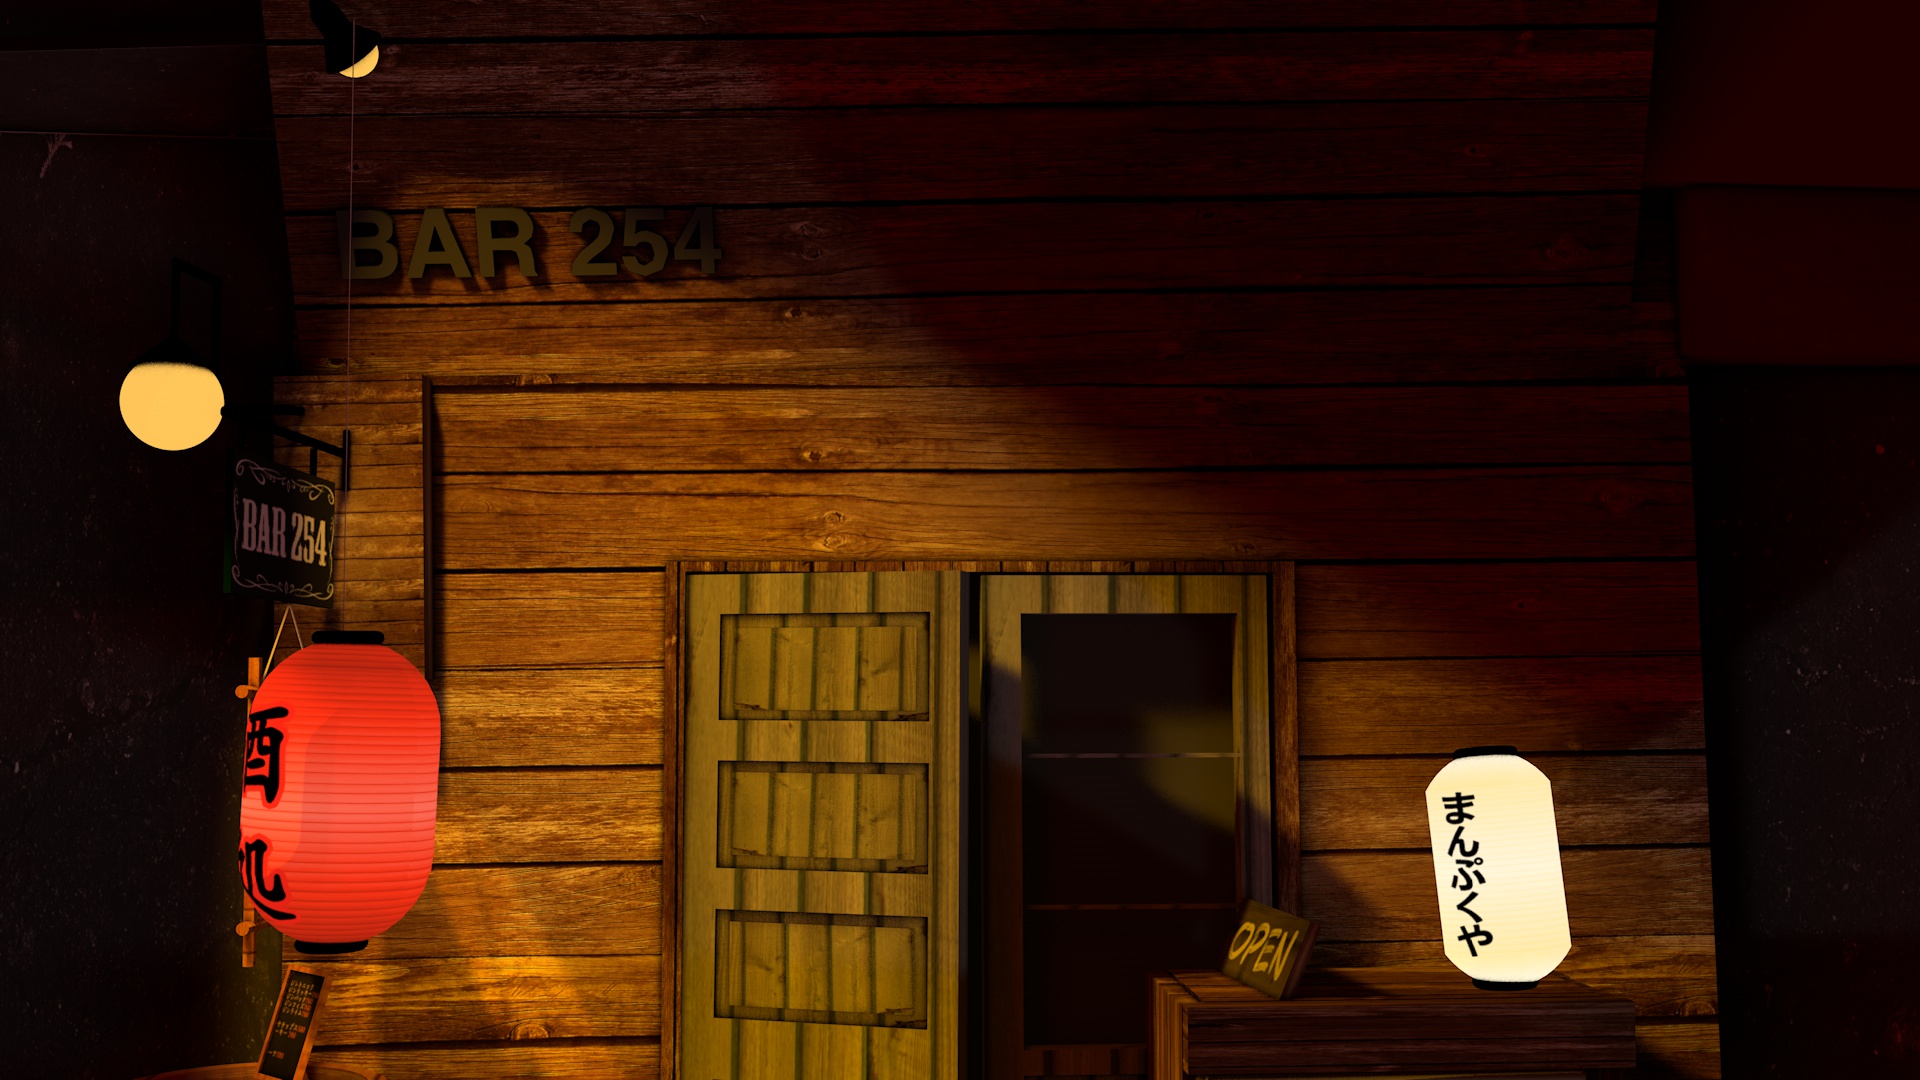
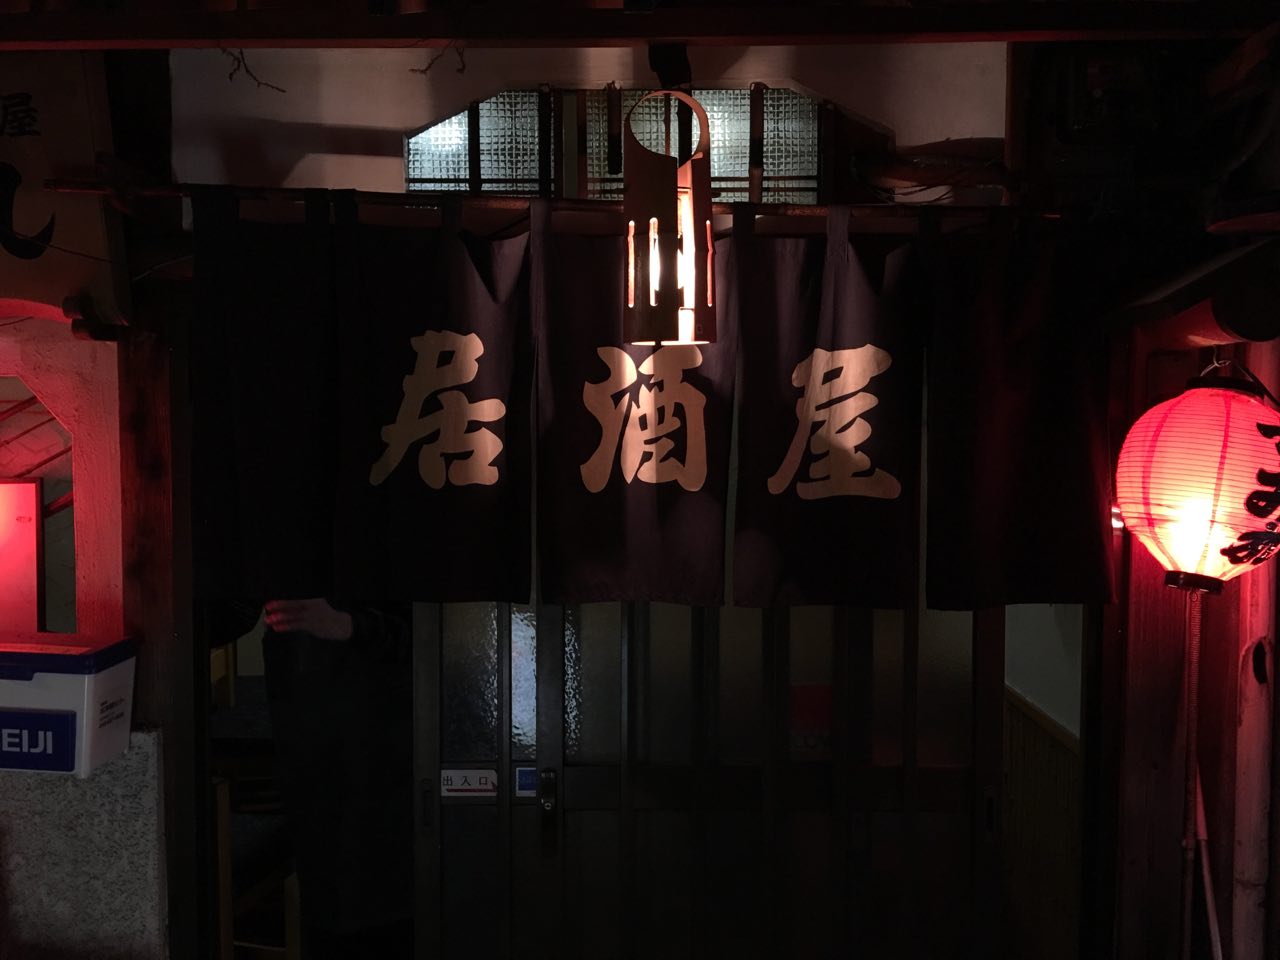
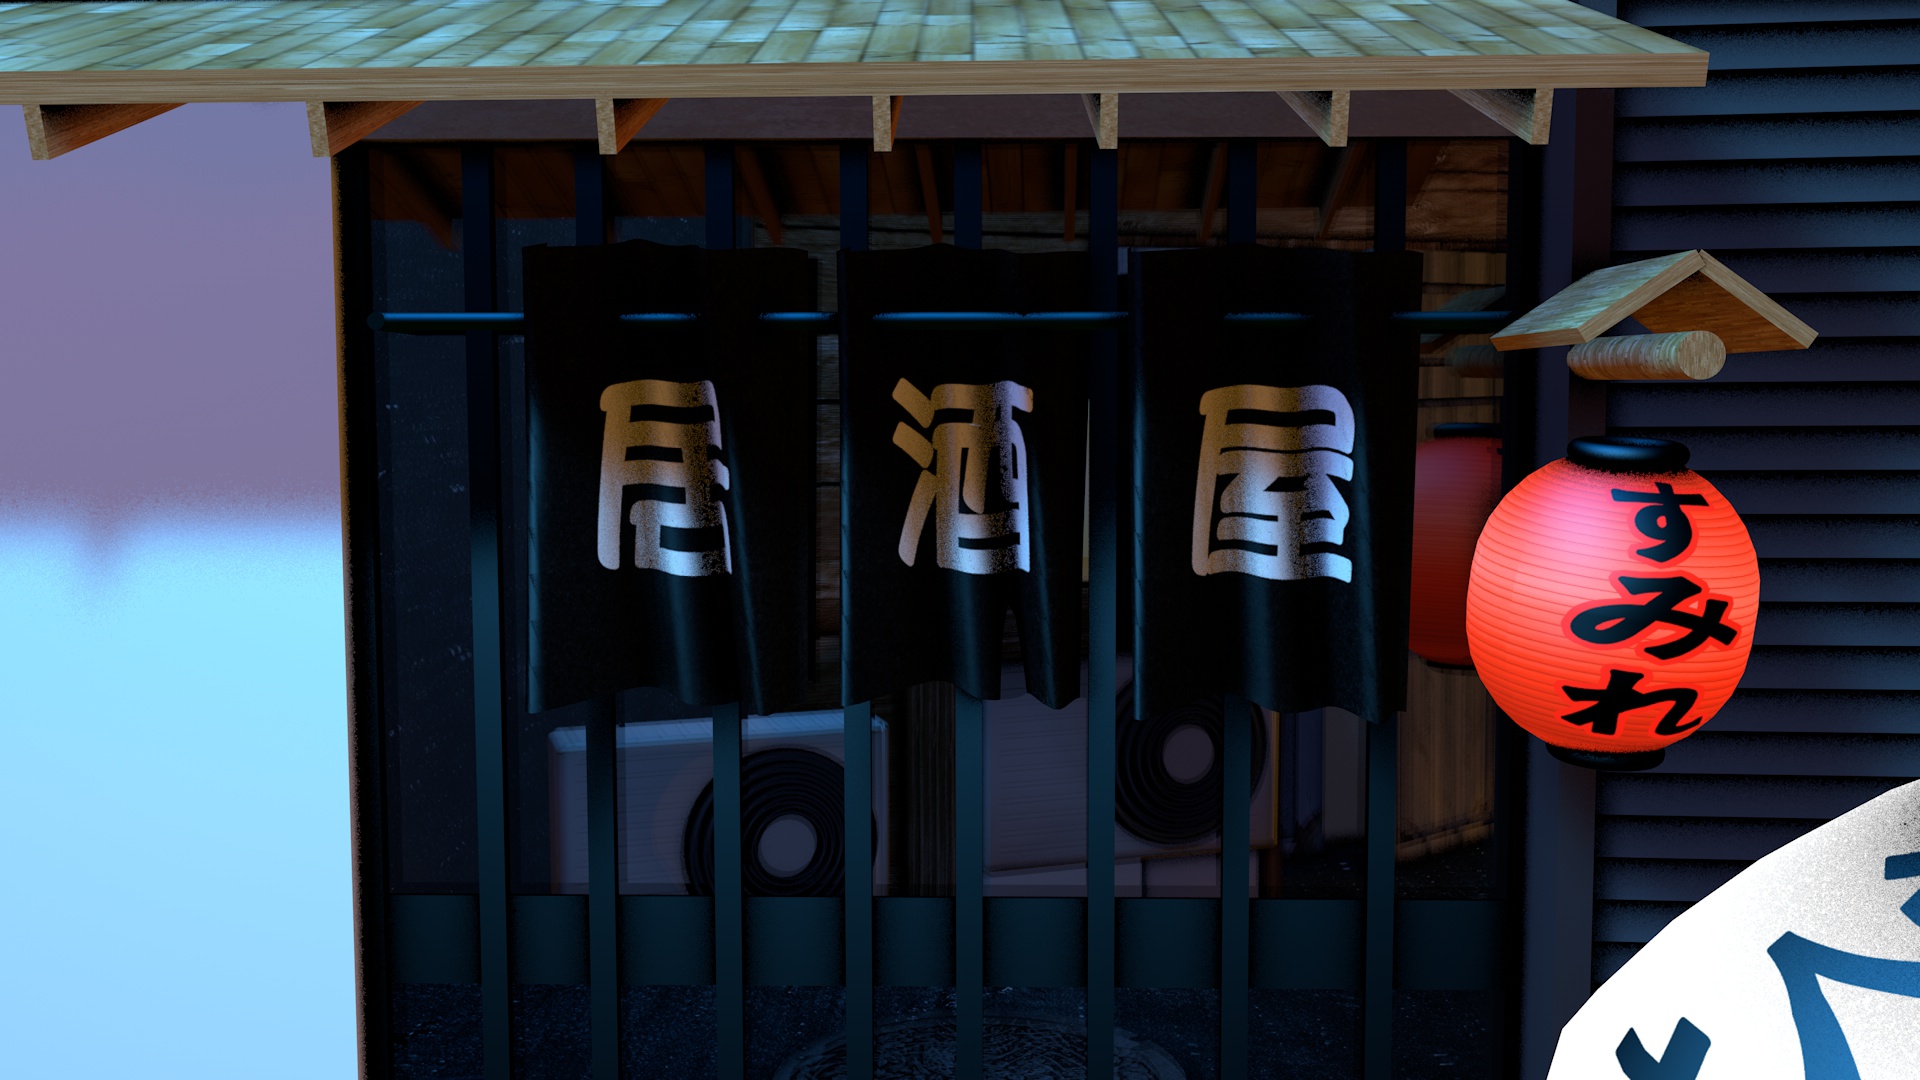
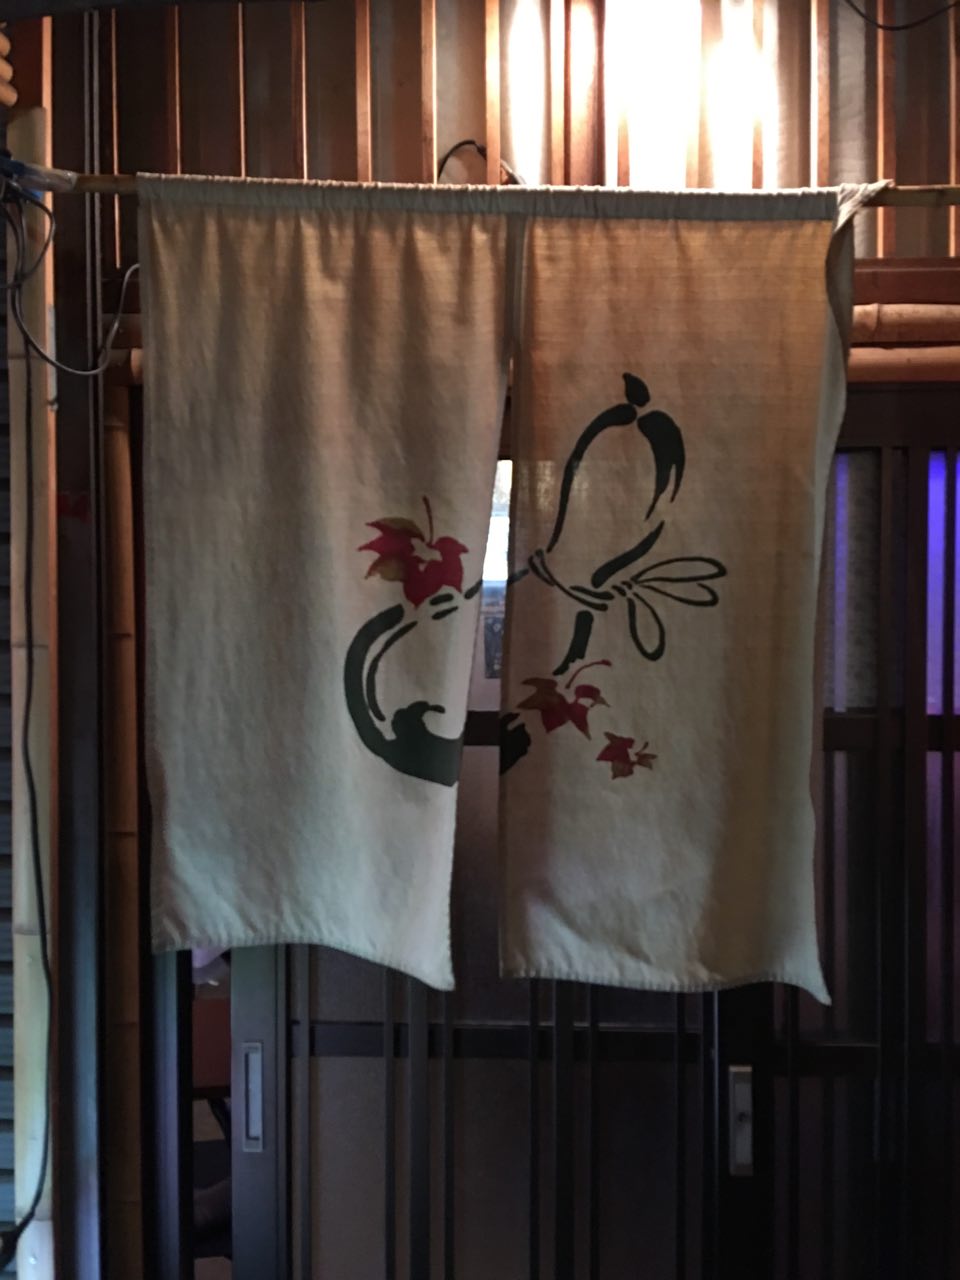
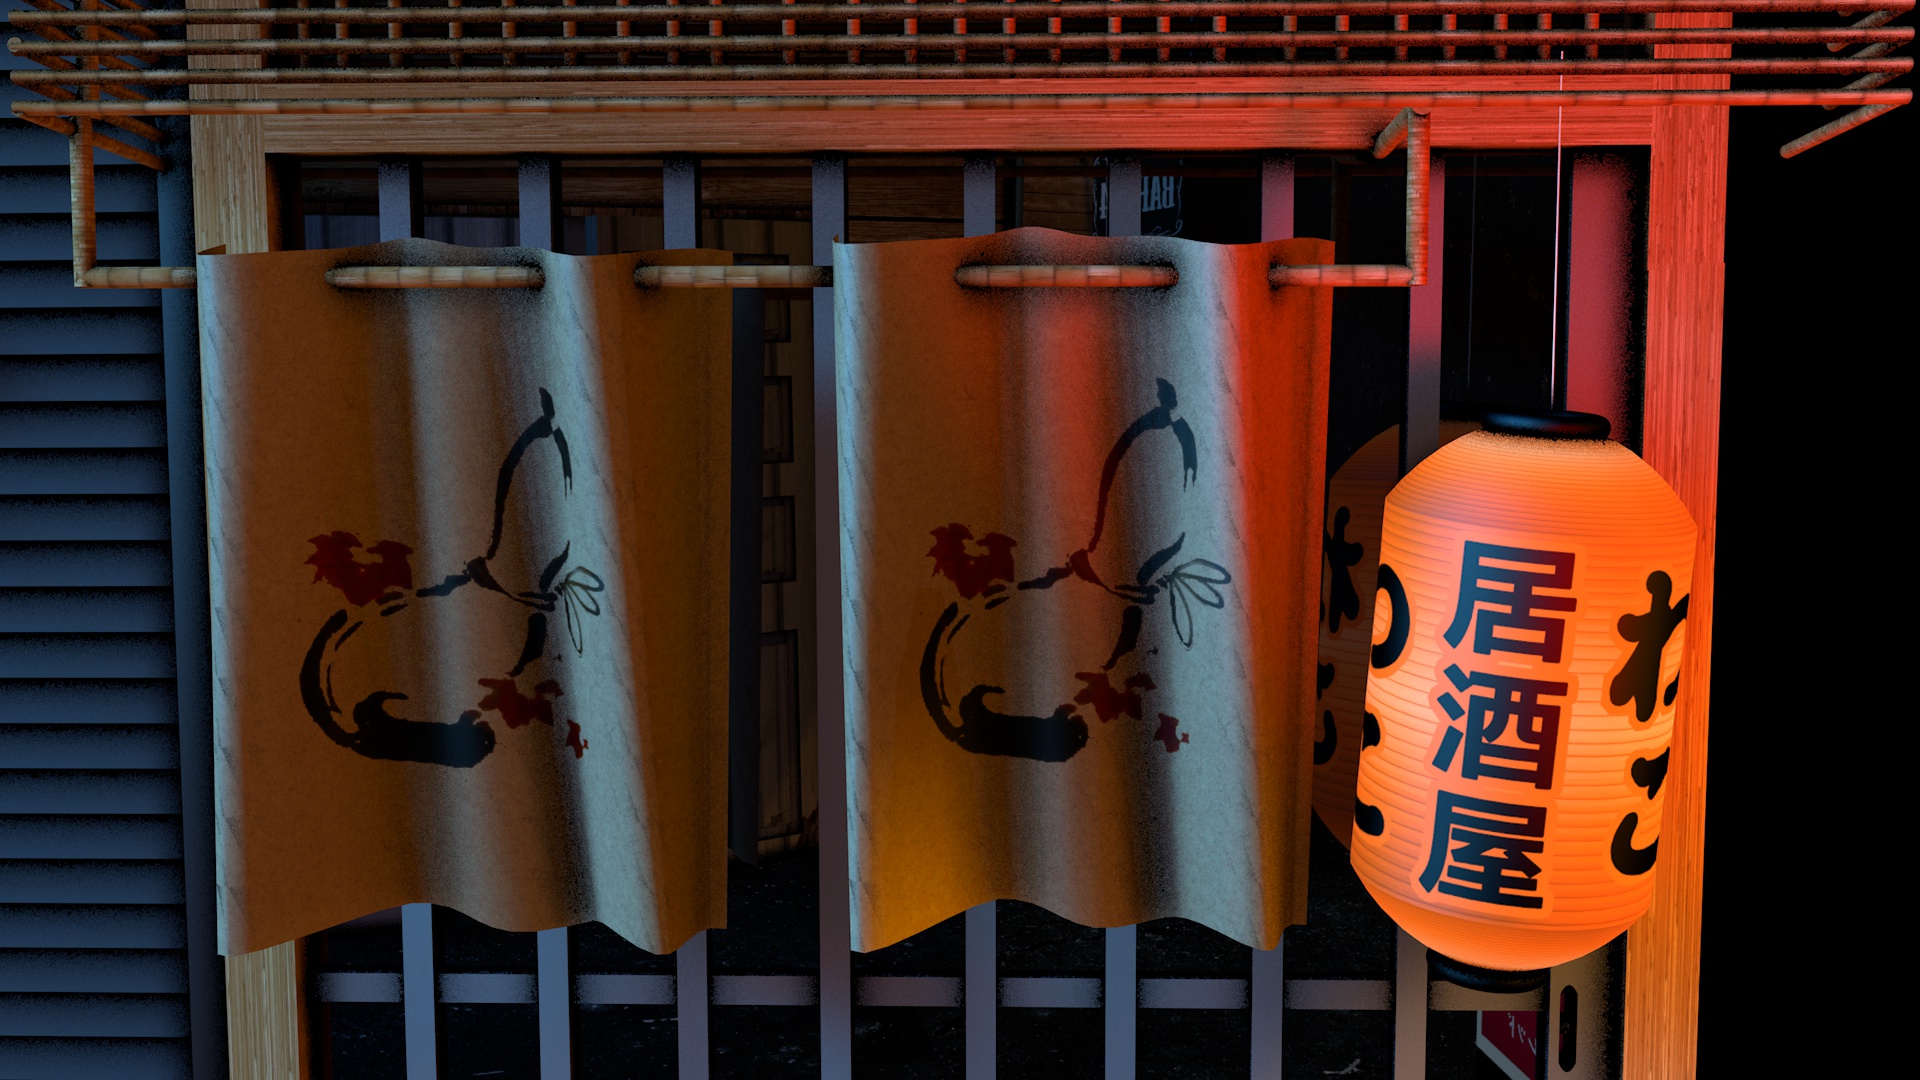
Some parts are very off, as I had no way of seeing how they looked before being there. There’s definitely tiny details missing that I didn’t have time for or prioritize. I like the last few pics most.
What did I learn?
This was one of the most fun things I did in ages. It was super refreshing to learn something I was never any good at. Something that was creative, didn’t have a purpose, but just fun.
It didn’t have to get page views, get users or make money. Just pure creativity. I needed that after the last few years 🙂
The modeling and decorating the scene was extremely meditative. I know while coding you can get into some deep zones, but tweaking a little 3d object for hours just makes me enter an extra zoned out brain state. It feels great and reminds me of when I used to be in Photoshop for hours as a teenager.
Basic 3d isn’t hard. I’d say the biggest challenge is getting the light right. Pretty much the same challenge as with photography.
The way of learning this was very useful to me. Instead of reading books or taking courses, I just dove in and tried to make something. And I every little thing I didn’t know, I just Googled. From “how to carve out text cinema4d” (answer: use a Boole) to “how to make an object give off light” (answer: enable illumination on its material).
If you want to learn it, I’d recommend trying to make a little scene too. Stick with it. Modeling after a photo works and gives you a very clear end result that you have to come close to.
I also learnt you should do weird stuff that has no point, because you end up on a fun adventure that will bring you to Tokyo! 😀
What’s next
The next step is actually making it possible for people to walk around in my scene inside virtual reality. But on the web. How? Well, there’s Unity 3d. Which is a 3d engine that enables you make your scene interactive. It’s mostly used by game developers (especially like the whole indie game scene), but you can make anything with it, really.
Luckily for me, Unity 3d supports the new web standard for 3d called WebGL (and soon WebVR), which means in the end I’ll be able to showcase my 3d scene inside a web browser and VR device easily. That’s great because I can give you a URL to my site and you can put your phone in a Google Cardboard VR viewer or hook it up to Oculus and instantly you’re in my little 3d world.
The future is here 🙂
Next I’ll show you how after a few months, I can now walk in my street in VR!
P.S. I'm on Twitter too if you'd like to follow more of my stories. And I wrote a book called MAKE about building startups without funding. See a list of my stories or contact me. To get an alert when I write a new blog post, you can subscribe below: